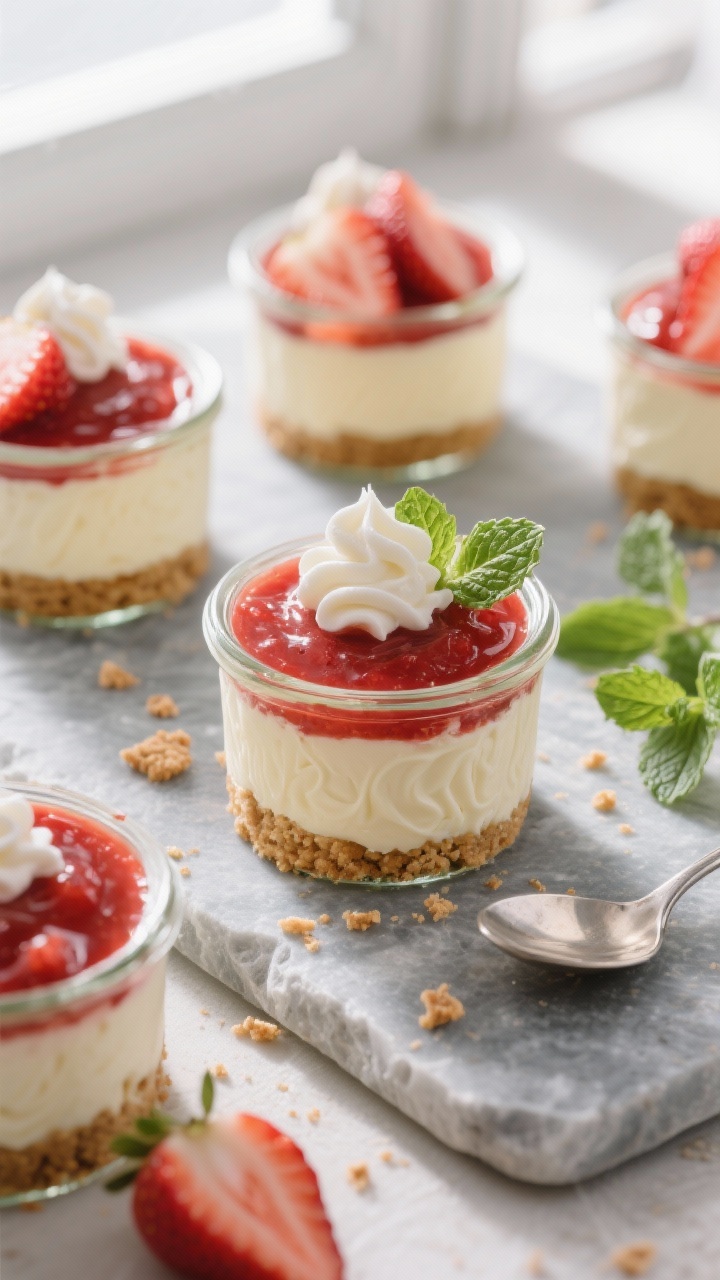
No oven, no fuss, just creamy cheesecake and juicy strawberries layered in a jar. These no-bake strawberry cheesecake jars are the kind of dessert you can make on a weeknight but still show off at a weekend gathering. They’re cool, light, and just sweet enough, with a buttery crumb that ties it all together.
Make them ahead, stash them in the fridge, and pull one out whenever you want something special without the effort.
What Makes This Recipe So Good
- Zero baking required: Everything sets in the fridge, so there’s no need to heat up the kitchen.
- Fresh strawberry flavor: Real strawberries in both the sauce and the topping bring bright, natural sweetness.
- Perfectly portable: Built-in portions make them great for picnics, parties, or a grab-and-go dessert.
- Quick to assemble: The components come together fast, and the jars set in about an hour.
- Make-ahead friendly: They hold well for a couple of days, so you can prep in advance.
What You’ll Need
- For the crust:
- 1 1/2 cups graham cracker crumbs (or digestive biscuits)
- 5 tablespoons unsalted butter, melted
- 2 tablespoons granulated sugar (optional, adjust to taste)
- Pinch of fine sea salt
- For the cheesecake filling:
- 12 ounces cream cheese, softened
- 1/2 cup powdered sugar
- 1 teaspoon pure vanilla extract
- 1 teaspoon fresh lemon zest (optional, but great for brightness)
- 3/4 cup cold heavy whipping cream
- Pinch of salt
- For the strawberry layer:
- 2 cups fresh strawberries, hulled and sliced (plus extra for garnish)
- 2–3 tablespoons granulated sugar (to taste)
- 1 teaspoon lemon juice
- 1 teaspoon cornstarch mixed with 1 tablespoon water (optional, for a thicker sauce)
- To serve:
- Whipped cream (optional)
- Fresh mint leaves (optional)
- Jars or glasses (6–8 small jars or 4 larger ones)
Step-by-Step Instructions
- Prepare the jars: Make sure your jars or glasses are clean and dry. A 6–8 ounce jar is a great size for individual portions.
- Make the crust: In a bowl, combine graham cracker crumbs, melted butter, sugar, and a pinch of salt. Stir until the mixture looks like damp sand and holds when pressed.
- Pack the crust: Spoon a couple of tablespoons of crust into each jar and press it down with the back of a spoon or a muddler.
Aim for a compact but not rock-hard layer. Set aside.
- Whip the cream: In a cold mixing bowl, whip the heavy cream to medium peaks. It should hold a soft shape but not look grainy.
Set aside.
- Make the cheesecake base: In another bowl, beat the softened cream cheese with powdered sugar, vanilla, lemon zest, and a pinch of salt until smooth and fluffy, 1–2 minutes.
- Fold in the cream: Gently fold the whipped cream into the cream cheese mixture in two additions, keeping it light and airy. Don’t overmix.
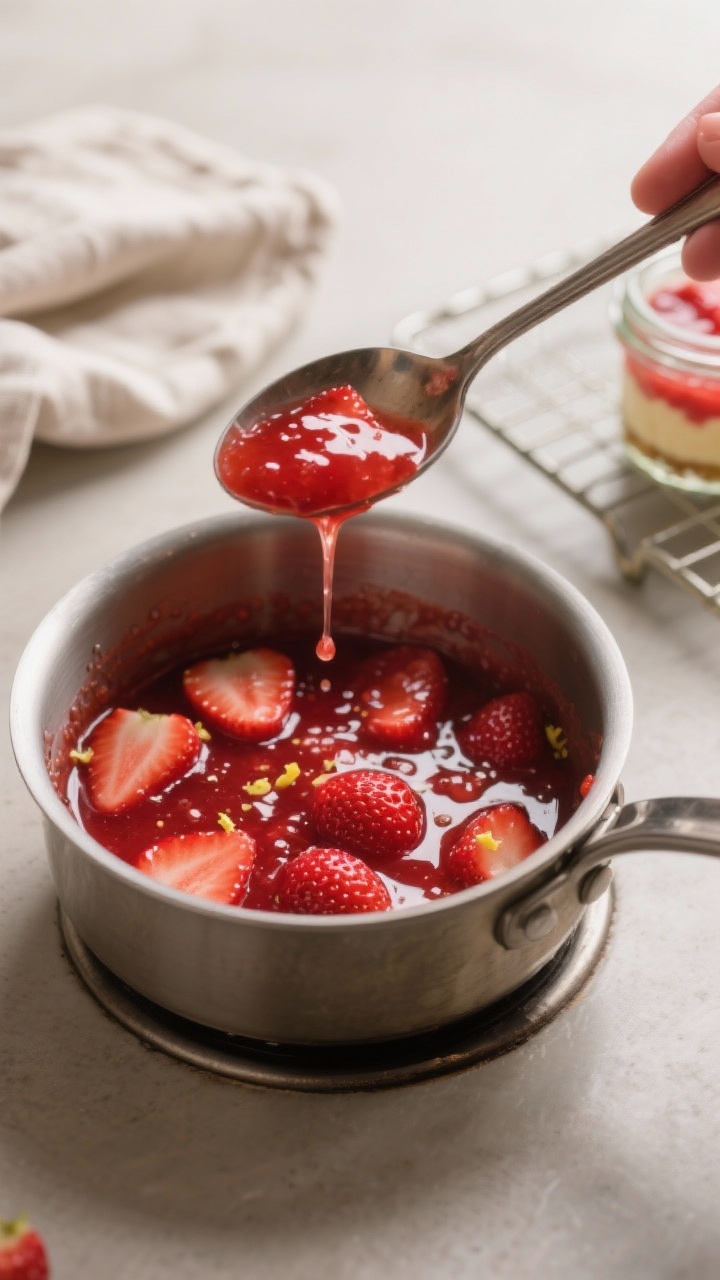
- Cook the strawberry sauce (optional but recommended): Add 1 1/2 cups of the sliced strawberries to a small saucepan with sugar and lemon juice. Cook over medium heat for 3–5 minutes until juicy.
If you prefer a thicker sauce, stir in the cornstarch slurry and simmer 1 minute more. Let it cool to room temperature.
- Layer the jars: Spoon cheesecake filling over the crust, filling the jars about two-thirds full. Add a spoonful of cooled strawberry sauce, then top with a few fresh strawberry slices for texture.
- Chill: Cover and refrigerate for at least 1 hour, or up to 24 hours, to set and meld flavors.
- Finish and serve: Just before serving, add a dollop of whipped cream, a fresh strawberry slice, and a mint leaf if you like.
Serve cold.
Storage Instructions
- Refrigerate: Cover the jars tightly and store in the fridge for up to 3 days. The crust stays fairly crisp, especially if well-packed.
- Separate elements: For the best texture over several days, keep the crust, filling, and strawberry sauce separate and assemble within 24 hours of serving.
- Do not freeze: Freezing can change the texture of the filling and make the strawberries watery.
Benefits of This Recipe
- Beginner-friendly: No special equipment or baking skills needed.
- Customizable portions: Make small jars for kids or larger ones for a special dessert.
- Seasonal flexibility: Works with fresh or frozen strawberries, and adapts well to other fruits.
- Balanced flavor: Creamy, tangy, and sweet with a hint of lemon and vanilla.
- Fast cleanup: Only a couple of bowls and a spoon required.
What Not to Do
- Don’t skip softening the cream cheese: Cold cream cheese creates lumps that are hard to fix.
- Don’t overwhip the cream: Overwhipped cream turns grainy and can break when folded in.
- Don’t add hot strawberry sauce: Warm sauce will melt the filling and make the layers runny. Cool it first.
- Don’t skimp on chilling time: The filling needs at least an hour to set properly.
- Don’t forget the pinch of salt: It sharpens the flavors and keeps the sweetness in check.
Variations You Can Try
- Berry swap: Use raspberries, blueberries, or a mixed berry blend instead of strawberries.
- Chocolate twist: Add 2 tablespoons cocoa powder to the filling and top with chocolate shavings.
- Lemon-lovers: Increase lemon zest to 2 teaspoons and add a thin layer of lemon curd between the crust and filling.
- Cookie crust: Swap graham crackers for crushed Oreos, Biscoff, or shortbread for a different flavor.
- Lightened-up version: Use reduced-fat cream cheese and Greek yogurt (replace half the cream cheese with 3/4 cup thick Greek yogurt).
Keep the whipped cream for structure.
- Gluten-free: Use gluten-free cookies for the crust.
- Dairy-free: Use a plant-based cream cheese and whip cold coconut cream instead of heavy cream. Sweeten to taste.
FAQ
Can I use frozen strawberries?
Yes. Cook them straight from frozen with the sugar and lemon to make a sauce.
They release more juice, so use the cornstarch slurry to thicken. Let the sauce cool fully before layering.
How far in advance can I make these?
You can assemble the jars up to 24 hours ahead. For the best crust texture, assemble the crust and filling, then add the strawberry layer within a few hours of serving.
Why is my filling runny?
It’s usually from under-whipped cream, overmixing, or adding warm sauce.
Whip cream to medium peaks, fold gently, and chill the jars for at least an hour.
What size jars work best?
Jars or glasses in the 6–8 ounce range are ideal for dessert portions. If you use larger jars, build taller layers or increase quantities.
Can I reduce the sugar?
Absolutely. Cut the sugar in the crust or filling to taste.
If your strawberries are very sweet, you can skip sugar in the sauce or reduce it by half.
Do I need gelatin to set the filling?
No. Whipped cream folded into cream cheese gives enough body once chilled. If you want a firmer set, you can add 1 teaspoon powdered gelatin bloomed in 1 tablespoon water and melted, then beat it into the cream cheese before folding in the cream.
In Conclusion
These no-bake strawberry cheesecake jars are simple, fresh, and satisfying.
They look pretty, taste like summer, and come together with pantry basics. Keep a few in the fridge for easy entertaining or a sweet treat after dinner. Once you make them, you’ll want to try every variation under the sun.