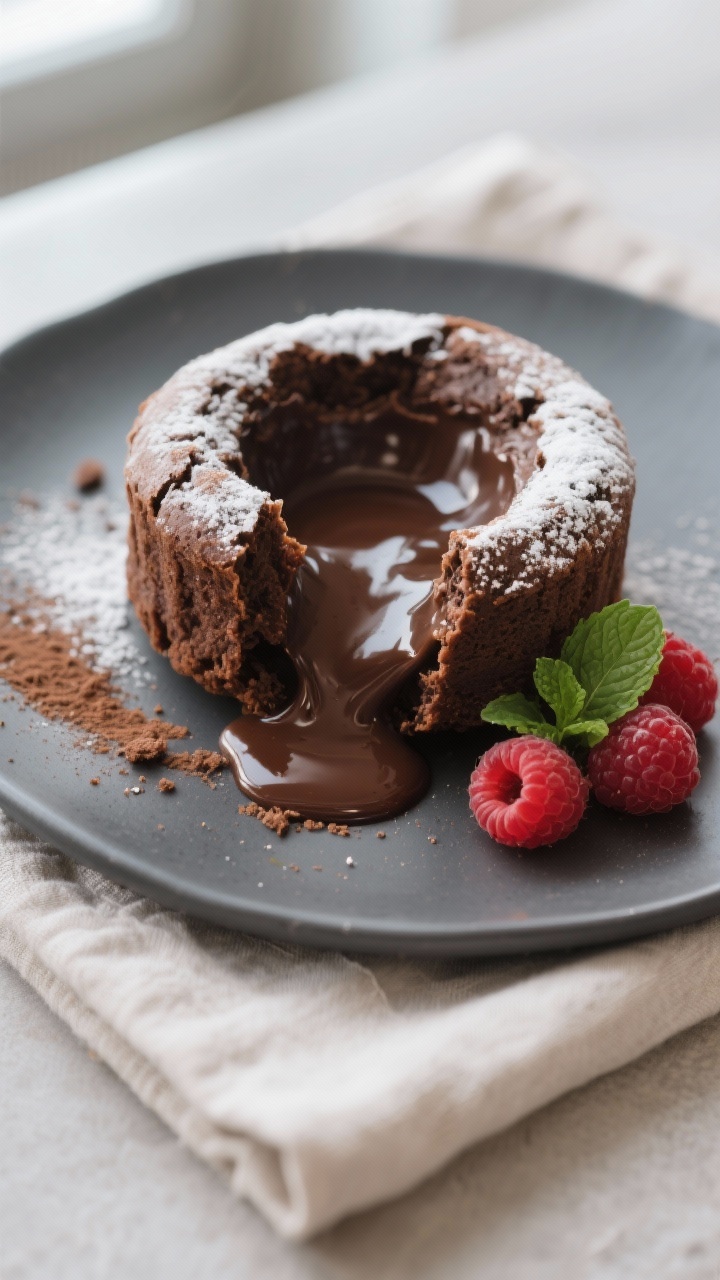
Imagine a warm, single-serve cake with a soft, fudgy center that flows like melted chocolate when you cut into it. Mini chocolate lava cakes feel fancy, but they’re surprisingly quick and easy to make at home. You don’t need special equipment, just a muffin pan or a few small ramekins.
This recipe relies on basic pantry staples and comes together in about 30 minutes. Serve them for date night, birthdays, or any time you want something decadent without the fuss.
What Makes This Recipe So Good
- Gooey center, crisp edges: The outside bakes into a tender shell while the center stays luscious and molten.
- Fast and simple: From start to finish, you can have dessert on the table in under half an hour.
- Small-batch friendly: This recipe makes mini cakes, so it’s perfect for portion control or smaller gatherings.
- Flexible baking: Use ramekins, a muffin tin, or even silicone molds.
- Restaurant-level results: No complicated steps, but the payoff feels special.
Ingredients
- 4 ounces (115 g) semi-sweet chocolate, chopped (or use good-quality chocolate chips)
- 1/2 cup (115 g) unsalted butter, plus extra for greasing
- 1/2 cup (100 g) granulated sugar
- 2 large eggs
- 2 large egg yolks
- 1/4 cup (30 g) all-purpose flour
- 1/4 teaspoon fine salt
- 1 teaspoon pure vanilla extract
- Optional for serving: powdered sugar, fresh berries, whipped cream, or vanilla ice cream
- Optional for preparing molds: 1 tablespoon cocoa powder (for dusting after greasing)
Step-by-Step Instructions
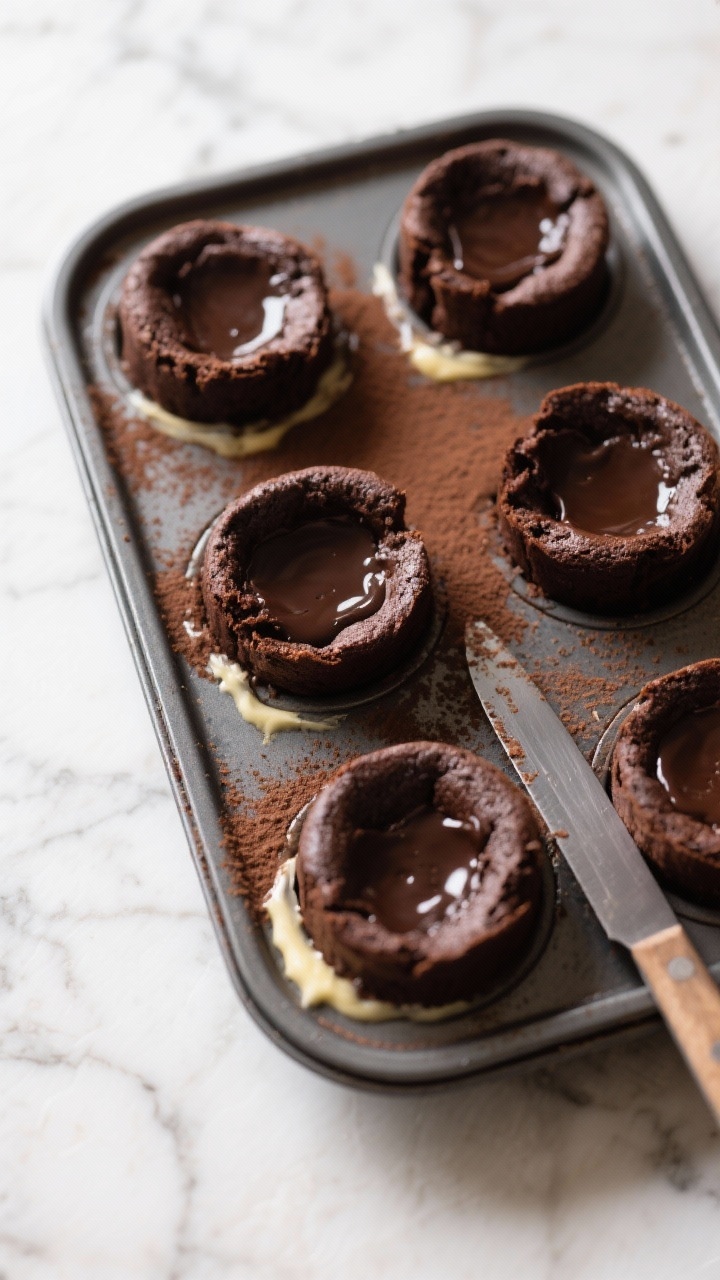
- Prep the pans: Heat your oven to 425°F (220°C). Generously butter 6 cups of a standard muffin pan or 6 small ramekins (4-ounce capacity).
Dust with cocoa powder, tapping out the excess. This helps the cakes release cleanly.
- Melt chocolate and butter: Combine the chopped chocolate and butter in a heatproof bowl. Melt over a gently simmering pot of water (double-boiler style), stirring until smooth.
You can also microwave in 20–30 second bursts, stirring between each, until glossy.
- Whisk in sugar: Remove the bowl from heat and whisk in the granulated sugar until fully blended. The mixture will look thick and shiny.
- Add eggs and yolks: Whisk in the eggs and egg yolks until the batter is smooth and satiny. Don’t overbeat; just mix until combined.
- Flavor and flour: Stir in the vanilla and salt.
Sift the flour over the batter and fold gently with a spatula until no streaks remain.
- Fill the molds: Divide the batter evenly among the prepared cups, filling each about 3/4 full.
- Bake: Bake for 7–9 minutes in a muffin pan or 9–11 minutes in ramekins. The edges should look set and slightly puffed, but the centers should still jiggle when you gently nudge the pan.
- Rest briefly: Let the cakes sit for 1–2 minutes. This helps them finish setting while staying molten inside.
- Invert and serve: Run a thin knife around the edges.
Place a small plate on top of each mold and flip to release. Dust with powdered sugar and add berries, whipped cream, or a scoop of vanilla ice cream. Serve immediately.
Storage Instructions
These cakes are best served right away for the gooey center.
If you have leftovers, store them covered in the fridge for up to 2 days. Reheat gently in the microwave for 10–15 seconds to warm the center. The middle won’t be as molten as freshly baked, but it will still be soft and chocolatey.
For make-ahead prep, you can refrigerate the filled molds for up to 24 hours.
Bake directly from the fridge, adding 1–2 minutes to the baking time. You can also freeze unbaked batter in the greased and dusted molds, wrapped well; bake from frozen and add 3–4 minutes, watching for set edges and soft centers.
Why This is Good for You
- Built-in portion control: Mini cakes help you enjoy a rich dessert without overdoing it.
- Quality ingredients: Using real chocolate and butter gives better flavor, so you need fewer add-ins and less sugar to taste satisfying.
- Mindful indulgence: A small, high-quality treat can curb cravings and reduce the urge to snack later.
- Customizable sweetness: You can adjust the chocolate type (semi-sweet vs. dark) to control overall sugar.
What Not to Do
- Don’t overbake: Even one extra minute can turn the center cakey. Look for set edges and a soft, jiggly middle.
- Don’t skip greasing and dusting: Lava cakes can stick easily; butter and cocoa powder help them release cleanly.
- Don’t use low-quality chocolate: The chocolate is the star.
Choose a brand you love to eat on its own.
- Don’t overmix after adding flour: Gentle folding keeps the texture tender.
- Don’t walk away: These bake fast. Stay close to the oven and start checking early.
Recipe Variations
- Dark chocolate: Swap semi-sweet for 70% dark chocolate for a deeper, less sweet flavor.
- Salted caramel core: Spoon a teaspoon of thick caramel into the center of each filled mold, then cover with batter.
- Peanut butter swirl: Add a small dollop of creamy peanut butter in the middle before baking.
- Espresso kick: Stir in 1 teaspoon instant espresso powder with the vanilla to enhance chocolate notes.
- Orange zest: Fold in 1 teaspoon fresh orange zest for a bright, citrusy twist.
- Gluten-free: Use a 1:1 gluten-free flour blend or replace flour with 2 tablespoons almond flour for a fudgier texture.
- Dairy-free: Use a dairy-free butter substitute and a dairy-free chocolate brand; results will still be rich.
FAQ
How do I know when the lava cakes are done?
The edges should look set and slightly firm, while the centers remain soft and jiggly. If the tops look shiny and the middle dips a bit when tapped, they’re likely perfect.
Start checking at the earliest baking time and watch closely.
Can I use a muffin pan instead of ramekins?
Yes, a muffin pan works well and bakes faster. Grease and dust each cup thoroughly. Begin checking at 7 minutes, since the smaller volume sets quickly.
What kind of chocolate is best?
Use good-quality semi-sweet chocolate in the 55–60% range for balanced sweetness.
If you prefer darker flavor, choose around 70%. Avoid compound chocolate or candy melts; they won’t give the same rich texture.
Why did my cakes stick to the pan?
They likely needed more greasing and dusting, or they were left to cool too long. Next time, use a generous coat of butter and cocoa powder, then invert after a short 1–2 minute rest.
Running a thin knife around the edges helps too.
Can I make the batter ahead?
Yes. Portion the batter into prepared molds, cover, and refrigerate for up to 24 hours, or freeze. Bake directly from cold or frozen, adding a few minutes to the time and checking for set edges and a soft center.
How do I reheat leftovers?
Microwave one cake for 10–15 seconds.
It won’t be as molten as fresh, but it will still be warm and tender. Avoid long reheats or the center will fully cook.
In Conclusion
Mini chocolate lava cakes bring big dessert energy with minimal effort. With a short ingredient list, fast bake time, and that unmistakable gooey center, they’re a reliable showstopper.
Keep a bar of good chocolate in your pantry and you’re always minutes away from something special. Serve them warm, dusted with powdered sugar, and watch the smiles as the chocolate center flows. Simple, rich, and always satisfying.