Let me guess—you grabbed a tub of cottage cheese, checked the ingredient list, and thought, “Why does this need so many things?” Same here. That exact moment pushed me to start making cottage cheese at home, and honestly, I never looked back. Homemade cottage cheese tastes fresher, feels lighter, and gives you full control over what ends up in your bowl.
If you love simple, high-protein foods and enjoy a little kitchen experimenting, this guide fits you perfectly. Ever wondered how milk magically turns into cheese with just a few steps? Let’s walk through it together like we’re hanging out in the kitchen.
Why Make Cottage Cheese at Home Instead of Buying It?
Store-bought cottage cheese works fine, but homemade feels different in the best way.
You Control the Ingredients
When you make cottage cheese at home, you use milk, acid, and salt. That’s it. No gums, stabilizers, or mystery extras trying to act fancy.
The Flavor Tastes Cleaner and Fresher
Homemade cottage cheese tastes mild, milky, and fresh, not sour or overly processed. I noticed the difference immediately the first time I tried it.
You Save Money Over Time
Milk costs less than specialty cottage cheese brands. If you eat cottage cheese often, homemade pays off quickly.
Why pay more for something you can make better yourself?
What Exactly Is Cottage Cheese Anyway?
Cottage cheese belongs to the fresh cheese family. It doesn’t age, and it doesn’t need complicated equipment.
How It Forms
You heat milk, add acid, and watch curds separate from whey. Those curds become cottage cheese after rinsing and seasoning.
Why It Stays Soft
Unlike hard cheeses, cottage cheese skips pressing and aging. That keeps the curds tender and slightly bouncy.
It’s basically cheese without the drama.
What You Need to Make Cottage Cheese at Home
You don’t need fancy tools or special training.
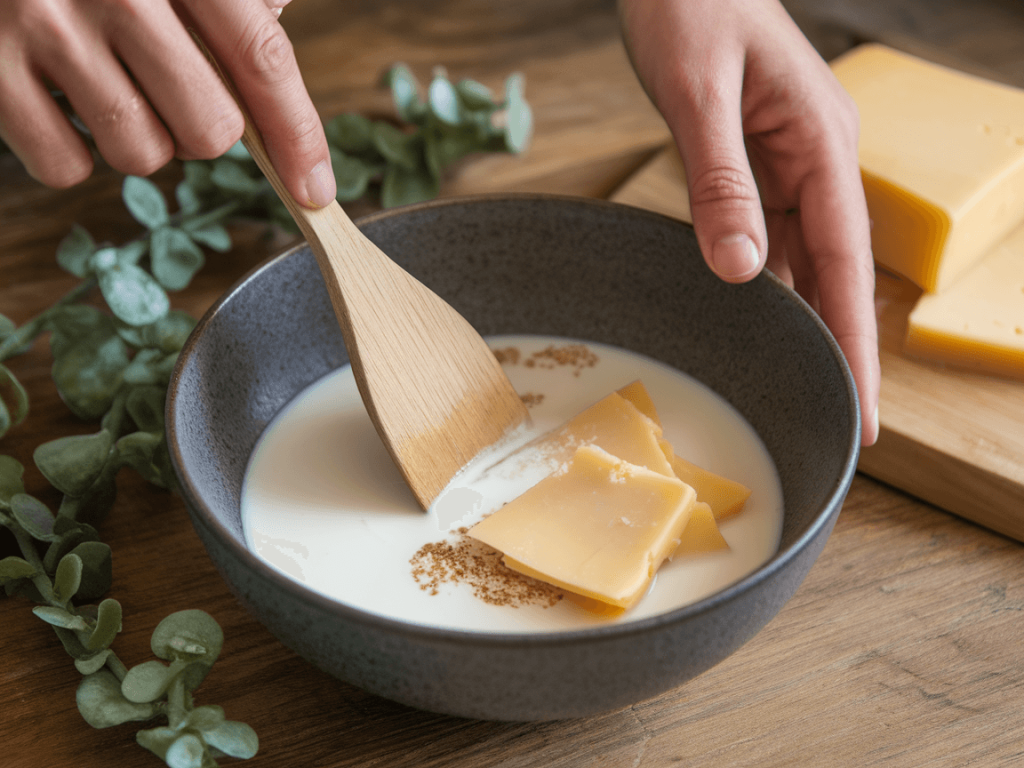
Basic Ingredients
- Whole milk (pasteurized, not ultra-pasteurized)
- White vinegar or lemon juice
- Salt
- Optional cream or milk for texture
Basic Equipment
- Large pot
- Thermometer (helpful but optional)
- Fine mesh strainer or cheesecloth
- Spoon
FYI, once you make this once, it feels ridiculously easy.
Choosing the Right Milk Matters More Than You Think
Milk choice directly affects texture and yield.
Best Milk Options
- Whole milk creates the creamiest curds.
- 2% milk works but feels slightly drier.
- Raw milk works beautifully if you can access it safely.
Milk to Avoid
- Ultra-pasteurized milk struggles to form curds.
- Plant-based milk won’t work here.
IMO, whole milk delivers the best balance of flavor and texture.
Step-by-Step: How to Make Cottage Cheese at Home
This process looks scientific but feels simple once you start.
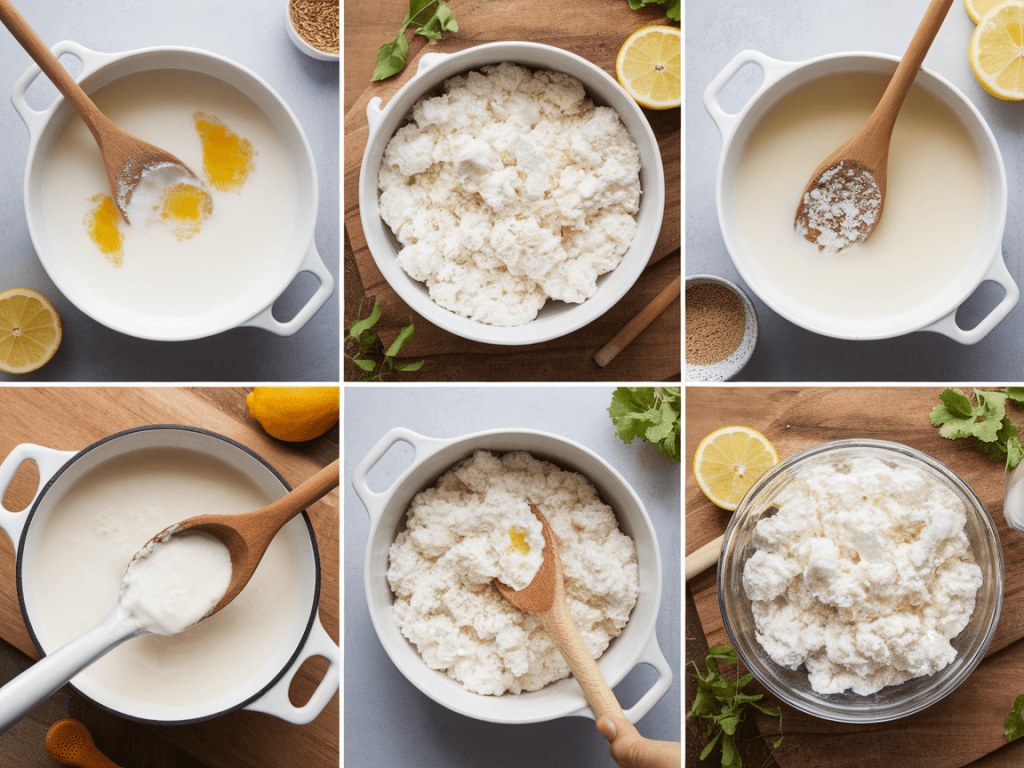
Step 1: Heat the Milk
Pour milk into a pot and heat it slowly to 190°F (88°C). Stir gently and avoid boiling.
You’ll notice steam and tiny bubbles forming. That’s your cue.
Step 2: Add Acid
Remove the pot from heat and stir in vinegar or lemon juice. The milk separates into curds and whey almost instantly.
Watching curds form feels weirdly satisfying, right?
Step 3: Let It Rest
Cover the pot and let it sit for 10 minutes. This gives curds time to fully form and firm up.
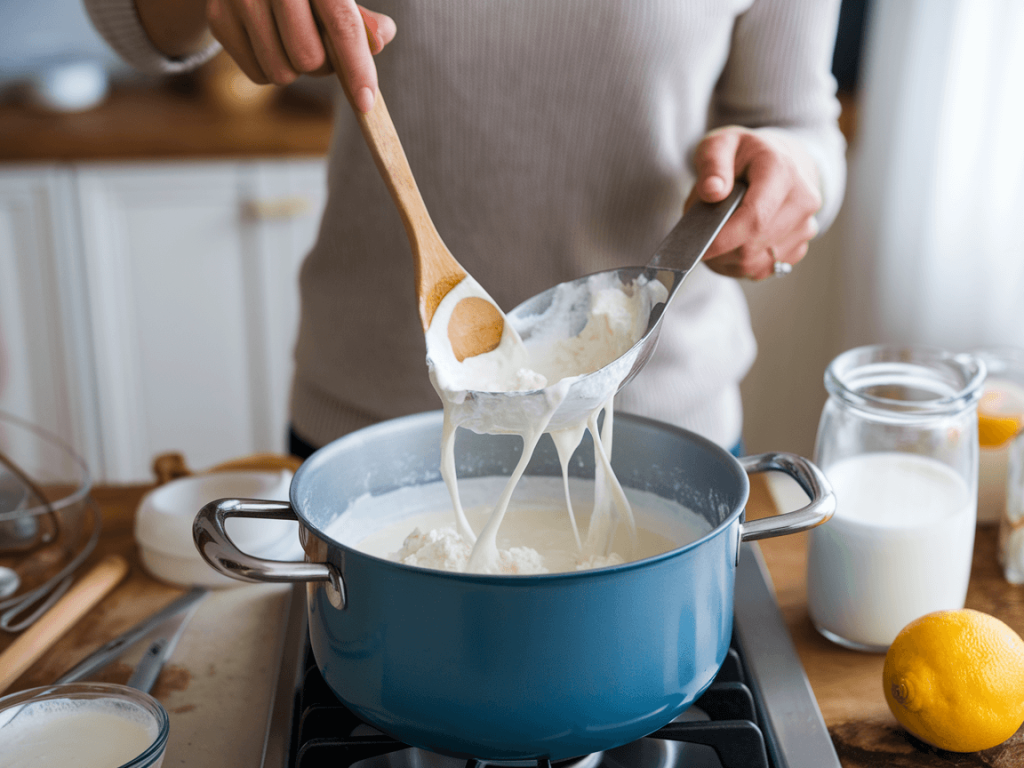
Step 4: Strain the Curds
Pour the mixture through a strainer or cheesecloth. Catch the curds and let the whey drain.
Step 5: Rinse the Curds
Rinse curds gently under cold water. This step removes excess acid and keeps the cheese mild.
Step 6: Season and Finish
Add salt and a splash of milk or cream. Stir gently until you reach your preferred texture.
Congratulations—you just made cottage cheese 🙂
Understanding Curds and Whey (Without Overthinking It)
Curds and whey sound fancy, but they behave simply.
- Curds become the cheese.
- Whey contains protein and nutrients.
You can save whey for smoothies, soups, or baking. I freeze mine in small containers and feel very resourceful afterward.
How to Customize Texture and Creaminess
This part lets you play around and make it your own.
For Creamier Cottage Cheese
- Add more milk or cream.
- Stir gently to avoid breaking curds.
For Drier Cottage Cheese
- Drain longer.
- Skip added liquid.
Commercial brands often add stabilizers to control texture. You don’t need them here.
Flavor Variations You’ll Want to Try
Plain cottage cheese works great, but flavor makes it fun.
Savory Ideas
- Fresh herbs
- Black pepper
- Garlic powder
- Olive oil drizzle
Sweet Ideas
- Honey
- Cinnamon
- Vanilla extract
I love adding a pinch of salt and cracked pepper for everyday use.
Common Mistakes and How to Avoid Them
I learned these lessons the hard way.
- Overheating milk causes tough curds.
- Skipping the rinse creates sour cheese.
- Using ultra-pasteurized milk ruins curd formation.
- Stirring aggressively breaks curds into mush.
Slow and gentle wins every time.
How Long Homemade Cottage Cheese Lasts
Fresh cheese doesn’t last forever, but it holds up well.
Storage Tips
- Store in an airtight container.
- Keep refrigerated at all times.
- Use within 5 to 7 days.
Homemade cottage cheese tastes best in the first few days anyway.
Is Homemade Cottage Cheese Healthier?
Short answer: yes.
Health Benefits
- High protein
- Lower sodium (you control it)
- No additives
- Calcium-rich
When I make it at home, I notice how clean and light it feels. No bloating, no weird aftertaste.
How Homemade Cottage Cheese Compares to Store-Bought
Let’s be honest.
Homemade Wins On
- Freshness
- Ingredient control
- Custom texture
- Flavor
Store-Bought Wins On
- Convenience
- Shelf life
If you value food quality, homemade wins. If you value speed, store-bought still has a place.
Using Homemade Cottage Cheese in Recipes
Once you make it, you’ll want to use it everywhere.
- Breakfast bowls
- Lasagna
- Pancakes
- Dips
- Smoothies
Ever noticed how homemade ingredients inspire more cooking? Same effect here.
Troubleshooting: When Things Don’t Go Perfectly
Things happen. Don’t panic.
- Curds too small? Heat too high.
- Cheese tastes sour? Rinse longer.
- Texture feels grainy? Add more liquid and stir gently.
Every batch teaches you something new.
Is Making Cottage Cheese Worth the Effort?
Absolutely, especially if you eat it regularly.
The process takes about 30 minutes, and most of that time feels hands-off. You get fresh cheese, fewer ingredients, and bragging rights. Not bad for something that started as milk.
Final Thoughts
Making cottage cheese at home feels empowering in the simplest way. You turn basic ingredients into fresh, healthy cheese without stress or fancy tools. That kind of kitchen skill sticks with you.
If you love cottage cheese and care about what you eat, try making it once. Even if you go back to store-bought later, you’ll never see that plastic tub the same way again. And who knows—you might just become the person who casually says, “Oh yeah, I make my own cottage cheese