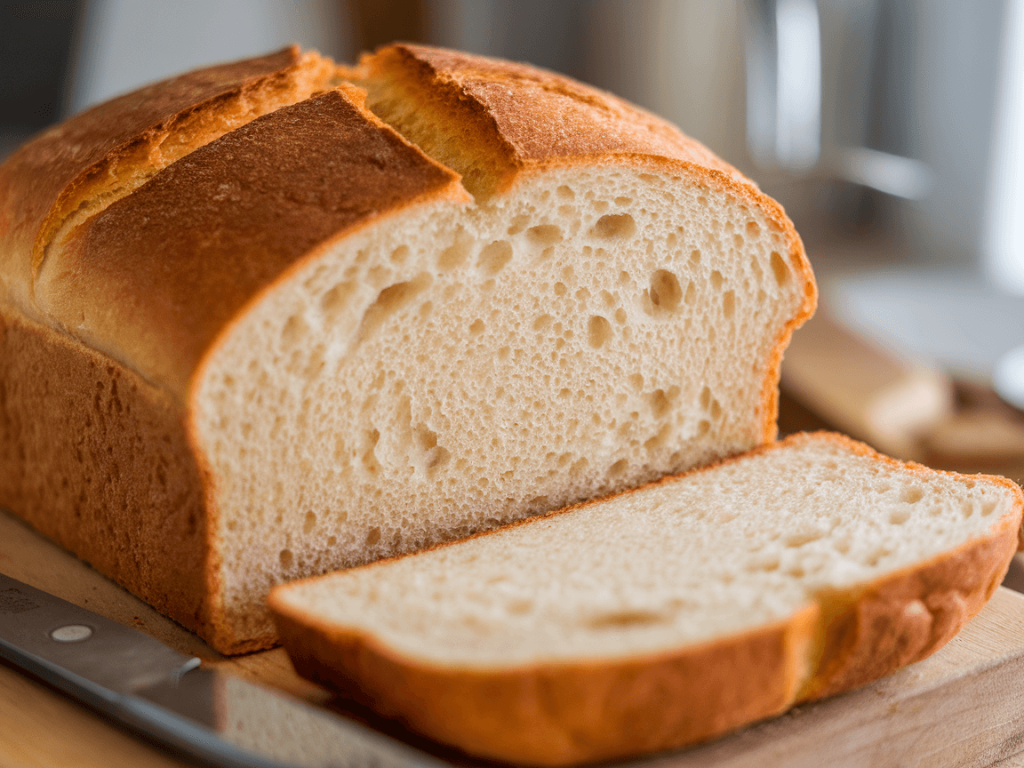
Let’s be real—nothing beats fresh, homemade sandwich bread. The kind that’s soft, fluffy, and just the right balance between chewy and pillowy. You know the one that makes any sandwich instantly feel gourmet—even if you’re just slapping peanut butter and jelly on it. I remember the first time I tried to make my own sandwich bread; it was a disaster. The dough refused to cooperate, and my first loaf came out looking like a sad brick. But after a few tries, a little patience, and a lot of taste-testing (someone’s gotta do it, right?), I nailed it.
Now, I’m going to share how to make sandwich bread at home that’s so good, you might never go back to store-bought. No weird additives, no preservatives—just soft, fluffy, and absolutely delicious bread.
Why Homemade Sandwich Bread Is Worth It
Before we get to the recipe, let’s talk about why making your own bread is a total game-changer:
- Freshness you can taste: Store-bought bread can’t compete with warm, just-out-of-the-oven loaves.
- Customizable flavor: Add honey, herbs, or whole grains—your bread, your rules.
- No mystery ingredients: You control what goes in; no funky preservatives or stabilizers.
- Satisfying process: There’s something magical about kneading dough and watching it rise.
Ever bitten into a sandwich made with homemade bread? Instant upgrade. Trust me, it’s worth the extra effort.
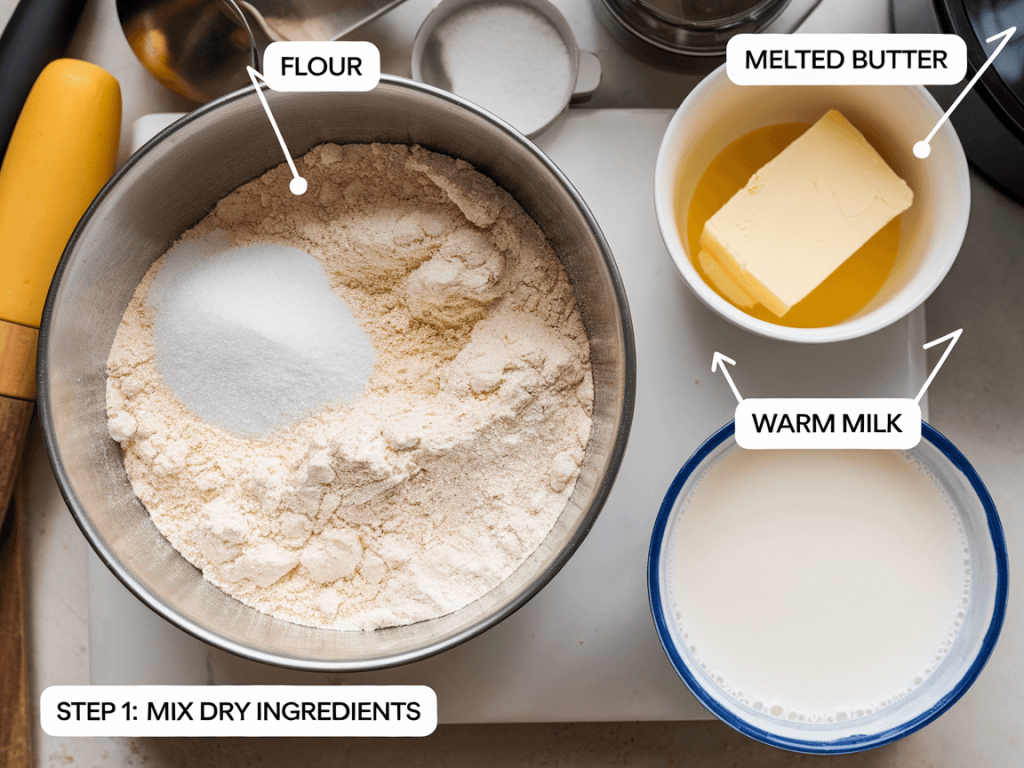
Ingredients You’ll Need
One of the best things about sandwich bread is that it’s simple and straightforward.
For the Dough:
- 4 cups all-purpose flour
- 2 ¼ teaspoons instant yeast (1 packet)
- 2 tablespoons sugar or honey
- 1 ½ teaspoons salt
- 1 ½ cups warm milk (not too hot, or it’ll kill the yeast!)
- 3 tablespoons unsalted butter, softened
Optional Add-Ins:
- 1 tablespoon olive oil for extra softness
- Seeds like sesame or poppy for topping
Pro Tip: Use fresh yeast and quality milk and butter—it really makes a difference in texture and flavor.
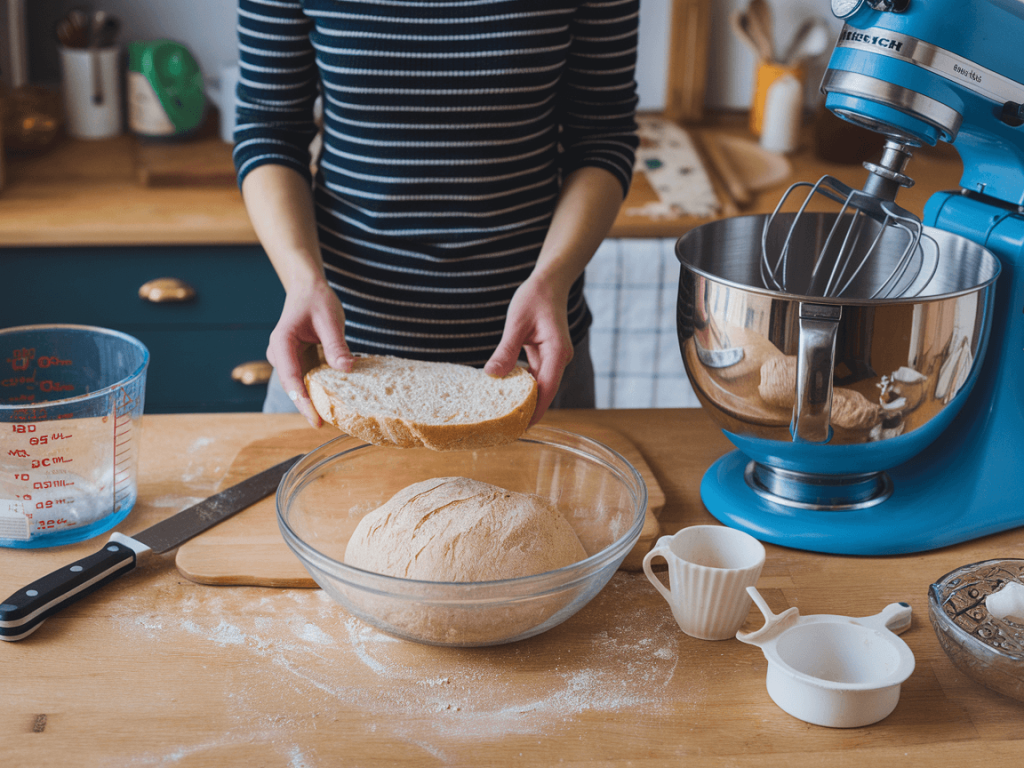
Step-by-Step Instructions
Step 1: Activate the Yeast
Start by combining warm milk, sugar, and yeast in a bowl. Let it sit for 5–10 minutes until it’s frothy. This tells you the yeast is alive and ready to work.
Ever seen yeast foam up like little bubbles of happiness? It’s oddly satisfying—and kind of mesmerizing.
Step 2: Mix the Dough
In a large mixing bowl, combine flour and salt. Add the yeast mixture and softened butter. Mix until it forms a sticky dough.
- Knead by hand for 8–10 minutes, or use a stand mixer with a dough hook.
- The dough should be soft, slightly tacky, but manageable.
FYI: If it’s too sticky, sprinkle a bit more flour. Too dry? Add a teaspoon of milk at a time.
Step 3: First Rise
Place the dough in a greased bowl, cover with a damp cloth, and let it rise in a warm spot for 1–2 hours, or until it doubles in size.
Pro Tip: I sometimes preheat my oven to 100°F, turn it off, and let the dough rise inside. Works every time.
Step 4: Shape the Loaf
Punch down the dough gently to release air. Then:
- Shape it into a rectangle or oval.
- Place it in a greased loaf pan (9×5 inches works well).
- Smooth the top lightly with your hands.
Optional: Brush with milk or butter to get a golden crust later.
Step 5: Second Rise
Cover the loaf loosely and let it rise again for 30–45 minutes. This step ensures your sandwich bread comes out soft and fluffy.
Ever wondered why bakery bread is so light? Yep, that second rise is the secret.
Step 6: Bake the Bread
Preheat your oven to 375°F (190°C).
- Bake for 25–30 minutes, or until the top is golden brown.
- Optional: Brush with melted butter immediately after baking for a soft, shiny crust.
Pro Tip: Don’t skip this step—brushing butter makes your bread irresistible and slightly decadent.
Tips for Perfect Sandwich Bread
Want your bread light, fluffy, and perfect for slicing? Here’s what works:
- Warm liquids: Activate yeast properly and speed up rising.
- Don’t over-flour: Keeps your bread soft.
- Second rise: Critical for fluffiness.
- Butter or oil: Locks in moisture for a tender loaf.
- Check oven temperature: Too hot? Crust forms too fast; too low? Bread stays pale.
Rhetorical Question: Isn’t it crazy how a few small steps completely change bread from “meh” to “wow”?
Flavor Variations You’ll Love
Sandwich bread doesn’t have to be boring. Here are some tweaks I love:
1. Honey Sandwich Bread
- Add 2 tablespoons of honey to the dough for a slightly sweet flavor.
- Perfect for breakfast sandwiches or PB&J.
2. Whole Wheat Twist
- Replace half the flour with whole wheat flour.
- Slightly nutty and more filling, still soft and fluffy.
3. Garlic & Herb
- Mix minced garlic and herbs into the dough for savory sandwiches.
- Works amazing for paninis.
4. Seeded Delight
- Sprinkle sesame, poppy, or sunflower seeds on top before baking.
- Adds texture, flavor, and makes it look fancy.
Rhetorical Question: Isn’t it fun that you can transform one basic dough into so many delicious options?
Serving Suggestions
Sandwich bread is versatile AF:
- Classic sandwiches: Ham, turkey, cheese, or PB&J.
- Toasted delight: Toast slices, add butter or jam, and you’re set.
- Bread for sides: Great with soups, stews, or chili.
- Snack straight from the loaf: I’ve definitely eaten half a loaf just because it smells amazing.
FYI: Homemade bread takes any meal to the next level, no exaggeration.
Storing and Reheating
Don’t let your bread go to waste!
- Room temperature: Store in an airtight bag or container for 2–3 days.
- Refrigerator: Wrap well; lasts up to a week.
- Freezer: Slice first, then freeze for up to 3 months.
- Reheating: Toast or warm in the oven to restore freshness.
Pro Tip: Slice and freeze immediately—less temptation to eat the entire loaf at once. 😉
Common Mistakes to Avoid
Even the pros have hiccups. Here’s what to watch out for:
- Skipping the second rise: Leads to dense bread.
- Too much flour: Makes loaf heavy and dry.
- Over-baking: Bread becomes crusty and dry inside.
- Under-seasoning: A pinch of salt goes a long way in flavor.
FAQ About Homemade Sandwich Bread
Q: Can I make sandwich bread without milk?
A: Yes! Use water instead, but milk makes the bread softer and richer.
Q: Can I use whole wheat flour?
A: Definitely. Replace up to half of the all-purpose flour for a lighter texture.
Q: How do I keep bread soft for days?
A: Store in an airtight bag, avoid the fridge, or freeze slices and thaw as needed.
Q: Can I make bread in a bread machine?
A: Absolutely! Follow your machine’s instructions for basic white bread.
Personal Tips for Extra-Soft Bread
Over time, I’ve found a few tricks that make sandwich bread exceptionally soft and pillowy:
- Butter or oil in the dough: Locks in moisture.
- Warm, cozy rising environment: Yeast loves warmth.
- Brush with butter post-bake: Adds flavor and soft crust.
- Don’t over-knead: Dough should be smooth but not stiff.
Ever noticed how small tweaks like this turn bread from “meh” to bakery-level? Totally worth it.
Why Homemade Sandwich Bread Rocks
Let’s face it, homemade sandwich bread is more than just a loaf:
- Flavor: You control ingredients—no preservatives or weird additives.
- Texture: Soft, fluffy, and perfectly sliceable.
- Customizable: Sweet, savory, seeded—you name it.
- Satisfying: Nothing beats pulling a golden loaf out of the oven.
IMO, homemade bread makes any sandwich feel gourmet without the fancy price tag.
Final Thoughts
Making soft, fluffy, and versatile sandwich bread at home is easier than you think. With a few simple ingredients, a little patience, and some love, you can create bread that beats store-bought any day.
So go ahead—mix, knead, watch it rise, and bake. Slice it, toast it, sandwich it, or just snack straight from the loaf. Homemade bread isn’t just food; it’s comfort, flavor, and pride all in one golden crust.
Remember: Baking bread isn’t just about feeding yourself—it’s about the joy and satisfaction of creating something amazing from scratch. And homemade sandwich bread? That’s basically happiness you can slice.