Let’s be real—cheese sticks are the ultimate snack. They’re crispy, gooey, and basically engineered to make your taste buds do a happy dance. 😋 Ever tried to make them at home and ended up with a sad, melted mess instead? Yeah, I’ve been there. But after a few experiments (and a tiny kitchen disaster or two), I figured out how to get them just right—crispy on the outside, melty on the inside, and so addictive that you’ll forget about ordering takeout.
So, if you’re ready to upgrade your snack game and maybe impress a few friends with your culinary skills, let’s talk how to make cheese sticks the easy way.

Why Homemade Cheese Sticks Are Worth It
Better Than Frozen, IMO
Look, frozen cheese sticks have their place, but nothing beats fresh, homemade cheese sticks. They’re crispy, ooze melty cheese, and you get to customize them. Ever wondered why restaurant cheese sticks taste so much better? It’s all about the coating and frying technique.
- Control the crunch: You can make them extra crispy or just lightly golden.
- Customize the flavor: Add garlic powder, paprika, or Italian herbs to the coating.
- Cheese freedom: Use mozzarella, cheddar, or even a combo. Don’t limit yourself!
Honestly, once you taste a perfect homemade cheese stick, those freezer ones look sad in comparison.
Ingredients You’ll Need
Making cheese sticks doesn’t require a degree in culinary arts. FYI, your pantry probably already has most of this:
- 8 oz mozzarella cheese (string cheese works too, but blocks give more control)
- 1 cup all-purpose flour
- 2 large eggs
- 2 cups breadcrumbs (panko works best for crunch)
- 1 teaspoon salt
- 1/2 teaspoon black pepper
- Optional: garlic powder, paprika, Italian seasoning
- Oil for frying (vegetable, canola, or sunflower)
That’s it. Simple, right? And trust me, these few ingredients will transform into snack-time magic.
Step-by-Step Guide to Perfect Cheese Sticks
Alright, now comes the fun part. No guessing games here—just crispy, gooey success.
Step 1: Prepare the Cheese
- Cut your mozzarella into sticks, roughly 3–4 inches long and 1/2 inch thick.
- Lay them out on a plate and freeze for at least 30 minutes. This is crucial—frozen cheese melts slower and gives you that perfect gooey center without turning into a puddle of cheese soup.
Ever skipped this step? Yeah, I won’t make that mistake twice. You’ll end up with sad, gooey blobs instead of actual sticks.
Step 2: Set Up Your Coating Station
Think of this like a mini assembly line:
- Flour: Place it in a shallow dish and season with a pinch of salt and pepper.
- Eggs: Beat them in another dish.
- Breadcrumbs: Mix breadcrumbs with any optional seasonings (garlic, paprika, herbs).
Pro tip: Use panko breadcrumbs if you want extra crunch. Trust me, your taste buds will thank you.
Step 3: Coat the Cheese Sticks
Here’s the foolproof method:
- Roll each cheese stick in flour. Make sure it’s coated evenly.
- Dip it into the beaten eggs.
- Coat thoroughly with breadcrumbs.
- Double-dip for extra crunch: Egg again, then breadcrumbs. Yes, it’s worth it.
This double-coating step is the secret to restaurant-style cheese sticks. You’ll see why when you bite into them.
Step 4: Fry Like a Pro
- Heat oil in a deep pan or skillet to 350°F (175°C).
- Fry sticks in small batches, 2–3 minutes each side, until golden brown.
- Remove with a slotted spoon and drain on paper towels.
Ever wondered why some homemade cheese sticks burst open? Usually, it’s because the oil is too hot or the cheese isn’t frozen. Follow these steps, and your sticks will stay intact every time.
Step 5: Serve & Enjoy
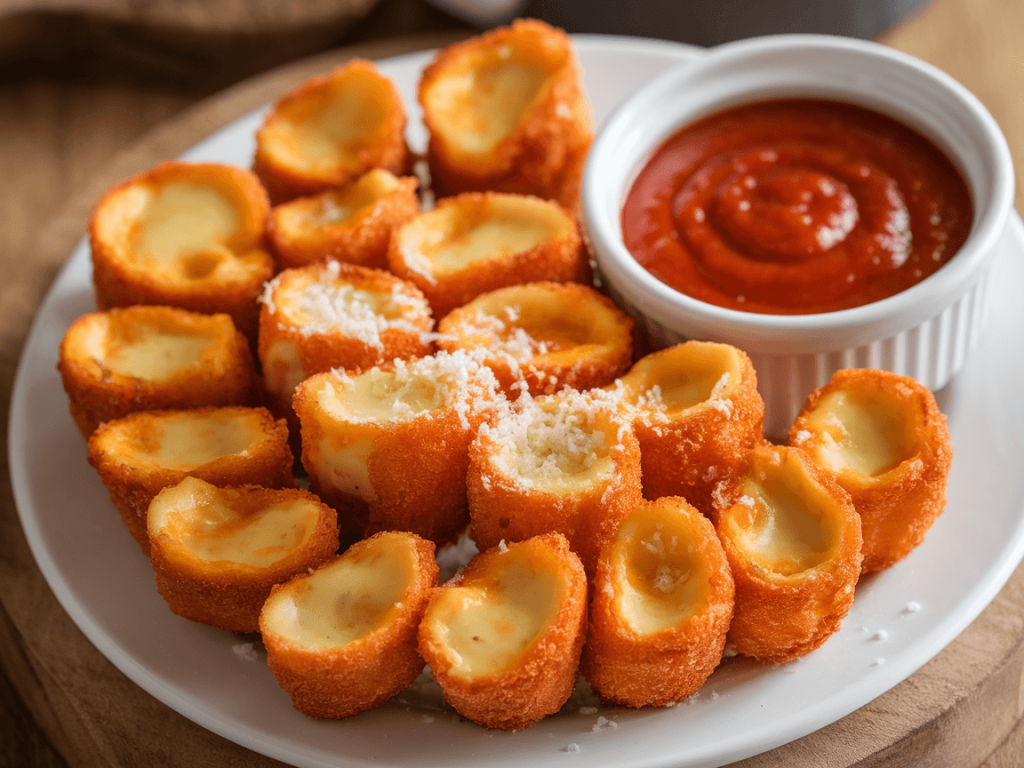
Serve hot with marinara sauce, ranch, or even honey mustard. Seriously, they’re best eaten immediately. That first bite? Crispy shell, molten cheese center… pure snack-time bliss.
Oven-Baked Cheese Sticks: A Healthier Option
Not feeling fried? No worries. You can make oven-baked cheese sticks that are still crispy and melty:
- Preheat oven to 425°F (220°C).
- Line a baking sheet with parchment paper.
- Prepare cheese sticks with the same coating method.
- Freeze for 15 minutes.
- Bake for 8–10 minutes, flipping halfway.
Baked cheese sticks are lighter, but IMO, they won’t be as crispy as fried ones. Still, a solid option if you’re avoiding extra oil.
Cheese Stick Variations You’ll Love
Why stop at plain mozzarella? Let’s talk fun twists:
1. Cheddar & Jalapeño
Add diced jalapeños to your cheddar sticks for a spicy surprise. Great for game day!
2. Herb-Infused
Mix Italian seasoning or garlic powder into breadcrumbs. Your kitchen will smell amazing, and flavor? Chef-level.
3. Stuffed Cheese Sticks
Add a small slice of pepperoni or ham inside before coating. It’s a mini snack explosion in every bite.
4. Sweet & Savory
Ever tried drizzling honey or maple syrup over baked sticks? Sounds weird, tastes epic. Seriously, give it a shot.
Common Mistakes & How to Avoid Them
Even cheese stick enthusiasts make rookie errors. Don’t be that person:
- Skipping freezing: Cheese melts too fast and bursts. Freeze sticks first.
- Oil too hot or cold: Too hot burns breadcrumbs; too cold makes sticks greasy. Aim for 350°F (175°C).
- Not double-coating: Single coating = sad, flimsy crust. Double-coat for crunchy perfection.
- Overcrowding the pan: Frying in batches prevents sticking and keeps temperature steady.
Following these tips will save you from disappointing, melted-cheese disasters.
My Personal Cheese Stick Story
Alright, confession time. I once tried to impress friends by making homemade cheese sticks. I thought I was a culinary genius. Half of them burst open, the oil splattered everywhere, and I had cheese sticking to the ceiling (not even kidding 😅).
But after a few tweaks—freezing the cheese, double-coating, perfect oil temp—I nailed it. That night, my friends practically fought over the last one. Moral of the story? Practice makes perfect, and cheese sticks are totally worth it.
Cheese Sticks as a Party Snack
Let’s be honest—cheese sticks are party gold. They’re finger food, shareable, and basically guaranteed to disappear fast.
- Game nights: Perfect with wings and fries.
- Movie nights: Skip popcorn; cheese sticks are the superior option.
- Kids’ parties: Healthy-ish snack disguised as a treat.
IMO, homemade cheese sticks elevate any snack table. People will think you slaved for hours, but really? You just followed a simple method.
Quick Tips for Cheese Stick Success
- Freeze first: Non-negotiable.
- Use panko breadcrumbs: Extra crunch = instant win.
- Double-dip coating: Crispy perfection.
- Fry in small batches: Keeps temperature consistent.
- Serve immediately: Cheese sticks hate being left alone.
Even if you forget one step, these tips give you the best shot at snack-time greatness.
Why Making Cheese Sticks at Home Rocks
- Cost-effective: Way cheaper than ordering a plate at a restaurant.
- Customizable: Seasonings, cheeses, and dips are all up to you.
- Fun to make: Great for cooking with friends or family.
- Impressive: People always assume it’s super fancy food.
Honestly, once you make them, you’ll wonder why you ever settled for frozen.
Pairing Ideas for Cheese Sticks
Cheese sticks don’t live in isolation—they love a good partner:
- Marinara sauce: Classic and delicious.
- Ranch dressing: Creamy and tangy.
- Honey mustard: Sweet meets savory.
- Spicy aioli: For those feeling adventurous.
Serving them with a variety of dips makes snack time interactive and way more fun.
Conclusion
So there you have it—the ultimate guide on how to make cheese sticks. Crispy, gooey, and ridiculously satisfying. Whether you fry them, bake them, or get creative with variations, these cheese sticks are guaranteed to impress.
Next time you’re craving a snack, skip the frozen section and make your own. Seriously, nothing beats the taste of fresh, melty cheese inside a crispy shell. And hey, even if your first batch isn’t perfect, you’re still eating cheese. And that, my friend, is always a win.
Remember, snack time isn’t just about eating—it’s about enjoying the process, having a little fun, and maybe laughing when cheese sticks explode a little. 😄 So grab your cheese, coat it up, fry or bake, and enjoy the crispy, gooey magic you just made.