Let’s be real—sometimes, you just want dessert that’s portable, flaky, and packed with gooey apple goodness. Enter the magical world of apple hand pies. Seriously, these little pockets of joy are like the lovechild of an apple pie and a pop tart—but way better because they’re homemade.
I remember the first time I made them. I thought, “Okay, how hard can it be?” Fast forward an hour, and I had crispy, buttery, apple-filled parcels that vanished faster than socks in a dryer. Yep, that’s the power of hand pies.
Whether you’re baking for a snack, a casual dessert, or a cute addition to a lunchbox, these easy apple hand pies hit all the right notes: flaky, sweet, and perfectly portioned.
Why Apple Hand Pies Are a Game-Changer
Flaky Pastry Meets Sweet Apple Filling
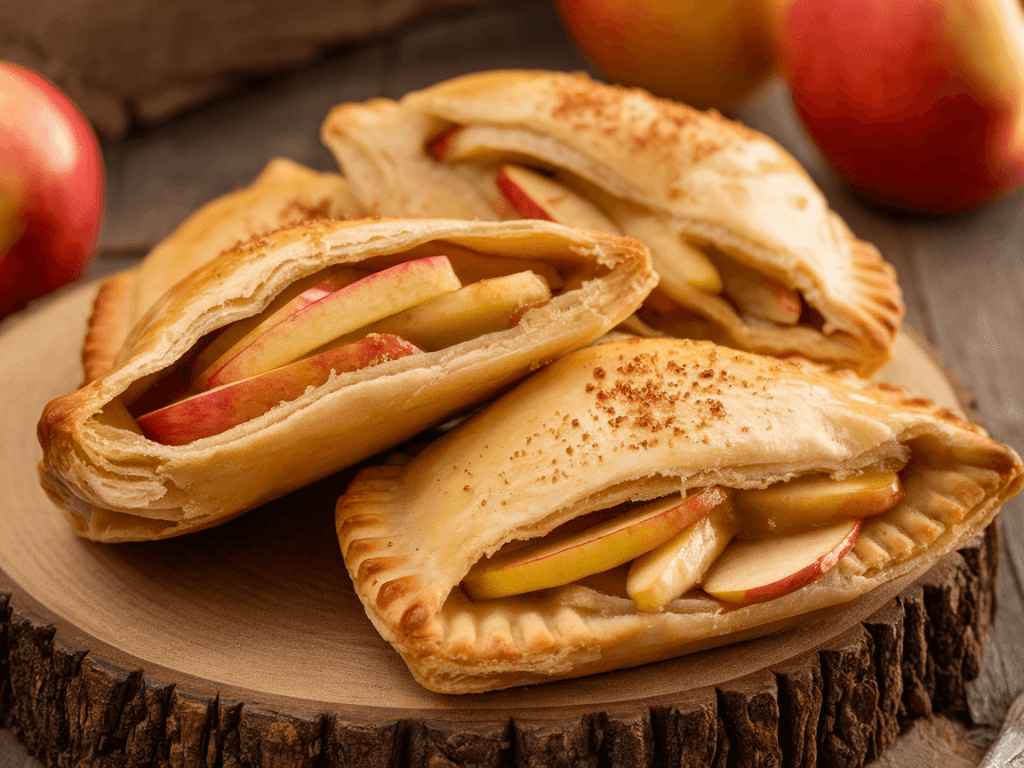
The magic of a hand pie is in the contrast between the crust and the filling. You get crispy, golden-brown pastry that shatters in your mouth, and inside? Warm, soft, cinnamon-spiced apples that practically scream, “Eat me now.”
Ever tried a soggy store-bought pie? Yeah… hand pies solve that problem. You get flaky crust every time without the soggy bottom syndrome.
Portable and Fun
Let’s face it—sometimes a regular pie is overkill. Hand pies are snack-sized, cute, and portable. Perfect for picnics, road trips, or just to sneak one while no one’s watching. FYI, I’m totally guilty of eating two in a row… or three. 🙂
Ingredients You’ll Need
Here’s a simple list of ingredients for easy apple hand pies:
For the Pastry:
- 2 1/2 cups all-purpose flour
- 1 tsp salt
- 1 tsp sugar
- 1 cup unsalted butter, cold and cut into cubes
- 1/4–1/2 cup ice water
For the Apple Filling:
- 3 medium apples, peeled, cored, and diced
- 1/4 cup granulated sugar
- 1/4 cup brown sugar
- 1 tsp cinnamon
- 1/4 tsp nutmeg
- 1 tsp lemon juice
- 1 tsp cornstarch (optional, for thicker filling)
Optional:
- 1 egg for egg wash
- Coarse sugar for sprinkling

Step-by-Step Apple Hand Pie Recipe
Making these pies is surprisingly simple. Here’s the full breakdown:
Step 1: Prepare the Pastry
- In a large bowl, mix flour, salt, and sugar.
- Cut in cold butter using a pastry cutter or your hands until the mixture resembles coarse crumbs.
- Slowly add ice water, a tablespoon at a time, until the dough holds together.
- Divide the dough into two disks, wrap in plastic, and chill for at least 30 minutes.
Pro tip: Chilling the dough helps create that ultra-flaky texture everyone dreams about.
Step 2: Make the Apple Filling
- In a medium bowl, toss diced apples with granulated sugar, brown sugar, cinnamon, nutmeg, lemon juice, and cornstarch.
- Let the mixture sit for 10 minutes to allow the flavors to meld.
I like adding a little extra cinnamon because cinnamon + apples = basically happiness in a bite.
Step 3: Assemble the Hand Pies
- Roll out the dough on a lightly floured surface to about 1/8 inch thick.
- Cut into 4×4 inch squares (or circles if you prefer).
- Spoon a small amount of apple filling into the center of each square.
- Fold the dough over the filling to make a pocket and press edges with a fork to seal.
- Brush the tops with beaten egg and sprinkle with coarse sugar.
Honestly, the assembly part is half the fun, especially when the kitchen smells like baked apples and cinnamon.
Step 4: Bake to Golden Perfection
- Preheat oven to 375°F (190°C).
- Place hand pies on a parchment-lined baking sheet.
- Bake for 25-30 minutes, or until the crust is golden and flaky.
- Let cool slightly before devouring… if you can wait that long.
Pro tip: Let them cool for at least 5-10 minutes—apple filling is lava hot otherwise.
Tips for Perfect Hand Pies
Even easy recipes can be tricky. Here’s how to avoid common pitfalls:
- Don’t overfill – too much filling = messy explosions.
- Keep dough cold – warm butter = tough crust.
- Seal edges well – prevents the filling from leaking.
- Use firm apples – Honeycrisp, Fuji, or Granny Smith work best.
I learned the hard way: one sloppy hand pie equals sticky oven and sad cleanup. Avoid it.
Flavor Variations You’ll Love
Want to switch things up? Try these creative variations:
Caramel Apple Hand Pies
- Add a drizzle of caramel sauce to the filling before sealing.
Nutty Apple Hand Pies
- Mix in chopped pecans or walnuts for extra crunch.
Spiced Apple Hand Pies
- Add allspice, ginger, or cloves for a warm, festive twist.
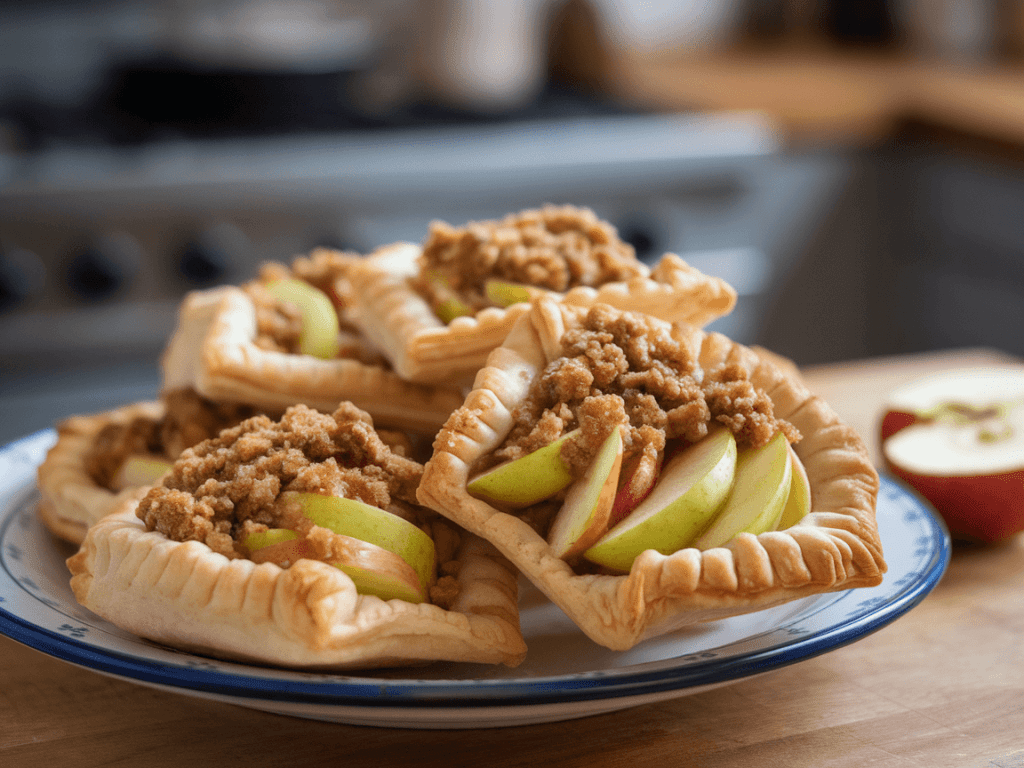
Mini Apple Hand Pies
- Make smaller versions for party snacks or lunchbox treats.
IMO, the caramel + apple version is unbeatable—it’s basically dessert in a golden pocket of heaven.
Serving Suggestions
Hand pies are super versatile. Here’s how I like to serve them:
- Warm with vanilla ice cream – because everything’s better with ice cream.
- Drizzled with caramel or chocolate sauce – optional but highly recommended.
- On-the-go snack – perfect for breakfast or a midday treat.
I personally love warm hand pies straight from the oven with a scoop of ice cream melting on top. Pure bliss.
Why Apple Hand Pies Are Perfect for Snacking
- Portable – no plate or fork needed.
- Single-serving – prevents overeating… kinda (who am I kidding?).
- Easy to customize – switch up the fruit, spices, or add chocolate.
- Impresses guests – looks fancy but is super simple.
They’re basically the ultimate snack-meets-dessert hybrid.
Common Mistakes to Avoid
Even simple recipes can go wrong. Here’s what to watch out for:
- Soggy crust – keep dough chilled and use firm apples.
- Leaking filling – don’t overfill and seal edges well.
- Overbaking – golden brown is perfect; anything darker = risk of burnt edges.
- Skipping spices – cinnamon and nutmeg elevate the flavor dramatically.
Follow these tips, and your hand pies will look like a bakery masterpiece.
My Personal Experience
The first time I made hand pies, my kitchen looked like a war zone—flour everywhere, apples spilled, and dough scraps on every surface. But the taste made up for the mess. My friends devoured them, and I got multiple requests for the recipe.
Now, hand pies are my go-to dessert for casual gatherings. They’re fast, portable, and everyone loves them. Bonus: you get to enjoy a little kitchen chaos with a delicious reward at the end.
Healthier Alternatives
Want to enjoy hand pies without guilt? Here are some healthy swaps:
- Whole wheat flour – for a slightly nuttier, fiber-rich crust.
- Coconut sugar or maple syrup – instead of granulated sugar.
- Coconut oil or applesauce – instead of butter for a lighter option.
- Reduce sugar in the filling – apples are naturally sweet.
These tweaks keep your hand pies lighter while still delicious.
Frequently Asked Questions
Q: Can I make hand pies ahead of time?
A: Totally! Assemble them and refrigerate for up to 24 hours before baking.
Q: Can I freeze hand pies?
A: Yes! Freeze before or after baking (cool completely first). Reheat in the oven for fresh-baked goodness.
Q: Which apples are best?
A: Firm, slightly tart apples like Honeycrisp, Granny Smith, or Fuji work perfectly.
Q: Can I add other fruits?
A: Absolutely! Pears, berries, or peaches make a delicious twist. Adjust sugar as needed.
Conclusion
Easy apple hand pies are the perfect mix of flaky, buttery pastry and warm, spiced apples. They’re portable, customizable, and insanely satisfying. Whether you’re baking for a snack, dessert, or a small gathering, these pies will impress anyone.
Remember: firm apples, chilled dough, and a sprinkle of cinnamon make all the difference. Serve warm, maybe with ice cream, and prepare to disappear into a cozy, apple-filled snack paradise. 🙂
So grab your rolling pin, your favorite apples, and start baking. Trust me—once you make these, they’ll become a staple in your dessert rotation.