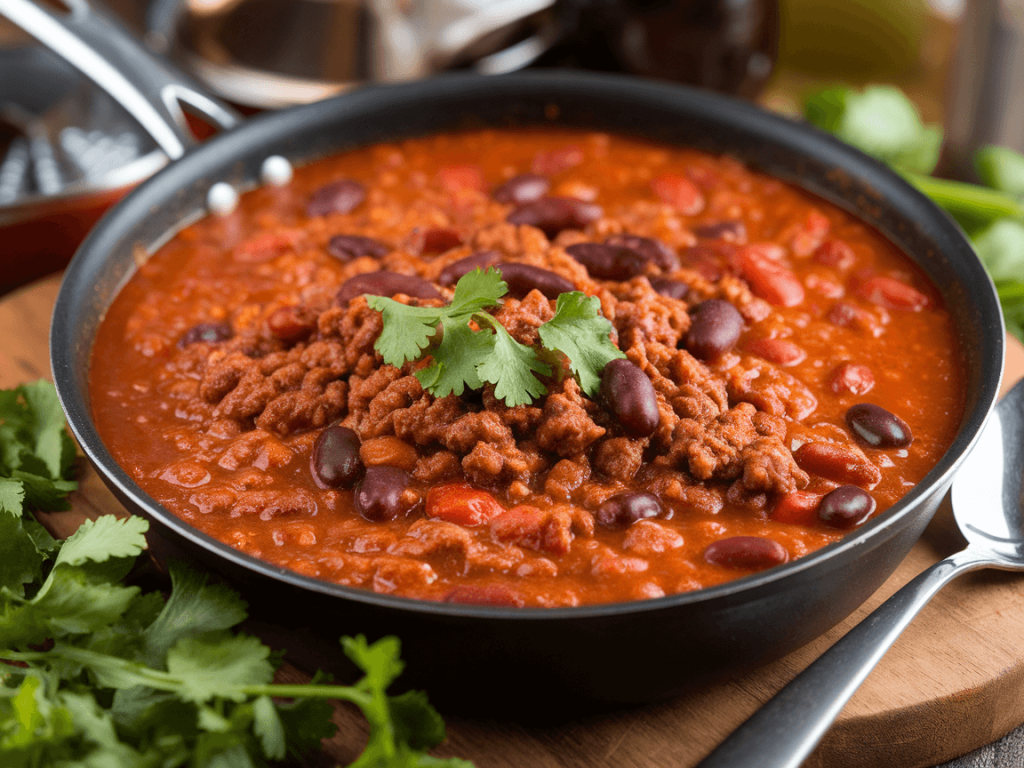
There’s nothing quite like a big, steaming bowl of chili on a chilly evening, right? It’s warm, comforting, and makes your kitchen smell like heaven. Now, when it comes to chili, I have a confession: I’ve tried my fair share of fancy recipes, but nothing beats classic chili with beans and ground beef. It’s hearty, loaded with flavor, and honestly, it’s just plain easy to make.
I still remember my first attempt at making chili from scratch. I was nervous, thinking it would turn out watery or bland. But then… boom. The rich aroma of garlic, spices, and beef filled the air, and that first taste? Pure comfort food gold. If you’ve ever wondered how to make chili that’s meaty, flavorful, and packed with beans, you’re in the right place.
Why This Chili Recipe Works
You might be thinking, “Chili is chili, right?” Not exactly. There’s a difference between a sad, watery soup and a hearty, soul-satisfying chili. Here’s why this recipe hits the mark:
- Balanced flavor: Meatiness from ground beef, creaminess from beans, and a robust spice blend.
- Hearty texture: Thick enough to eat with a spoon, not just a bowl.
- Simple and customizable: Adjust spice levels, beans, or vegetables to your taste.
Ever wondered why chili always tastes better the next day? It’s all about letting those spices and flavors marry overnight—magic happens when you give it time.
Ingredients You’ll Need
This recipe doesn’t require anything exotic. Here’s what I use:
Ground Beef
- 85% lean works best for flavor without too much grease.
- Optional: 90% lean if you want slightly less fat.
Ground beef is the heart of this chili. It gives richness and substance that beans alone just can’t replicate.
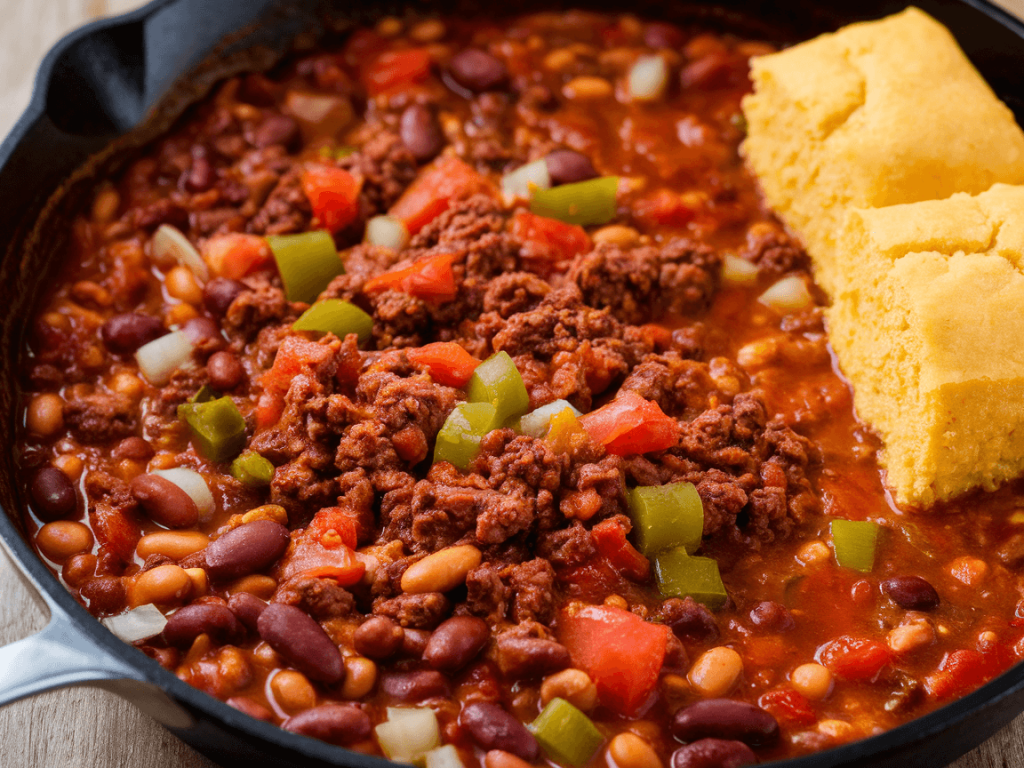
Beans
- Kidney beans: Classic and hearty.
- Black beans: Adds a creamy texture.
- Optional: Pinto beans for a slightly sweeter note.
Pro tip: Drain and rinse canned beans to prevent chili from getting too thick or starchy.
Vegetables
- Onions: Essential for that savory base.
- Bell peppers: Red, yellow, or green—colorful and sweet.
- Garlic: Always a must for depth of flavor.
Liquids
- Crushed tomatoes: Creates the thick, rich base.
- Beef or vegetable broth: Enhances savory flavor.
Spices
- Chili powder, cumin, smoked paprika, and cayenne pepper (for heat).
- Optional: Oregano, coriander, or a pinch of cinnamon for complexity.
Extras
- Tomato paste for richness.
- Worcestershire sauce for umami.
- Salt and pepper to taste.
Step-by-Step Instructions
Making this chili is easier than you think. Let’s break it down.
Step 1: Cook the Ground Beef
- Heat a large pot over medium heat.
- Add ground beef and cook until browned, breaking it up with a spatula.
- Drain excess fat if necessary.
Pro tip: Browning the meat well adds a deep, savory flavor—don’t skip this step.
Step 2: Sauté Vegetables
- Add onions, bell peppers, and garlic to the beef.
- Cook until softened, about 5–7 minutes.
Ever notice how the smell of onions and garlic cooking makes your kitchen irresistible? That’s flavor building before it even hits your taste buds.
Step 3: Add Tomatoes and Broth
- Stir in crushed tomatoes, tomato paste, and broth.
- Bring the mixture to a gentle simmer.
This step forms the rich, savory base that will soak up all those spices.
Step 4: Spice It Up
- Add chili powder, cumin, smoked paprika, and cayenne.
- Season with salt, pepper, and optional extras like oregano.
- Stir well to combine.
Rhetorical question: Ever wondered why chili always tastes bland if you skip spices? That’s the secret right there—don’t skimp on seasoning.
Step 5: Add the Beans
- Drain and rinse your beans.
- Stir them into the pot and let everything simmer for at least 20–30 minutes.
Simmering lets the beans absorb flavor, and it thickens the chili naturally.
Step 6: Taste and Adjust
- Give it a taste and adjust salt, pepper, or spice levels.
- Optional: Add a splash of lime juice for brightness or a dash of hot sauce for heat.
Final tip: Chili is all about layered flavor—don’t be afraid to tweak it as it cooks.
Tips for the Perfect Chili
Want to take your chili from good to legendary? Here’s what I’ve learned over the years:
- Brown the meat properly: It creates depth of flavor.
- Cook spices briefly before adding liquids for maximum aroma.
- Simmer low and slow: It thickens chili and blends flavors perfectly.
- Use a mix of beans: Different textures make each bite interesting.
FYI, I’ve made chili with just kidney beans before, and while tasty, mixing beans really elevates it.
Optional Add-Ins for Extra Flavor
- Corn: Adds subtle sweetness.
- Carrots: Adds texture and natural sweetness.
- Beer: A splash enhances depth and richness.
- Dark chocolate: Sounds weird, but trust me—it enhances umami.
Ever tried chocolate in chili? At first, I was skeptical, but the slight bitterness complements the spices beautifully.
Serving Suggestions
Chili with beans and ground beef is versatile—here’s how I love to serve it:
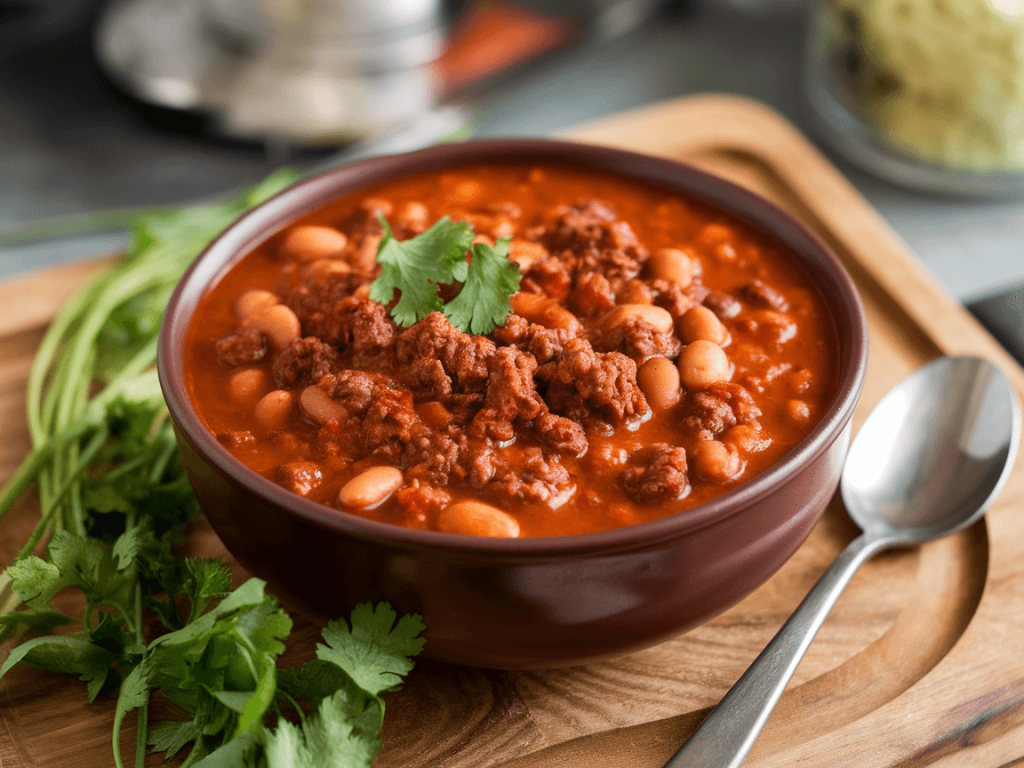
Classic Bowl
- Ladle over a bowl, top with shredded cheese, sour cream, and chopped cilantro.
Over Rice
- Perfect for a filling, hearty meal.
Chili Dogs
- Spoon chili over hot dogs and sprinkle with onions or shredded cheese.
Nachos
- Tortilla chips, chili, cheese, jalapeños—instant crowd-pleaser.
Rhetorical question: Who doesn’t love nachos topped with chili? It’s basically the ultimate comfort food hack.
Storing and Freezing Chili
- Refrigerator: Chili lasts 4–5 days in an airtight container.
- Freezer: Freeze in portions for 2–3 months.
- Reheating: Warm gently on the stove to maintain texture.
Pro tip: Chili tastes even better the next day—flavors develop overnight.
Common Mistakes to Avoid
- Overcooking beans: They get mushy.
- Skipping spices: Boring chili = sad chili.
- Adding too much liquid: You want thick chili, not soup.
- Underseasoning: Taste as you go—it makes a world of difference.
Quick Version for Busy Nights
Pressed for time? Here’s a faster version:
- Brown beef and cook vegetables together.
- Add canned tomatoes, broth, beans, and spices.
- Simmer 15–20 minutes.
It won’t have quite the same depth as slow-simmered chili, but it’s still hearty and satisfying.
Why Homemade Chili Beats Canned Chili
| Feature | Homemade Chili | Canned Chili |
|---|---|---|
| Flavor | Fresh, customizable | Often bland or too salty |
| Texture | Thick, hearty | Sometimes watery |
| Ingredients | Clean, fresh | Preservatives and additives |
| Satisfaction | Comfort food perfection | Meh, lacks soul |
Honestly, taking a few extra minutes to make chili from scratch is worth it every single time.
Spice Variations to Try
- Smoky: Use chipotle peppers or smoked paprika.
- Sweet and Spicy: Add a pinch of brown sugar to balance chili powder.
- Extra Hearty: Mix in cooked lentils or quinoa for bulk.
Ever wondered how restaurants get that perfect chili flavor? They layer spices and let it simmer slowly—you can do the same at home.
Conclusion
Chili with beans and ground beef is hearty, flavorful, and ridiculously easy to make. Whether you’re cooking for a crowd, meal prepping for the week, or just craving comfort food, this recipe delivers on all fronts.
The key to perfect chili? Brown the meat, cook the spices, simmer low and slow, and taste as you go. Add your favorite beans, vegetables, and toppings, and you’ve got a meal that’s as satisfying as it is delicious.
So grab your pot, fire up the stove, and make a batch of chili that will have everyone asking for seconds. Trust me, once you make this, canned chili will feel like a sad, distant memory.