Ever bitten into focaccia bread so soft, fluffy, and flavorful that you immediately regretted not making more? Yeah, me too. There’s something about that crispy outside, pillowy inside, and olive oil–drizzled goodness that makes it impossible to resist. If you’ve ever wanted to impress friends or just treat yourself to bakery-quality bread at home, you’re in the right place. I’ve tried countless recipes, tweaked them endlessly, and finally landed on focaccia that’s foolproof, easy, and irresistibly tasty.

Why Focaccia Is the Ultimate Bread
Before we get our hands floury, let’s talk about why focaccia bread deserves a spot in your baking repertoire.
- Versatility: Serve as a side, sandwich base, or snack.
- Customizable: Top with rosemary, olives, cherry tomatoes, or just good old sea salt.
- Impressively simple: Seriously, it looks fancy but is easy enough for beginners.
- Soft and flavorful: With olive oil, it stays tender and rich.
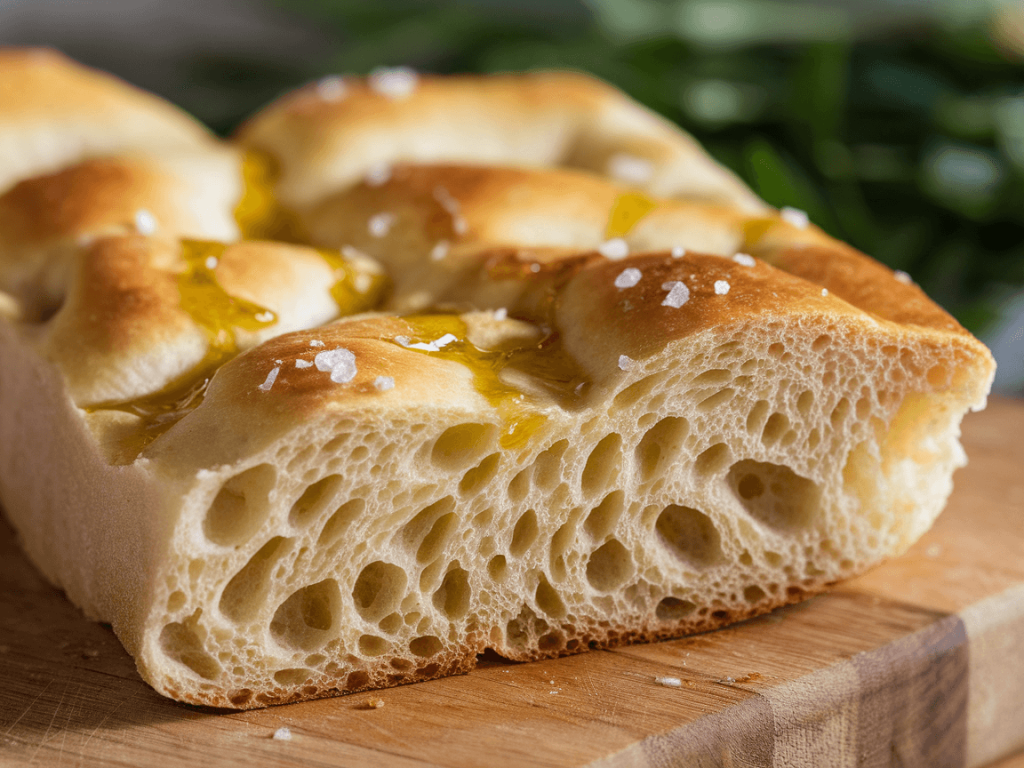
Ever wondered why focaccia feels so indulgent? It’s all about hydration and olive oil—that’s your secret weapon for soft, airy bread that bakes to golden perfection.
Essential Ingredients for Perfect Focaccia
Here’s the base recipe that produces a classic Italian focaccia loaf:
- 3 ½ cups (440g) all-purpose flour
- 1 packet (2 ¼ tsp) active dry yeast
- 1 ½ cups (360ml) warm water
- ¼ cup (60ml) olive oil, plus extra for drizzling
- 2 tsp salt
- 1 tsp sugar or honey
Optional toppings for extra flair:
- Rosemary, thyme, or oregano
- Cherry tomatoes, olives, or caramelized onions
- Sea salt flakes
Pro Tip: Warm water helps activate the yeast faster. Too hot? You’ll kill it. Too cold? It’ll sulk and rise slowly. Think Goldilocks.
Step 1: Activate Your Yeast
Combine warm water, sugar (or honey), and yeast in a small bowl. Let it sit for 5–10 minutes until foamy.
FYI: If your yeast doesn’t bubble, it’s probably dead. Don’t panic—just start fresh. Nothing worse than waiting for dough that never rises.
Step 2: Mix the Dough
In a large bowl, combine flour and salt. Pour in yeast mixture and ¼ cup olive oil. Stir until a sticky dough forms.
Why Sticky Dough Works
- High hydration makes the bread airy.
- Olive oil incorporation ensures a tender crumb.
- Sticky dough can be intimidating but trust me—it works wonders.
Ever noticed bakery focaccia is so soft yet sturdy? That’s the magic of hydration and proper kneading.
Step 3: Knead the Dough
Turn dough onto a floured surface. Knead for 8–10 minutes until smooth and elastic.
Pro Tip: You can also use a stand mixer with a dough hook—great for lazy days. Kneading by hand? Bonus therapy session included.
Step 4: First Rise
Place dough in a lightly oiled bowl, cover with a towel, and let it rise for 1–2 hours until doubled in size.
Rhetorical Question: Ever wondered why letting dough rest makes it taste so much better? Fermentation develops flavor, plain and simple.
Step 5: Prepare the Baking Pan
- Oil a 9×13-inch baking pan generously.
- Transfer the dough and stretch it out gently to fit the pan.
- Don’t worry if it resists—let it rest 10 minutes, then stretch again.
Pro Tip: Olive oil isn’t just for flavor—it prevents sticking and promotes a crispy bottom crust.
Step 6: Second Rise
Cover the dough and let it rise for 30–45 minutes. During this time, preheat your oven to 425°F (220°C).
This second rise ensures light, airy focaccia with pockets of fluff inside. Skip it, and your bread might be dense—nobody wants a brick disguised as focaccia.
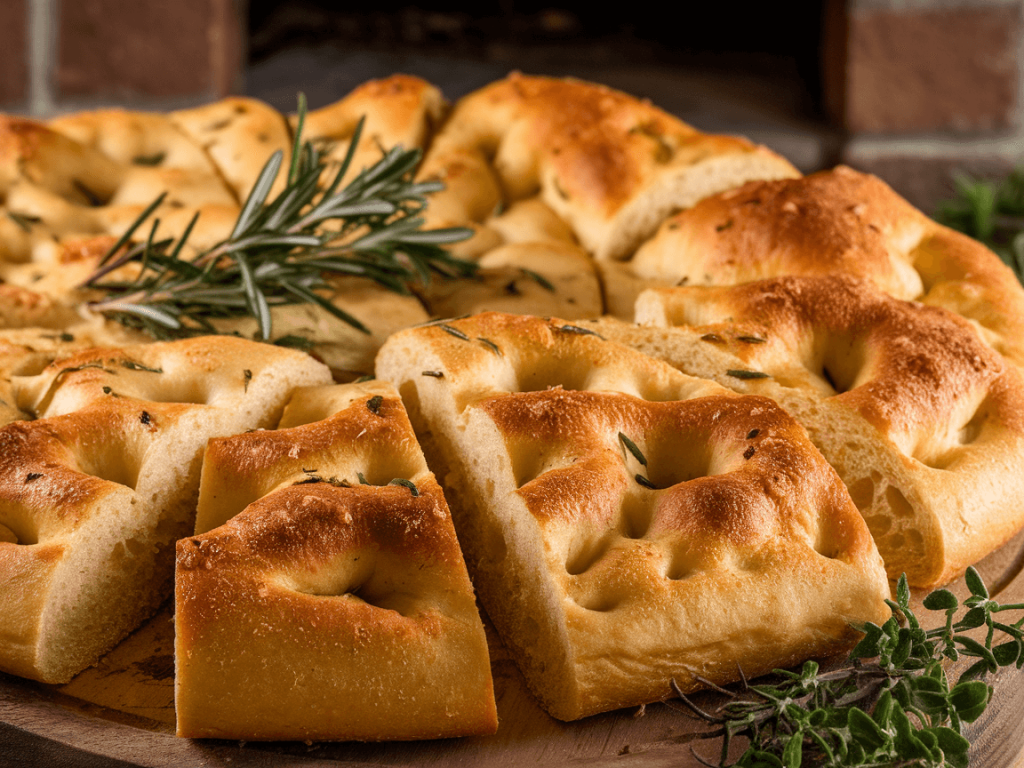
Step 7: Dimple the Dough
Press fingertips into the dough to create classic focaccia dimples. These little pockets trap olive oil, herbs, and toppings, giving every bite flavor explosions.
Tips for Dimpling
- Don’t overdo it; shallow dimples are enough.
- If dough resists, lightly oil your fingers.
- Sprinkle toppings now—rosemary, olives, cherry tomatoes, or sea salt.
Step 8: Bake to Golden Perfection
Drizzle additional olive oil on top. Bake 20–25 minutes until golden brown.
Pro Tip: Rotate pan halfway to ensure even browning. The aroma alone might convince you to eat it straight from the oven (guilty as charged).
Flavor Variations
Want to mix it up? Here are some delicious variations:
- Classic Rosemary: Just rosemary and sea salt—simple yet irresistible.
- Tomato & Olive: Halved cherry tomatoes and sliced olives for a Mediterranean twist.
- Caramelized Onion: Sweet, savory, and perfect for pairing with cheese.
- Garlic & Herb: Mix minced garlic with olive oil and drizzle on top.
Rhetorical Question: Isn’t it fun how the same basic dough can yield so many flavors?
Storing Your Focaccia
- Room Temperature: Wrap in foil or a towel; lasts 2 days.
- Freezing: Slice and store in a zip-top bag for up to 1 month.
- Reheating: Warm in the oven at 350°F for 5–10 minutes. Crust comes back crispy.
Pro Tip: Focaccia is best fresh, but reheating revives it surprisingly well.
Common Mistakes and How to Avoid Them
- Yeast not active: Always check your yeast foams before using.
- Dough too dry: High hydration is key—don’t skimp on water.
- Skipping dimples: Oil and toppings won’t soak in properly.
- Overbaking: You want golden, not burnt. Seriously, check early.
Serving Suggestions
- Appetizer: Serve with olive oil and balsamic vinegar for dipping.
- Sandwich Base: Slice horizontally, fill with meats, cheeses, or veggies.
- Side Dish: Goes perfectly with soups, stews, or pasta.
- Snack: Eat plain, warm, with a sprinkle of sea salt.
IMO, nothing beats warm focaccia fresh out of the oven with just a drizzle of olive oil. Simple pleasures, my friend.
Healthier Twists
- Whole Wheat Focaccia: Replace half the flour with whole wheat for a nutty flavor.
- Gluten-Free Option: Use a gluten-free flour blend; texture differs but taste still rocks.
- Low-Sodium: Reduce salt slightly; add flavor with herbs instead.
Pro Tip: Olive oil is heart-healthy and adds richness without needing butter. Bonus points for being delicious and guilt-free.
FAQ About Focaccia Bread
Q: Can I make focaccia ahead of time?
A: Absolutely. Shape it, cover tightly, and refrigerate overnight. Bake the next day for almost-fresh bread.
Q: Can I use instant yeast instead of active dry yeast?
A: Yes! Reduce water slightly and skip the proofing step. Works just as well.
Q: How do I get a soft inside but crispy outside?
A: High hydration, olive oil, and proper baking temp. No shortcuts here.
Q: Can I add cheese on top?
A: Definitely! Parmesan, mozzarella, or feta adds extra flavor. Just sprinkle before baking.
Why Homemade Focaccia Beats Store-Bought
- Freshness: No preservatives or mystery ingredients.
- Customizable: You control flavors, herbs, and toppings.
- Impressive presentation: It looks like you spent hours at a bakery.
- Therapeutic: Mixing, kneading, and smelling dough is oddly satisfying.
Ever bought focaccia at a store and thought, “Hmm, this could use more love”? Making it at home solves that. You get full control, better flavor, and bragging rights.
Tips for Success
- Use quality olive oil: It impacts both taste and texture.
- Don’t rush fermentation: Patience = flavor.
- Properly oil your pan: Prevents sticking and gives a nice crust.
- Experiment with toppings: Personalize your bread every time.
- Serve warm: Fresh out of the oven is unbeatable.
IMO, focaccia baking is simple enough for a beginner but flexible enough to satisfy a pro. That’s the sweet spot.
Final Thoughts
Making focaccia bread at home is not just baking—it’s creating a soft, flavorful masterpiece that elevates any meal. With high-quality ingredients, proper hydration, and olive oil love, you’ll have a bread that’s crispy outside, tender inside, and full of flavor.
Once you try this recipe, you’ll realize why focaccia is a crowd-pleaser—it’s versatile, indulgent, and surprisingly easy to make. So grab your ingredients, preheat your oven, and let’s make the best focaccia bread you’ve ever tasted. Your kitchen—and your friends—will thank you.