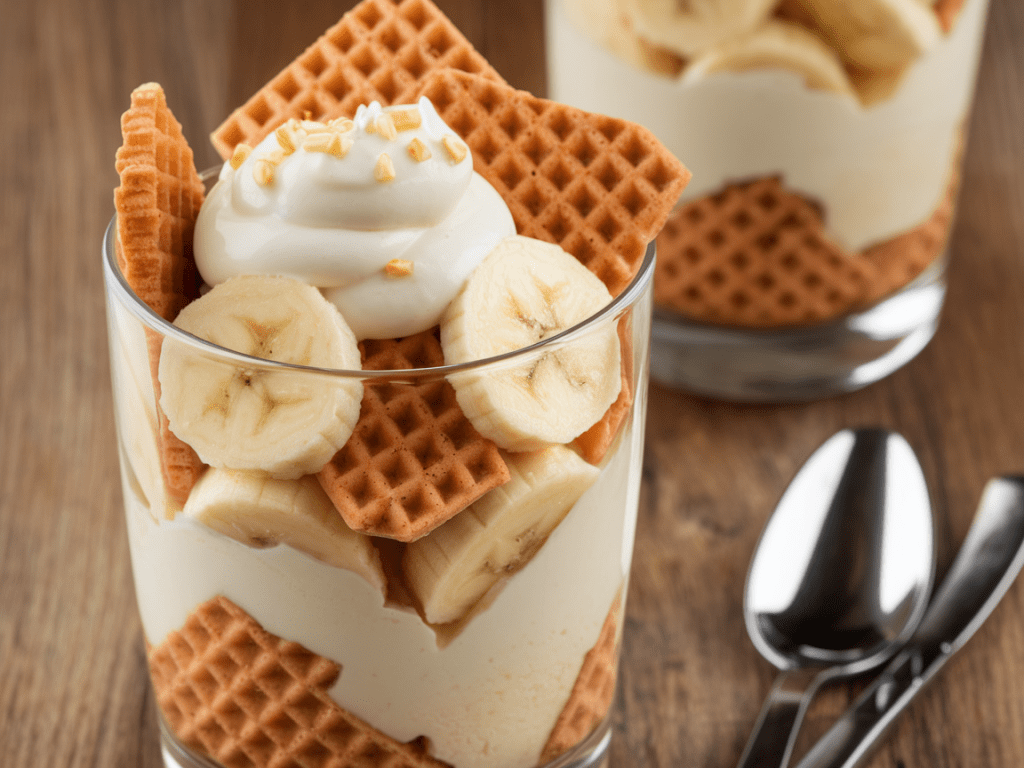
Let’s be honest—some desserts just hit differently. Banana Nilla Wafer Dessert is one of those gems. Imagine creamy pudding layered with soft bananas and crisp Nilla wafers, all coming together in a sweet, comforting hug of flavor. Honestly, it’s the kind of dessert that disappears before you can even say “pass me a fork.”
I first tried making this for a family gathering, thinking it’d be a simple, “meh, maybe people will like it” situation. Fast forward thirty minutes later, and I’m staring at an empty trifle dish, wondering if I should feel proud or slightly offended by how fast it vanished. FYI, it’s that good.
Why This Dessert Works Every Time
Classic Comfort Meets Easy Prep
Here’s the thing: people love familiar flavors. Bananas, creamy pudding, and Nilla wafers? You’ve basically got a trifecta of crowd-pleasing goodness.
- Bananas give a natural sweetness and soft texture.
- Pudding adds that creamy, melt-in-your-mouth element.
- Nilla wafers bring just enough crunch to keep things interesting.
Ever wondered why some desserts feel like a warm hug? This combo explains it.
Texture Heaven
One of the best things about this dessert is the contrast of textures. Smooth pudding, soft bananas, and crunchy wafers create a symphony in every bite. It’s like your taste buds are at a party, and everyone’s invited.
Ingredients You’ll Need
This is where it gets fun: most ingredients are probably already in your kitchen. Here’s what I use every time:
For the Pudding Layer
- 2 boxes of instant vanilla pudding mix (or homemade if you’re feeling fancy)
- 4 cups milk (for pudding)
- 1 teaspoon vanilla extract
For the Fruit Layer
- 4–5 ripe bananas, sliced
- Optional: a splash of lemon juice to prevent browning
For the Crunch Layer
- 1–2 cups Nilla wafers, lightly crushed
- Optional: extra wafers for topping
Optional Extras
- Whipped cream for a creamy topping
- Cinnamon or nutmeg for a subtle spice kick
FYI, ripe bananas are key here. Too green, and the dessert will lack sweetness. Too mushy, and your layers turn into a banana soup—trust me, I’ve been there.
Step-By-Step: Making Banana Nilla Wafer Dessert
Alright, let’s get hands-on. I’ll guide you like I’m right there, whispering tips so your dessert comes out perfect.
Step 1: Prepare the Pudding
- In a large bowl, whisk the pudding mix with milk until smooth.
- Stir in vanilla extract for extra flavor.
- Let it sit for a few minutes to thicken.
If you’re making homemade pudding, whisk egg yolks, sugar, and milk over medium heat until thick. IMO, it’s worth the extra effort for that rich, custard-like texture.
Step 2: Slice the Bananas
- Slice bananas into 1/4-inch rounds.
- Toss them in a tiny bit of lemon juice if you want to keep them looking fresh.
Pro tip: don’t slice too early; bananas brown fast. Keep it fresh and vibrant.
Step 3: Crush the Nilla Wafers
- Lightly crush the wafers; you want small chunks, not dust.
- Save some whole wafers for topping.
Ever crushed cookies with a rolling pin and thought, “Yep, this is satisfying”? That’s basically what you’re doing here.
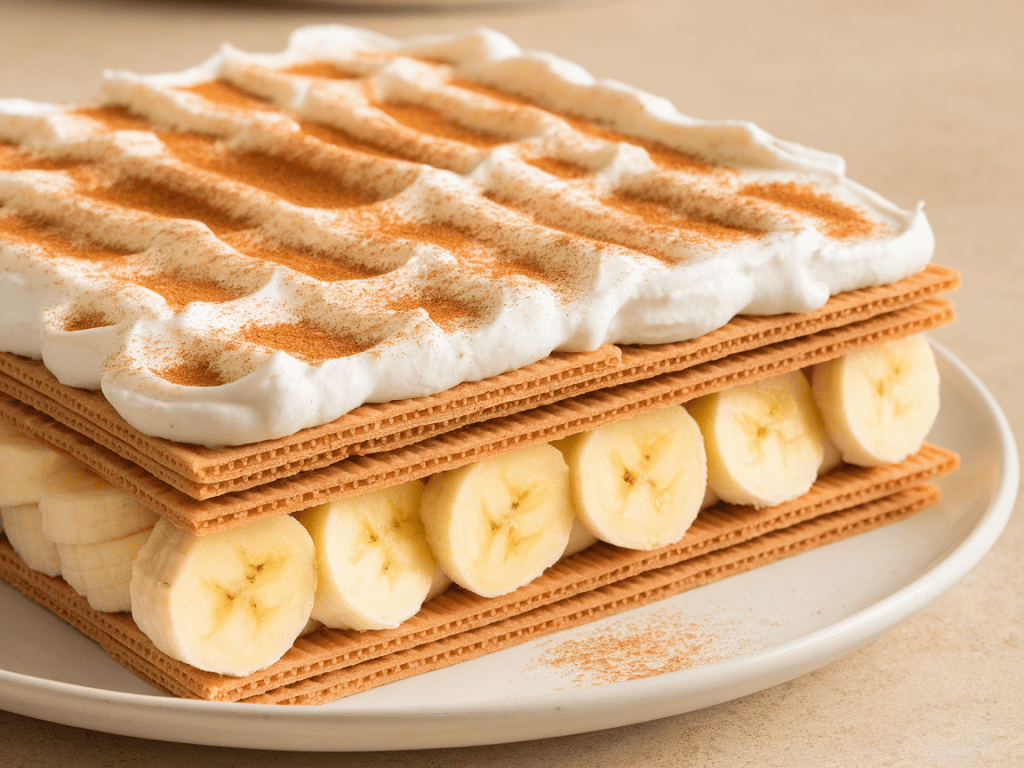
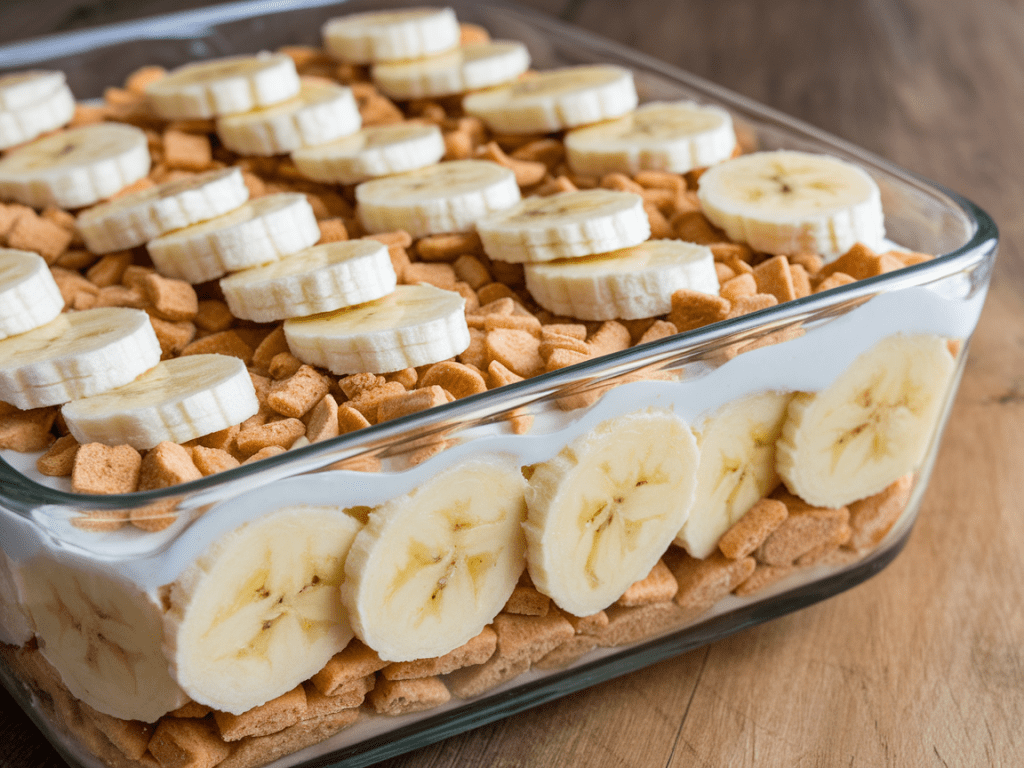
Step 4: Layer the Dessert
This is the fun part—assembly!
How I Layer:
- Bottom layer: pudding
- Second layer: banana slices
- Third layer: crushed Nilla wafers
- Repeat until your dish is full, ending with pudding on top
Optional: top with whipped cream and extra wafers for presentation. People eat with their eyes first, you know.
Step 5: Chill and Serve
- Cover the dessert with plastic wrap and chill for at least 2 hours, ideally overnight.
- Chilling allows flavors to meld and the wafers to soften slightly while still holding some crunch.
Ever noticed how desserts taste way better the next day? There’s a reason for that. Patience = flavor perfection.
Tips for the Perfect Banana Nilla Wafer Dessert
Even simple desserts have little secrets. Here’s what I’ve learned from trial and error:
- Bananas matter: ripe but firm works best.
- Don’t over-crush wafers: some chunks add texture.
- Whipped cream is optional but highly recommended: it adds a light, airy layer.
- Chill adequately: flavor melding is key.
- Serve in clear dishes: layers look amazing and are crowd-pleasing.
Flavor Variations to Try
Want to add a little twist? Here are some ideas I’ve played with:
Chocolate Banana Nilla Wafer
- Add a layer of chocolate pudding for a double-decker dessert.
- It’s basically heaven with every bite.
Caramel Drizzle
- Drizzle caramel sauce between layers for extra indulgence.
- Pairs beautifully with the vanilla and banana flavors.
Nutty Crunch
- Sprinkle chopped pecans or almonds in between layers.
- Adds a nutty crunch that complements the softness of the pudding.
Boozy Upgrade
- Add a splash of rum or bourbon to the pudding layer for adults-only dessert.
- Just enough to enhance flavors without overpowering the bananas.
IMO, the classic version is perfection, but experimenting never hurts.
Common Mistakes to Avoid
Even easy desserts can go sideways if you’re not careful. Avoid these pitfalls:
- Using overripe bananas → mushy layers
- Crushing wafers too finely → lose crunch
- Skipping chilling → flavor doesn’t meld
- Assembling too early → bananas brown, dessert looks sad
Think of this as a layer-by-layer meditation. Slow down, and it pays off.
Serving Suggestions
Presentation matters, even for a simple dessert. Here’s how to impress:
- Serve in individual glasses or mini mason jars for parties.
- Garnish with whole wafers, banana slices, or whipped cream.
- Add a sprinkle of cinnamon or nutmeg for extra aroma and flavor.
Trust me, this dessert looks fancy without much effort, which is always a win.
Storing Leftovers
- Refrigerator: 3–4 days in a covered container.
- Avoid freezing: bananas turn mushy, pudding texture suffers.
- Top with wafers last-minute if storing separately for crunch.
If your family is anything like mine, leftovers won’t last long anyway.
Why Banana Nilla Wafer Dessert is a Crowd-Pleaser
- Simple ingredients: pantry staples come together for magic.
- Textures that wow: creamy pudding, soft bananas, crunchy wafers.
- Customizable: chocolate, caramel, nuts, booze—whatever you like.
- Looks fancy but is easy: perfect for parties, potlucks, or casual family dinners.
Honestly, if you’ve ever doubted the power of a simple dessert, this one will convert you.
Quick Tips for a Stress-Free Dessert
- Assemble in layers just before serving if you want super-crunchy wafers.
- Use mason jars for portable, individual servings.
- Keep extra bananas ready—you might need a backup (trust me).
- Chill overnight for best flavor and texture melding.
Final Thoughts
Making Banana Nilla Wafer Dessert at home is not just easy—it’s fun, delicious, and guaranteed to impress. The creamy pudding, sweet bananas, and crunchy wafers create a perfect balance of textures and flavors.
Next time you’re planning a family gathering, potluck, or just craving a sweet treat, grab your bananas and Nilla wafers. Layer it up, chill it, and enjoy the applause (or at least the happy faces). 😏
This dessert proves that simple ingredients can create something extraordinary. And honestly, the first bite? Pure bliss.