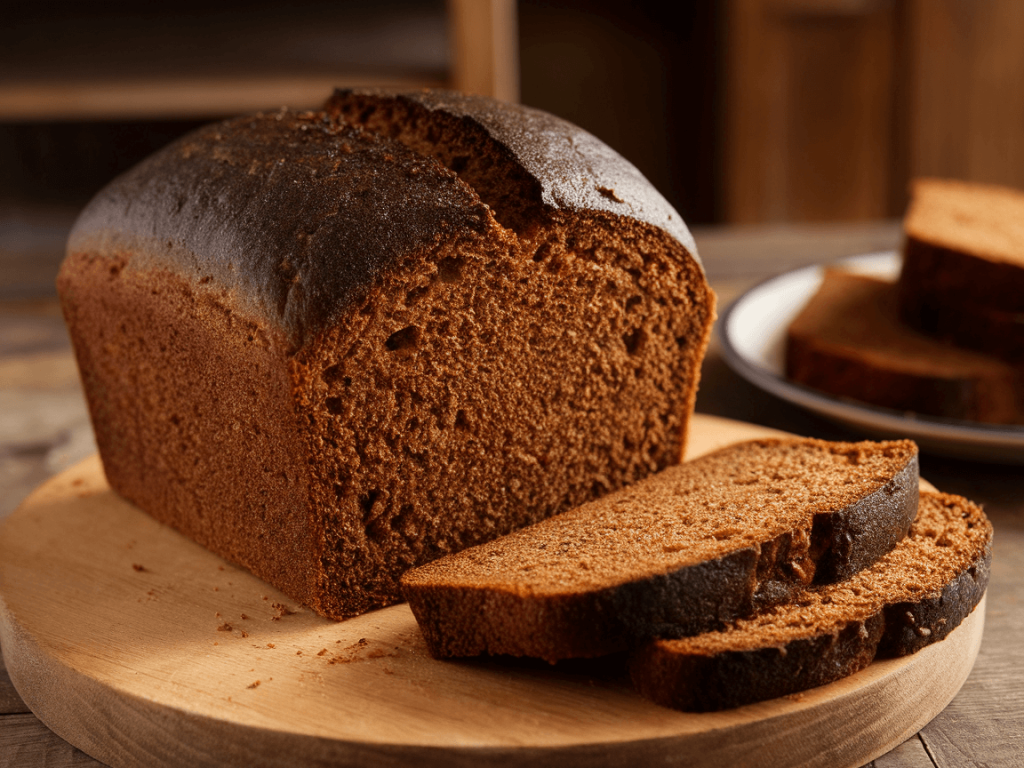
Have you ever tasted Irish brown bread and wondered how it’s so hearty, rustic, and comforting, yet somehow soft enough to slather with butter without falling apart? Yep, that was me—on a rainy afternoon, craving something wholesome to go with my tea. After a few attempts in my tiny kitchen, I finally nailed a recipe that’s easy, authentic, and downright delicious.
If you’re tired of supermarket loaves that are either brick-like or flavorless, this homemade Irish brown bread recipe is about to change your life. Seriously, it’s so simple, you might even start baking it every week. And FYI, the smell alone will make your neighbors jealous.
What Makes Irish Brown Bread Special
Before we roll up our sleeves, let’s chat about why Irish brown bread is more than just “brown bread.”
- Hearty and rustic: Made with wholemeal flour and sometimes oats, it has a dense, satisfying texture.
- No yeast required: Yep, it’s a quick bread, so you skip the whole “waiting for dough to rise” drama.
- Naturally wholesome: Simple ingredients mean a loaf that’s full of flavor without weird additives.
- Perfect with anything: Soup, stews, breakfast spreads, or just butter—this bread works every time.
Ever wondered why it feels like every Irish household has their own brown bread tradition? That’s because each version carries a little family story—and now, you can make your own.
Ingredients You’ll Need
This recipe makes one rustic, hearty loaf.
- 2 cups whole wheat flour
- 1 cup all-purpose flour
- 1 teaspoon baking soda
- 1 teaspoon salt
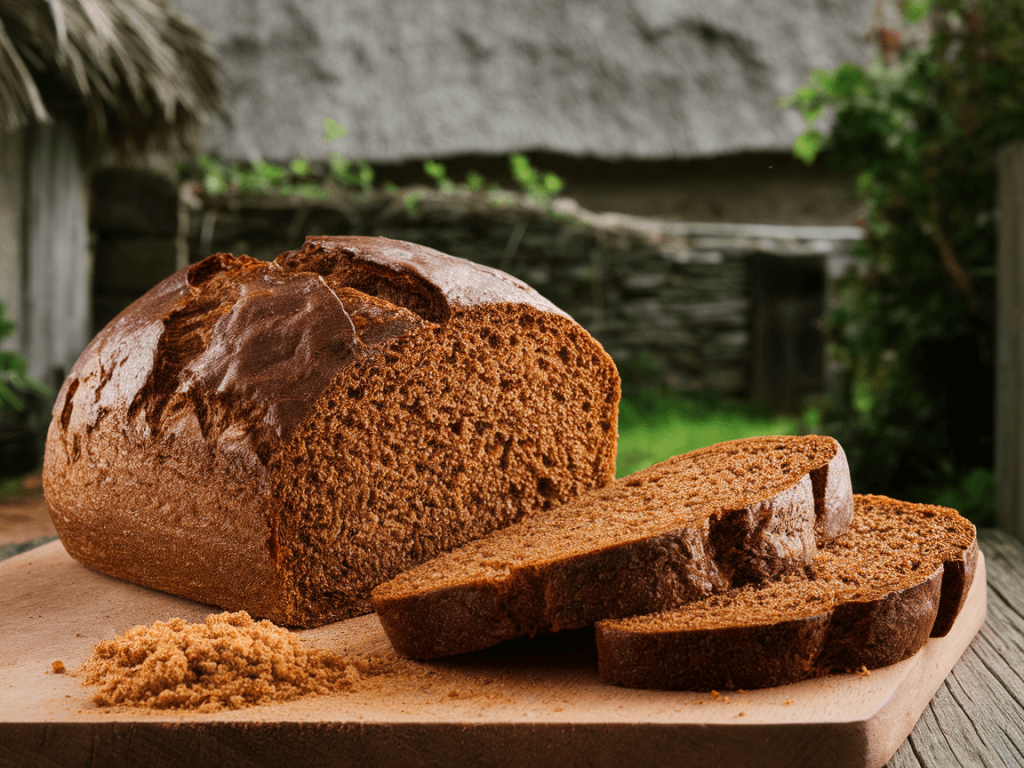
- 2 tablespoons brown sugar (optional, for a hint of sweetness)
- 2 cups buttermilk (or milk + 2 tsp lemon juice)
- Optional: 2 tablespoons oats for topping or inside the dough
Pro Tip: Using fresh, cold buttermilk gives the bread a slightly tangy flavor and a tender crumb. Trust me, it’s worth the little extra effort.
Step-by-Step Instructions
1. Preheat Your Oven
Set your oven to 425°F (220°C). Grease a 9×5-inch loaf pan or line it with parchment paper. A hot oven helps the bread develop a lovely crust without drying out.
2. Mix Dry Ingredients
In a large bowl, whisk together:
- 2 cups whole wheat flour
- 1 cup all-purpose flour
- 1 tsp baking soda
- 1 tsp salt
- 2 tbsp brown sugar (if using)
Make sure everything is well combined—this ensures even rising and flavor distribution.
FYI: Mixing dry ingredients first is the bread equivalent of laying a strong foundation. No shortcuts here.
3. Add Buttermilk
Create a small well in the center of the dry mix and pour in 2 cups of buttermilk. Using a wooden spoon, stir until just combined. The dough will be sticky and shaggy—that’s exactly what you want.
Rhetorical Question: Ever wondered why overmixing makes bread tough? In quick breads like this, minimal stirring keeps the crumb soft and tender.
4. Shape the Loaf
Turn the dough onto a lightly floured surface. Knead gently 2–3 times to bring it together. Shape it into a round or oval loaf and place it in your prepared pan.
Optional: Sprinkle a few oats on top for a rustic finish.
5. Score the Top
Using a sharp knife, cut a shallow “X” on the top of the loaf. This allows the bread to expand while baking and gives it that classic Irish look.
Tip: Don’t go too deep—about ½ inch is perfect.
6. Bake to Perfection
Bake at 425°F for 30–35 minutes. The loaf should sound hollow when tapped on the bottom. If the top browns too quickly, loosely cover it with foil.
Pro Tip: Every oven is different, so keep an eye on your first loaf. You’ll get a feel for your perfect baking time.

Tips for the Best Irish Brown Bread
- Use wholemeal flour: It gives the authentic taste and hearty texture.
- Buttermilk is key: Adds moisture, tenderness, and a subtle tang.
- Don’t overknead: Minimal handling keeps the bread soft.
- Score the loaf: Helps it rise evenly and look rustic.
- Serve warm: Nothing beats fresh bread with butter.
I’ve tried shortcuts—like using all-purpose flour only or skipping buttermilk—but nothing compares to the full, hearty version.
Variations to Try
1. Nutty & Seeded Brown Bread
- Add ¼ cup sunflower seeds, pumpkin seeds, or chopped walnuts.
- Gives extra crunch and makes the bread even more filling.
2. Oat & Honey Brown Bread
- Mix in ¼ cup rolled oats and 2 tsp honey.
- Slightly sweet, soft, and perfect for breakfast toast.
3. Savory Herb Brown Bread
- Stir in 1 tbsp fresh rosemary or thyme.
- Works beautifully with soups or stews.
Rhetorical Question: Isn’t it amazing how a simple loaf can take on so many personalities just with minor tweaks?
How to Store Your Irish Brown Bread
- Room Temperature: Wrap in a clean kitchen towel or place in an airtight container. Lasts 2–3 days.
- Freezing: Slice the loaf and freeze in a zip-top bag for up to 3 months.
- Reheating: Warm slices in the oven at 350°F for 5–7 minutes for that fresh-baked vibe.
Pro Tip: Freezing slices individually makes it super easy to grab one for toast without thawing the whole loaf.
Common Mistakes to Avoid
Even simple recipes can go sideways. Here’s what to watch out for:
- Overmixing dough: Makes it dense and tough.
- Too little buttermilk: Leads to dry bread.
- Skipping the pan: Free-form loaves need careful shaping.
- Overbaking: Leaves the loaf hard—check for hollow sound.
I made the rookie mistake of underestimating the sticky dough my first time. It’s messy, yes, but forgiving. Just flour your hands and go slow.
Why Homemade Irish Brown Bread Rocks
- Quick & easy: No yeast, no long wait.
- Hearty & healthy: Wholemeal flour and optional seeds make it nutritious.
- Versatile: Pairs with breakfast, lunch, or dinner.
- Authentic flavor: Slightly sweet, slightly tangy, and full of rustic charm.
Honestly, once you make your first loaf, you’ll never buy prepackaged brown bread again. It’s that satisfying.
Serving Suggestions
Here are some ways I love enjoying Irish brown bread:
- Breakfast: Toasted with butter, jam, or peanut butter.
- Lunch: Sandwich base for turkey, cheese, or veggies.
- Dinner: Serve with hearty stews or soups.
- Snack: With cheese or hummus for a wholesome bite.
IMO, fresh bread makes every meal feel a little special. Even Monday lunch suddenly feels like a treat.
FAQ About Irish Brown Bread
Q: Can I make this gluten-free?
A: Sure! Use a gluten-free flour blend and a bit more baking soda for lift. Texture differs slightly but still delicious.
Q: Can I use yogurt instead of buttermilk?
A: Yes! Mix yogurt with a splash of milk for similar tang and moisture.
Q: How do I make the crust softer?
A: Wrap the cooled loaf in a kitchen towel; this traps moisture and softens the crust.
Q: Can I bake it as free-form bread instead of in a pan?
A: Absolutely. Shape it into a round and bake on a parchment-lined sheet. Slightly rustic but still authentic.
Personal Tips for Perfect Loaves
- Flour your hands and work gently: Sticky dough isn’t a problem.
- Don’t skimp on buttermilk: Adds moisture and tang.
- Score the top: Helps loaf expand and looks authentic.
- Experiment with seeds and oats: Adds texture and flavor.
FYI, every time I make this bread, my house smells like an Irish bakery. Instant coziness. 🙂
Conclusion
Making authentic Irish brown bread at home is easier than most people think. With wholemeal flour, buttermilk, and a bit of baking soda, you can enjoy a loaf that’s hearty, wholesome, and perfectly rustic. Whether you like it sweet, nutty, or savory, this bread is versatile and comforting.
Next time you crave something warm, flavorful, and genuinely satisfying, skip the store loaf. Grab your ingredients, follow this recipe, and prepare for a little slice of Ireland in your kitchen. One bite, and I promise—you’ll be hooked.