If you’ve ever craved something warm, cozy, and downright life-improving (yes, dessert can do that), then Apple Crumble Bars will instantly become your new obsession. Ever wondered why every fall recipe seems to scream apples? Because apples basically carry the entire season on their shoulders. And if you’re looking for a dessert that’s simple, comforting, and impossible to mess up unless you’re actively trying, these bars deliver big time.
I’ve made these more times than I can admit — mostly because I “taste test” half the pan before it ever reaches the table. Don’t judge me. You’ll do it too. 🙂
Let’s talk about why Apple Crumble Bars deserve a spot on your fall baking list… and every other season too.
Why Apple Crumble Bars Are the Ultimate Fall Dessert
Apple Crumble Bars check all the boxes: easy, low-stress, low-mess, and insanely delicious. You basically get apple pie flavor without rolling out dough or performing pastry acrobatics. What’s not to love?
They’re Fast and Beginner-Friendly
You mix, you press, you bake. That’s it. Ever tried making pie crust at 10 p.m. because you suddenly wanted dessert? Not fun. These bars save you from that emotional spiral.
They’re Portable, Shareable, and Snackable
Bars stack. Bars travel. Bars go from baking pan to lunchbox like magic. Try that with a slice of apple pie and watch it collapse like a sad Jenga tower.
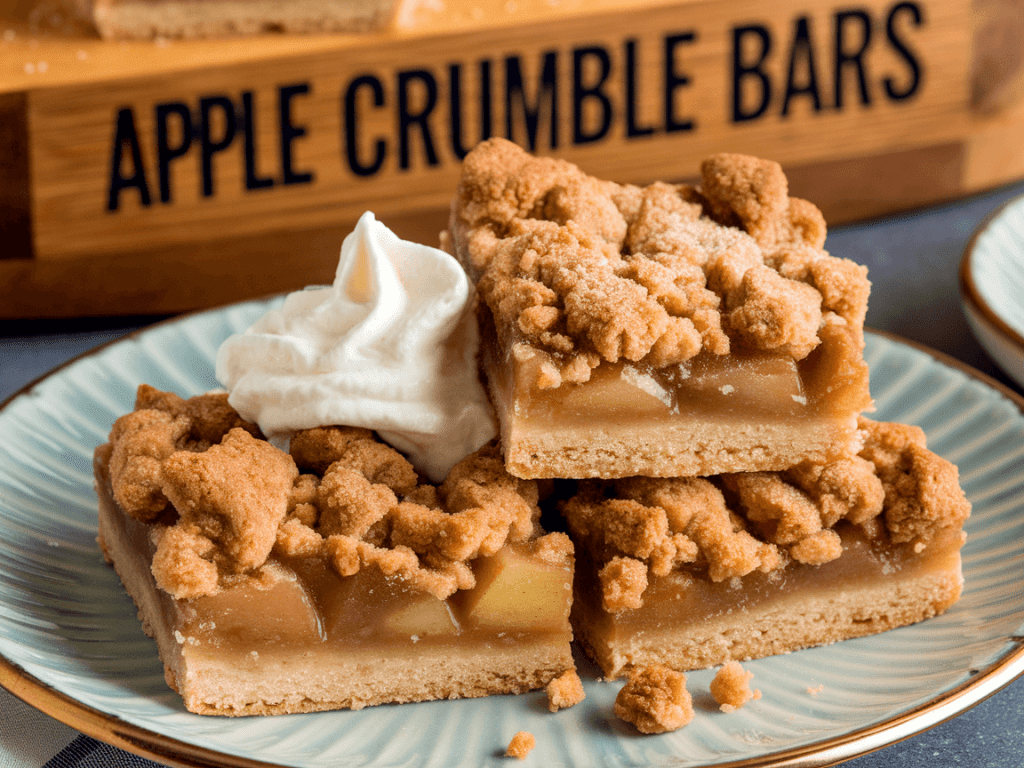
The Texture Is Next-Level Cozy
You get:
• a soft, buttery base
• warm, cinnamon apple filling
• a golden, crispy crumble on top
Basically all the best parts of a crumble, but in a tidy square you can hold while pretending you’re only having “one piece” (we both know you’ll take two).
What Makes a Great Apple Crumble Bar?
Great question — because not all crumble bars are created equal. IMO (that’s one slang, FYI 😉), the magic happens when the bars balance three things perfectly: texture, flavor, and structure.
The Base Matters More Than You Think
A good crumble bar starts with a buttery, slightly firm base. It needs enough structure to hold the filling but enough tenderness to melt in your mouth. Think shortbread… but with a personality.
The Filling Should Taste Like Fall in a Pan
Warm spices. Soft apples. A bit of tartness to cut the sweetness. If the filling tastes flat, the bar falls apart — emotionally and literally.
The Topping Must Actually Crumble
If it turns into a solid crust, it’s not a crumble anymore; it’s a roof. You want crispy bits, buttery clusters, and golden texture.
Ever wondered why some toppings stay sandy instead of craggy? Usually because someone (definitely not me… well, maybe once) melted the butter. Don’t do that.

Best Apples to Use (Yes, It Actually Matters)
Okay, here’s the part where people say, “But all apples taste the same in baking.” No. They don’t. That’s like saying all shoes feel the same — try running in flip-flops and get back to me.
Top Apple Choices for Crumble Bars
Use apples that stay firm instead of turning into applesauce soup:
- Honeycrisp – juicy, crisp, slightly tart
- Granny Smith – the classic for baking
- Braeburn – solid texture with bold flavor
- Pink Lady – bright, sweet-tart balance
Mixing varieties actually makes the flavor way better. It gives you complexity without any extra effort.
Apples to Avoid
Red Delicious. That’s it. That’s the whole list. They turn mushy and taste like sadness when baked.
Ingredients You’ll Need (No Fancy Stuff Required)
Everything here comes from normal grocery stores — nothing weird, nothing complicated.
For the Crust + Crumble
- 2 cups all-purpose flour
- 1 ½ cups old-fashioned rolled oats
- 1 cup brown sugar
- 1 tsp ground cinnamon
- ½ tsp salt
- 1 cup cold unsalted butter, cubed
For the Apple Filling
- 4 cups peeled, diced apples
- ¼ cup granulated sugar
- 2 tbsp brown sugar
- 2 tbsp all-purpose flour
- 1 tsp ground cinnamon
- ¼ tsp nutmeg
- 1 tsp lemon juice
- 1 tsp vanilla extract
See? Nothing shocking. You might already have half of this stuff in your pantry.
How to Make Apple Crumble Bars (Step-by-Step and Stress-Free)
Making these bars feels almost unfair because of how good they taste compared to how little effort they require. Ready?
Step 1: Make the Crust and Crumble
Combine the flour, oats, brown sugar, cinnamon, and salt in a bowl. Toss in the cold butter cubes. Use a pastry cutter or your hands to work the butter in until the mixture forms coarse crumbs.
This one mixture pulls double duty — it’s both the crust and the crumble topping. Efficiency is delicious.
Step 2: Press Half into the Pan
Press half the mixture firmly into a lined baking pan. This forms the base. You want it tight enough to hold but not so compressed that it turns into concrete. There’s a happy middle ground.
Step 3: Make the Apple Filling
Mix the apples with sugar, brown sugar, flour, cinnamon, nutmeg, lemon juice, and vanilla. Ever wondered why the flour matters? It thickens the filling so it doesn’t ooze everywhere like caramel chaos.
The apples should be coated but not swimming.
Step 4: Layer the Apple Filling Over the Crust
Spread the apples evenly over the base. Make sure every corner gets some love. No sad apple-less bites allowed.
Step 5: Add the Crumble Topping
Sprinkle the remaining crumble mixture generously over the apples. Don’t pack it down. Let it fall naturally — messy is good here.
Step 6: Bake to Golden Perfection
Bake at 350°F (175°C) for 40–45 minutes or until the top turns golden and your kitchen suddenly smells like fall exploded.
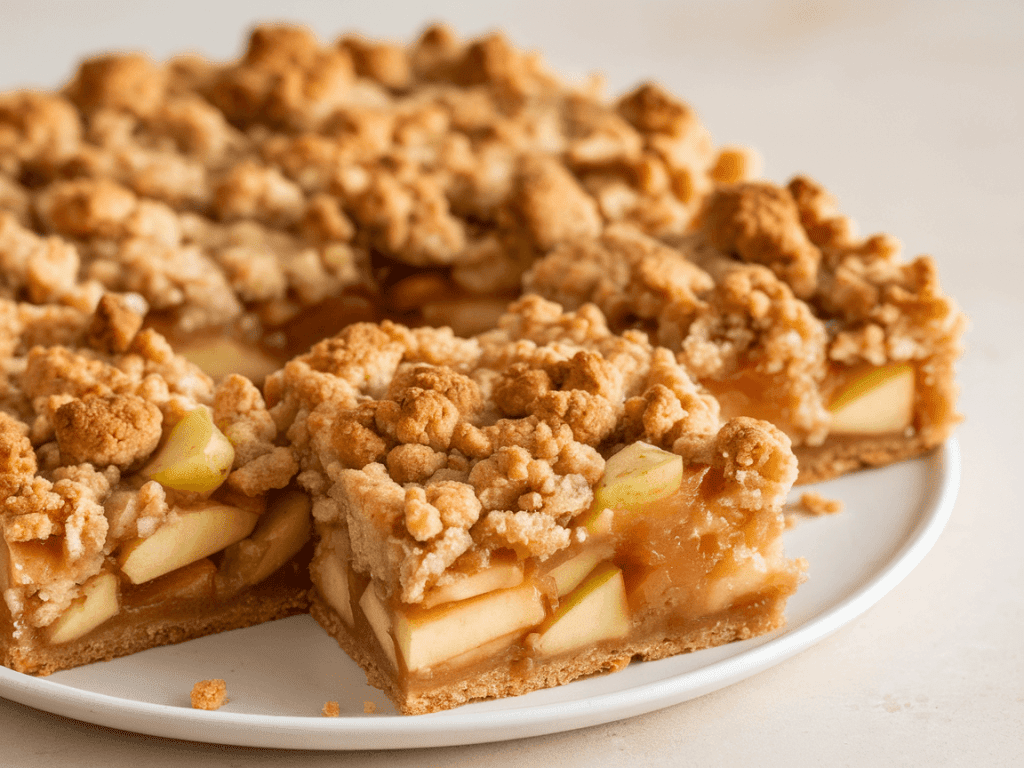
Step 7: Cool, Cut, and (Try to) Share
Let the bars cool before cutting them. Yes, I know… waiting is rude. But if you cut early, the bars fall apart and you’ll feel betrayed. Cool them. It’s worth it.
Tips to Make Your Apple Crumble Bars Even Better
You can stop here and you’d already have a killer dessert, but why not upgrade your bars from great to legendary?
Use Cold Butter — Non-Negotiable
Cold butter creates texture. Warm butter creates regret. Simple.
Add Chopped Pecans or Walnuts If You Want Crunch
A handful of nuts adds flavor and texture without complicating things.
Don’t Overbake
Overbaking creates dry bars. The edges should be golden and the crumble lightly crisp — not brown like a burnt marshmallow.
Mix Apple Types
A 50/50 blend of tart + sweet apples creates chef’s kiss flavor.
Creative Variations (Because Who Doesn’t Like Options?)
Once you try the classic version, you might feel the urge to experiment. Do it — creativity tastes delicious.
Caramel Apple Crumble Bars
Drizzle caramel sauce over the apples before adding the topping. You get gooey, sticky, caramelized perfection.
Apple Cranberry Bars
Add ½ cup dried cranberries. The tart pop is unreal.
Cinnamon Roll Apple Bars
Stir ½ tsp extra cinnamon + a tiny pinch of cloves into the crumble mixture. Top with a light vanilla icing drizzle after baking. You’ll want to marry these bars.
Maple Apple Bars
Swap some brown sugar for pure maple syrup. Your kitchen will smell like a Vermont vacation.
How to Store Apple Crumble Bars (If You Somehow Have Leftovers)
I say “if” because leftovers rarely happen in my house, but let’s pretend someone has restraint.
Room Temperature
Keep them in an airtight container for 2–3 days. The crumble stays crisp and the apple flavor deepens.
Refrigerator
Store up to 5 days. The bars stay fresh but may lose a tiny bit of crumble crunch.
Freezer
Freeze for up to 3 months. Wrap individually for grab-and-go sweetness.
Pro tip: Warm a bar in the microwave for 10 seconds. Trust me.
Apple Crumble Bars vs. Apple Pie (Let’s Be Honest)
Okay, let’s settle this: are Apple Crumble Bars better than apple pie? I mean… yeah, kinda.
Why Bars Win
- They require less effort.
- They don’t involve pie crust stress.
- They slice cleaner.
- They travel better.
- They feel more “anytime” than “special occasion.”
Pie is great, but crumble bars are the dessert friend who always says yes.
Final Thoughts: Make These Bars ASAP
Apple Crumble Bars bring everything we love about fall baking into one easy, cozy, ridiculously satisfying dessert. They’re flaky, gooey, warm, and perfect for snacking or sharing — if you choose to share, of course. 🙂
So grab some apples, warm up the oven, and treat yourself to a dessert that feels like wrapping yourself in a blanket on a chilly night. You’ll make them once and instantly add them to your “forever recipes” list.
Ready to bake? Your kitchen is about to smell amazing.