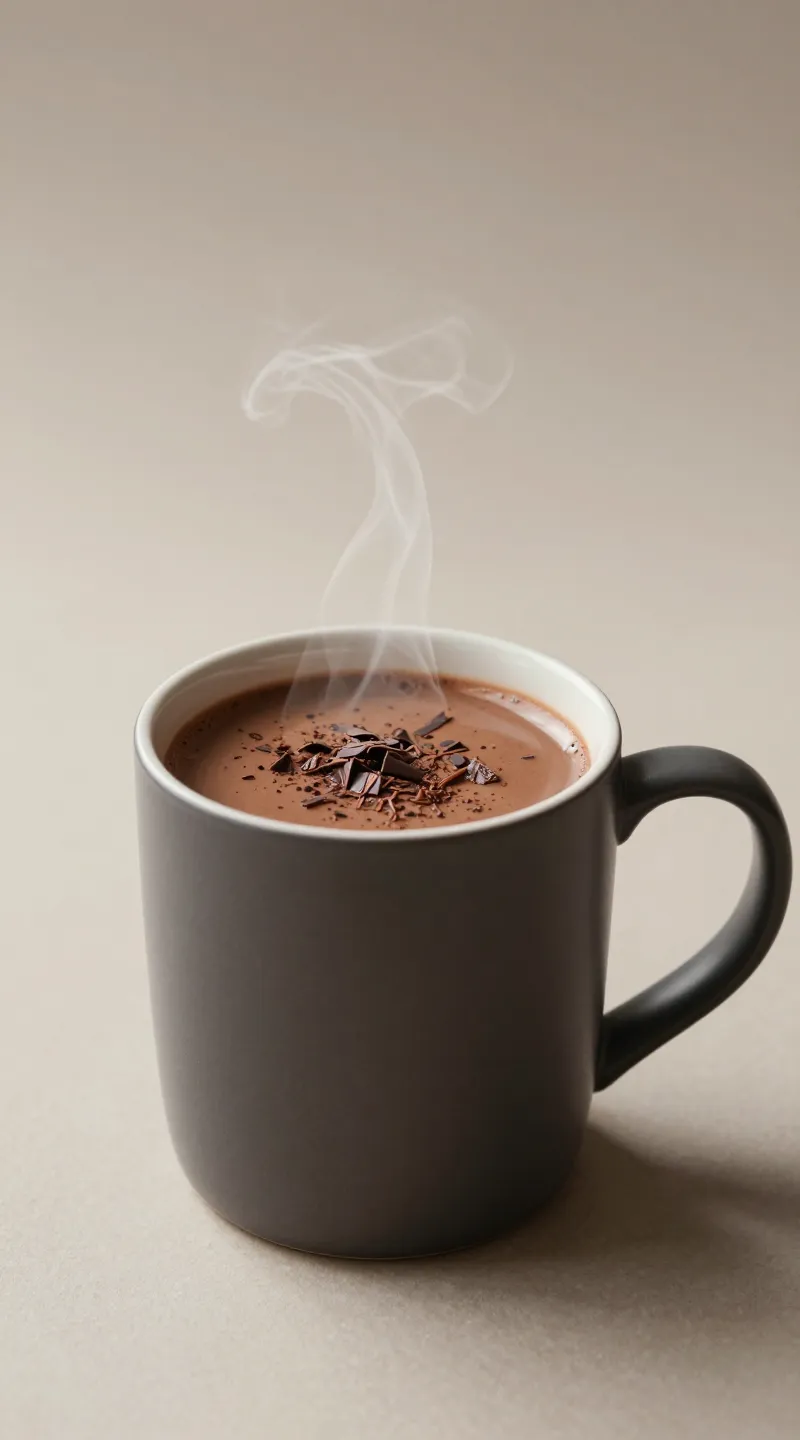
Hot chocolate should taste like a hug in a mug—rich, creamy, and just sweet enough to make you grin. No chalky mixes, no weird aftertaste, no watery sadness. You want that silky-smooth, café-level sip at home? You got it. Let’s build the ultimate classic hot chocolate with minimal fuss and maximum cozy.
Why This Hot Chocolate Wins
You don’t need fancy equipment or a culinary degree here. You just need good chocolate, hot milk, and a few smart choices. We’ll use real cocoa and chopped chocolate for depth, plus a little sugar and vanilla for balance. The result? Thick, velvety hot chocolate that tastes like a dessert but drinks like a treat.
Ingredients That Make the Magic
Aim for quality, not complication. Here’s the core lineup that never fails:
- Milk: Whole milk for richness. Oat milk or 2% also works. Avoid skim unless you enjoy disappointment.
- Heavy cream: Optional but glorious. It adds silkiness and body.
- Cocoa powder: Unsweetened, natural or Dutch-processed. Dutch gives smoother, deeper flavor.
- Chocolate: Chopped bar chocolate (semi-sweet or dark, 55–70%). Chips work in a pinch, but bars melt smoother.
- Sugar: Granulated or superfine. Start small; you can always add.
- Salt: A pinch to wake everything up.
- Vanilla: Real extract, stirred in at the end.
Base formula (per 2 mugs):
- 1½ cups milk + ½ cup heavy cream (or 2 cups milk)
- 2 tablespoons unsweetened cocoa powder
- 2–3 tablespoons sugar
- 3 ounces chopped chocolate
- ⅛ teaspoon salt
- ½ teaspoon vanilla extract
Choosing the Right Chocolate
Use chocolate you’d happily eat out of hand. If it tastes waxy or overly sweet on its own, it will taste meh in your mug. 60–65% dark hits a sweet spot for classic hot chocolate. Want less sweetness? Climb to 70%. Want more candy vibes? Blend in a little milk chocolate.
Step-by-Step: Creamy, No-Lump Hot Chocolate
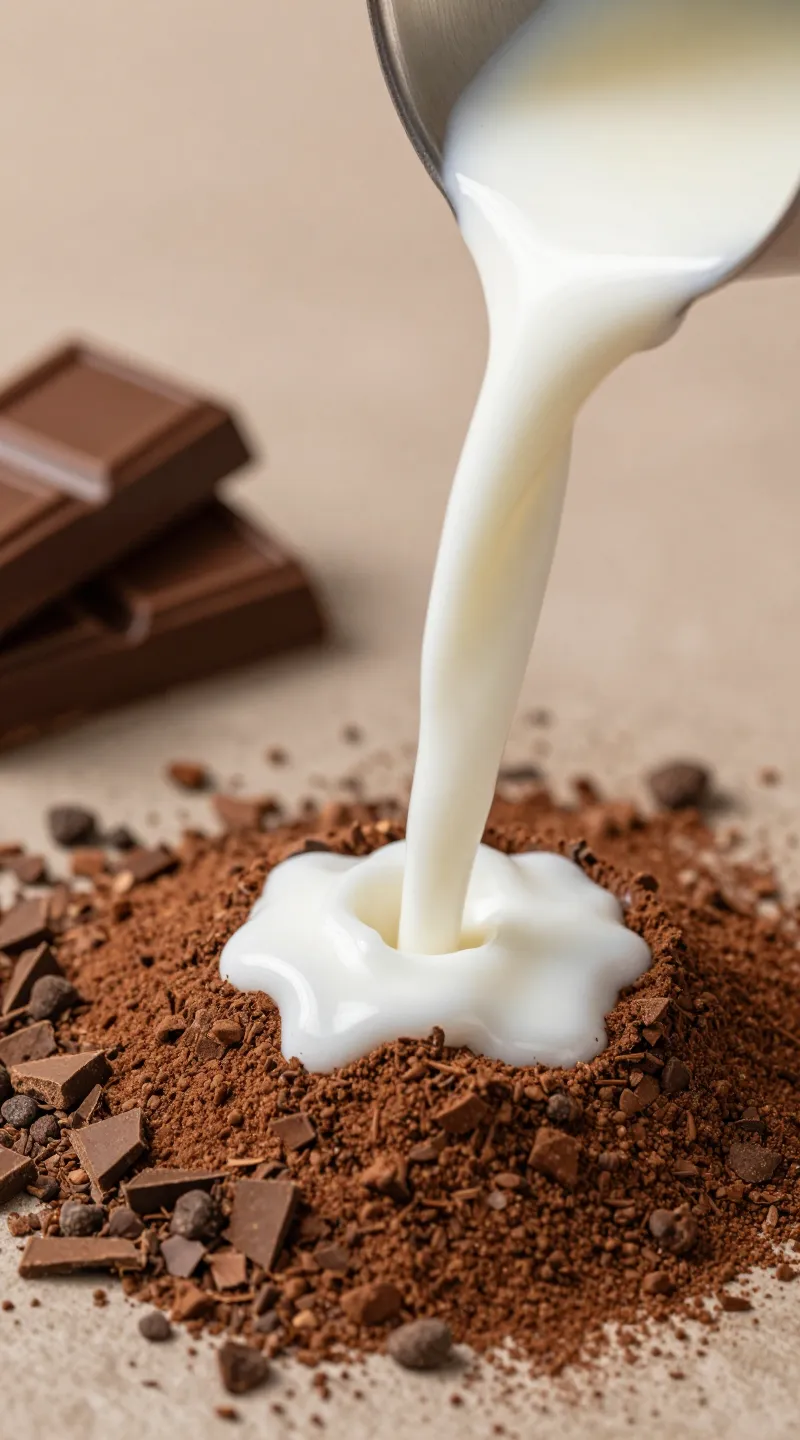
You’ll mix a quick cocoa paste first. It prevents that dreaded speckled layer floating on top.
- Make a paste: In a saucepan off heat, whisk cocoa, sugar, and salt. Drizzle in 2–3 tablespoons of milk while whisking to form a smooth paste.
- Warm it up: Pour in the rest of the milk and cream. Heat over medium, whisking gently, until steaming. Don’t boil—boiling can taste scorched and sad.
- Melt the chocolate: Remove from heat. Add chopped chocolate and let sit 30 seconds. Whisk until completely smooth and glossy.
- Finish: Stir in vanilla. Taste. Add a splash more milk to lighten, or a teaspoon more sugar if needed.
- Serve ASAP: Ladle into warm mugs and top like you mean it.
Texture Tweaks
– Thicker: Simmer 2–3 more minutes while whisking, or add 1–2 teaspoons cornstarch whisked into a splash of cold milk before heating.
– Silkier: Blend with an immersion blender for 10 seconds. It adds microfoam and makes it café-fancy.
Smart Flavor Upgrades (When You Want to Flex)
You can keep it classic or play mixologist. Either way, keep the chocolate front and center.
- Orange zest + vanilla: Bright and cozy. Add zest while heating, strain before serving.
- Cinnamon stick: Simmer with the milk for warm spice. IMO this screams winter.
- Espresso shot or 1 teaspoon instant espresso: Mocha magic. Coffee deepens chocolate’s flavor.
- Peppermint extract: Just a few drops. That stuff’s powerful. FYI, crushed candy canes on top look cute.
- Peanut butter or hazelnut spread: 1 tablespoon stirred in = dessert-level decadence.
- Chili + cinnamon (Mexican-inspired): A pinch of ancho or cayenne plus cinnamon adds warmth, not pain.
Grown-Up Sips
A splash (1 ounce per mug) of Irish cream, Kahlúa, dark rum, or bourbon plays very nicely. Add after you heat the base. Don’t boil the booze unless you enjoy wasted flavor.
Toppings: The Fun Part
You already nailed the base, so top like you mean it:
- Whipped cream: Lightly sweetened, with a pinch of salt and vanilla.
- Marshmallows: Mini, toasted, or homemade if you feel extra.
- Chocolate shavings: Use a vegetable peeler on a bar.
- Cocoa dusting: Looks pro, takes 2 seconds.
- Caramel or chocolate drizzle: Zero regrets.
Make It a Bar
Hosting? Set up a hot chocolate bar with:
– The base in a slow cooker on “warm”
– Bowls of marshmallows, crushed candy canes, sea salt, orange zest, and shaved chocolate
– Flavor drops: vanilla, peppermint, almond, and cinnamon sticks
– Optional “parent shelf”: Irish cream and dark rum
Dairy-Free and Lighter Swaps
You can go lighter or dairy-free without crying over flavor.
- Best non-dairy milk: Barista oat milk wins for body. Almond works but tastes thinner. Coconut milk (light) gives tropical vibes; full-fat coconut milk turns it into a dessert soup (no judgment).
- Cutting richness: Use all milk, skip the cream, and drop the chocolate to 2 ounces. Still lush, just not nap-inducing.
- No refined sugar: Sweeten with maple syrup or honey to taste. Add it after heating, then adjust.
- Gluten-free: Naturally GF. Check flavor extracts and add-ins just in case.
Make-Ahead, Storage, and Reheating
You can absolutely prep this ahead for movie night or a snow day.
- Make-ahead: Mix everything except vanilla and any alcohol. Chill up to 3 days.
- Reheat gently: Warm on low, whisking. Don’t boil. Add a splash of milk if it thickens in the fridge.
- Freezer: Yes, surprisingly. Cool completely, freeze up to 2 months. Thaw overnight and reheat gently while whisking.
Batching for a Crowd
Use this ratio per 8 servings:
- 6 cups milk + 2 cups cream
- ½ cup cocoa powder
- ¾–1 cup sugar
- 12 ounces chopped chocolate
- ¾ teaspoon salt
- 2 teaspoons vanilla
Warm in a Dutch oven or slow cooker, whisk occasionally, and keep on “warm” to serve.
FAQ
Why use both cocoa powder and chopped chocolate?
Cocoa powder brings bold, pure chocolate flavor, while chopped chocolate adds fat and emulsifiers that create silky, luxurious texture. Together, they deliver depth and creaminess you won’t get from either alone. IMO this combo is the secret handshake of great hot chocolate.
How do I stop a skin from forming on top?
Keep it hot and whisk occasionally. If you must step away, press a piece of parchment or plastic wrap directly onto the surface. A quick whisk before serving smooths everything out.
Can I make it less sweet without losing flavor?
Absolutely. Use darker chocolate (70%) and reduce the sugar by 1 tablespoon. A pinch of salt and a splash of vanilla will make the chocolate taste sweeter without extra sugar. You can also add espresso to build depth.
My hot chocolate tastes grainy—what happened?
Graininess usually comes from undissolved cocoa or overheated chocolate. Make that cocoa paste first, keep heat moderate, and remove the pan from the burner before adding the chopped chocolate. If needed, hit it with an immersion blender for 5–10 seconds.
Is Dutch-processed cocoa better than natural cocoa?
“Better” depends on your vibe. Dutch-processed cocoa tastes smoother and darker; natural cocoa tastes brighter and more chocolaty. For classic hot chocolate, Dutch feels more café-esque, but both work beautifully.
Can I use chocolate chips instead of bar chocolate?
You can, but chips contain stabilizers that resist melting perfectly smooth. If you go that route, let them sit in the hot milk an extra minute, then whisk well. It’ll still taste great—just maybe not as glassy-smooth.
Conclusion
Hot chocolate doesn’t need rules—just good chocolate, gentle heat, and a little common sense. Start with the classic base, tweak the sweetness, and add a pinch of something fun when the mood strikes. Make it thick, top it like a champ, and sip slowly. Your couch, a blanket, and this mug? That’s the whole plan. FYI: seconds happen.