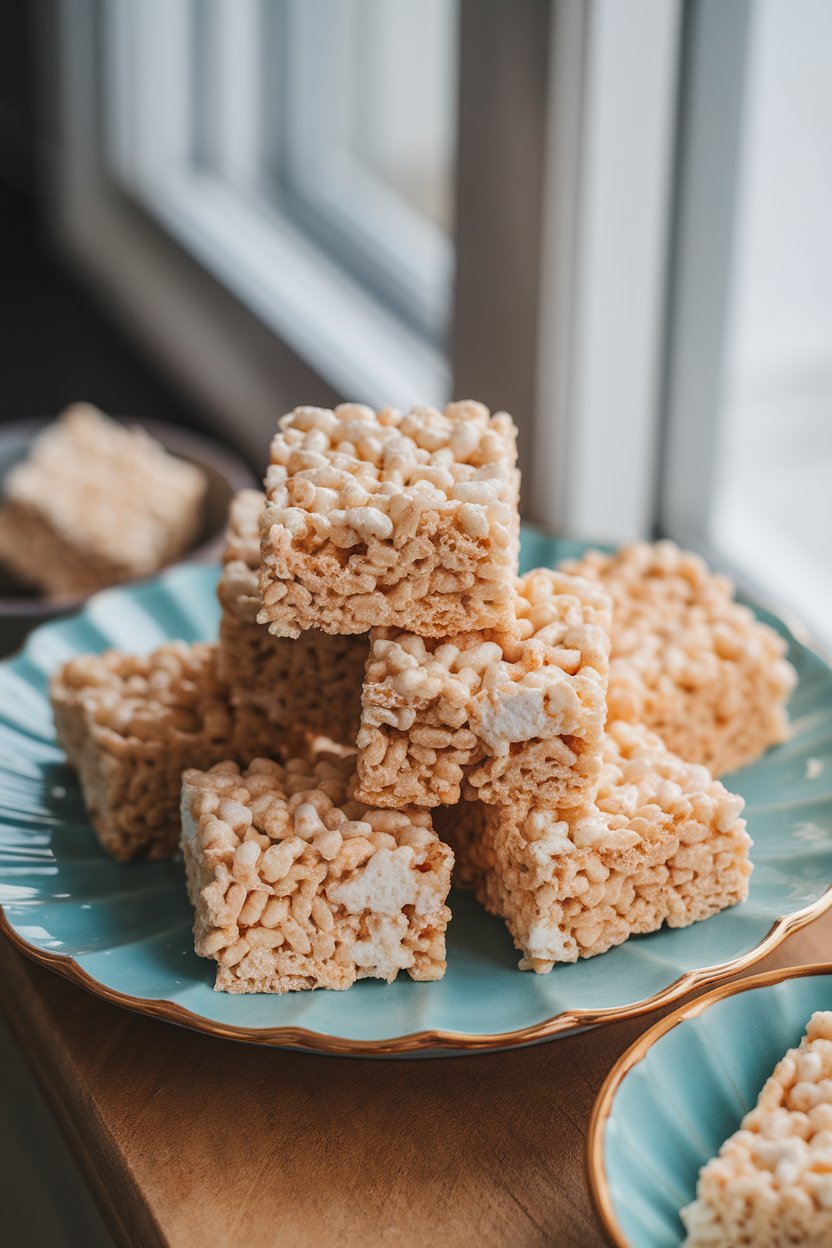
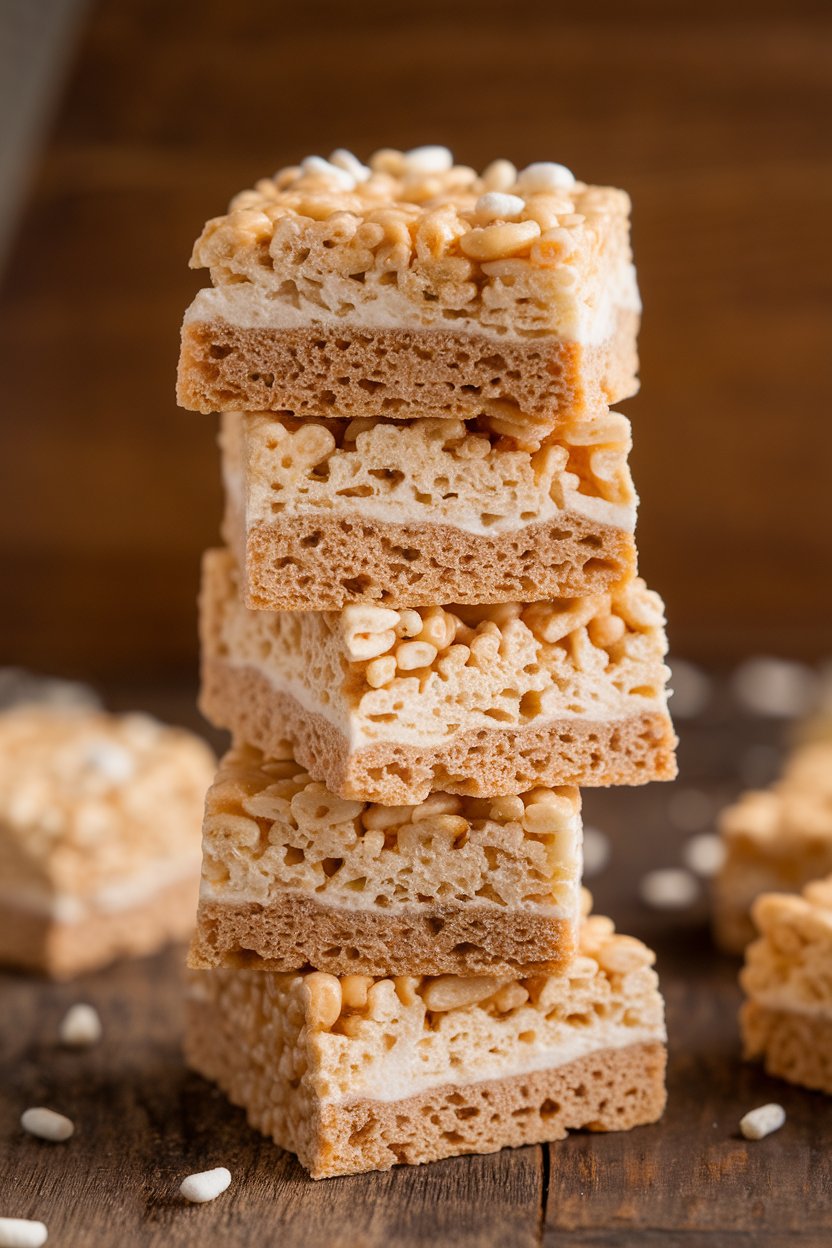
These Rice Krispie treats keep things simple: five ingredients, one pot, and endless ways to make them your own. The base recipe is soft, chewy, and not too sweet, with that classic crispy bite. Whether you’re making an after-school snack or a quick dessert for a party, this version is low-stress and reliable.
You’ll get consistent results and plenty of room to play with flavors. Think of it as a template you can tailor to your mood.
What Makes This Special
This recipe keeps the ingredient list short but still delivers bakery-level texture. The secret is a touch of salt and vanilla to balance the sweetness, plus a technique that keeps the marshmallows from getting tough.
It’s quick to make, and it sets up fast without turning rock-hard. Best of all, the base works with chocolate, peanut butter, citrus, and more—no complicated steps needed.
What You’ll Need
- 6 cups crispy rice cereal (Rice Krispies or any similar brand)
- 10 ounces mini marshmallows (about 5 packed cups)
- 4 tablespoons unsalted butter
- 1 teaspoon vanilla extract
- 1/4 teaspoon fine sea salt (or 1/2 teaspoon flaky salt, crushed)
Optional add-ins for flavor: 1/2 cup chocolate chips, 1/3 cup peanut butter, citrus zest, sprinkles, or crushed cookies.
Step-by-Step Instructions
- Prep the pan. Lightly grease an 8×8-inch or 9×9-inch pan, or line it with parchment, leaving overhang for easy lifting.
- Melt the butter. In a large pot over low heat, melt the butter gently. Don’t rush this—low heat keeps the texture soft.
- Add salt and vanilla. Stir in the salt and vanilla to bloom the flavor in the warm butter.
- Melt the marshmallows. Add the marshmallows and cook on low, stirring slowly until just melted and smooth. Do not boil—overheating makes tough treats.
- Fold in the cereal. Remove from heat.Add the cereal and fold with a rubber spatula until evenly coated. If adding mix-ins that can melt (like chocolate chips), let the mixture cool 1–2 minutes before folding them in.
- Press into the pan. Transfer to the prepared pan. Lightly press into an even layer using a spatula or clean, greased hands. Don’t compact too hard or the treats will be dense.
- Set and slice. Let sit at room temperature for 30–45 minutes.Lift out using the parchment and cut into squares.
Keeping It Fresh
- Room temperature: Store in an airtight container for 2–3 days. Add a slice of sandwich bread to the container to keep them soft.
- Freezer-friendly: Wrap squares individually and freeze up to 1 month. Thaw at room temperature for 20–30 minutes before eating.
- Avoid the fridge: Refrigeration can dry them out and make them hard.
Benefits of This Recipe
- Foolproof texture: Low heat and a gentle press keep the treats tender, not tough.
- Fast and flexible: Ready in under 20 minutes, plus easy to customize for any flavor theme.
- Kid- and crowd-friendly: Familiar taste, simple ingredients, and easy to cut into bite-size portions.
- Minimal cleanup: One pot, one pan, and a spatula.
Pitfalls to Watch Out For
- Overheating the marshmallows: This is the number-one cause of hard, chewy treats.Keep the heat low and remove the pot as soon as they’re melted.
- Pressing too firmly: Compacting the mixture makes it dense. Aim for a light, even press.
- Using stale cereal: Old cereal loses its snap. Fresh cereal gives the best crunch.
- Adding wet mix-ins: Too much liquid (like syrups) can make the treats soggy.If using, reduce slightly elsewhere or add more cereal.
Variations You Can Try
- Classic Chocolate Chip: Stir in 1/2 cup mini chocolate chips after the mixture cools slightly so they don’t fully melt. Drizzle with melted chocolate for extra flair.
- Peanut Butter Swirl: Stir 1/3 cup creamy peanut butter into the melted marshmallows before adding the cereal. Sprinkle with chopped peanuts on top.
- Cookies and Cream: Fold in 1 cup crushed chocolate sandwich cookies.Add a white chocolate drizzle if you like.
- Salted Caramel: Swirl 1/4 cup thick caramel sauce into the mixture in the pan and finish with a pinch of flaky sea salt.
- Citrus Pop: Add 1 teaspoon orange or lemon zest to the melted butter. Sprinkle with extra zest on top.
- Birthday Cake: Add 1/2 teaspoon almond extract and 1/4 cup rainbow sprinkles. Press a few extra sprinkles on top right after smoothing.
- S’mores: Mix in 1 cup crushed graham crackers and 1/2 cup mini chocolate chips.Torch the top lightly if you’re feeling fancy.
- Mocha Crunch: Stir in 1 teaspoon instant espresso powder with the vanilla and add 1/2 cup chocolate chunks.
FAQ
Can I use jumbo marshmallows instead of mini?
Yes. Use the same weight (10 ounces), but cut or tear them into smaller pieces so they melt evenly. Minis just melt faster and more smoothly.
How do I make them extra chewy?
Reduce the cereal to 5 1/2 cups and keep the heat low when melting.
You’ll get a gooier, softer bite without losing structure.
Can I make them dairy-free?
Use a dairy-free butter alternative and check that your marshmallows are vegan-friendly if needed. Note that some vegan marshmallows take a bit longer to melt, so keep the heat low and be patient.
Why did my treats turn hard?
They were likely overheated or packed too tightly. Melt marshmallows gently on low heat, remove from heat right when smooth, and press the mixture lightly into the pan.
What size pan should I use?
An 8×8 or 9×9 pan works best.
Use 9×13 for thinner bars, but expect a slightly firmer set unless you scale the recipe up by 50%.
Can I add protein powder?
Yes, but use a light hand—start with 1/4 cup and add an extra handful of cereal if the mixture gets sticky. Choose a neutral or vanilla flavor for best taste.
How do I prevent the mixture from sticking to my hands?
Lightly coat your hands or spatula with butter or nonstick spray. You can also press with a piece of parchment to keep everything smooth and clean.
Can I use flavored marshmallows?
You can, but they’re sweeter and can taste artificial.
If using them, skip the vanilla and add a pinch more salt to balance the flavor.
Wrapping Up
These 5-ingredient Rice Krispie treats deliver comfort and flexibility in a single pan. With a dependable base and simple tweaks, you can create a new flavor every time without complicating the process. Keep the heat low, press lightly, and have fun with add-ins.
It’s the kind of recipe you’ll use on repeat, for any occasion.