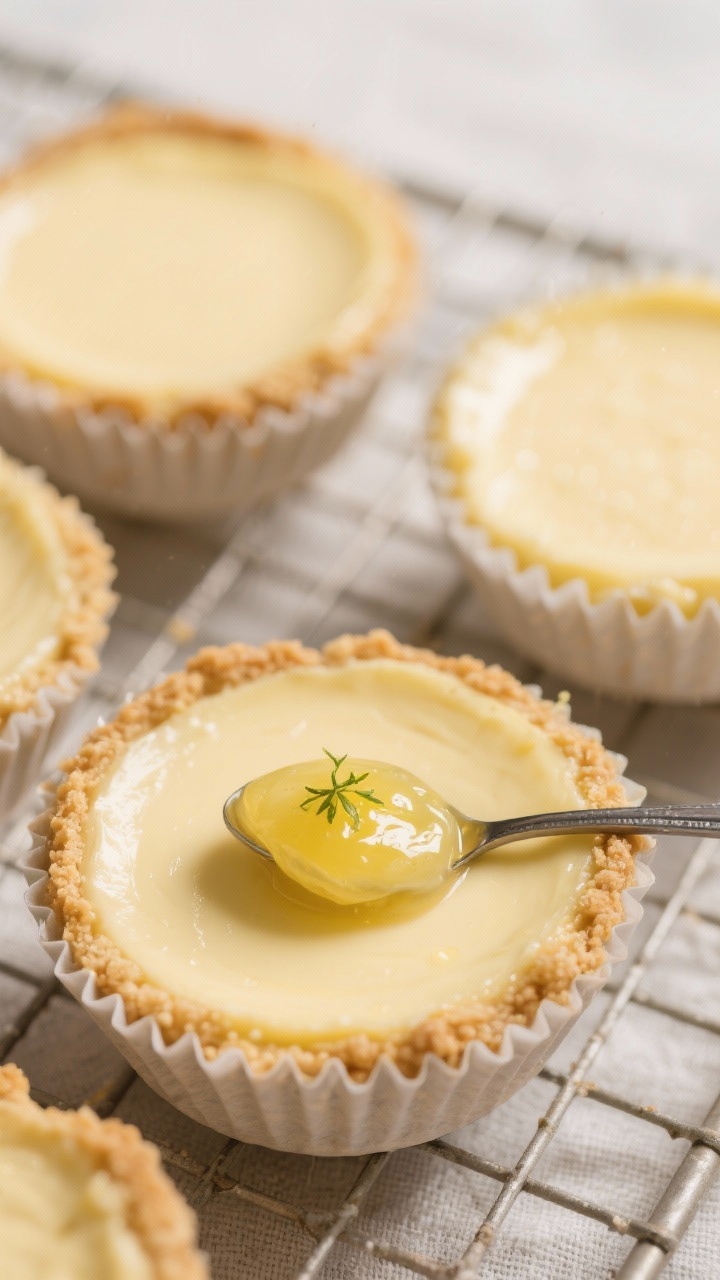
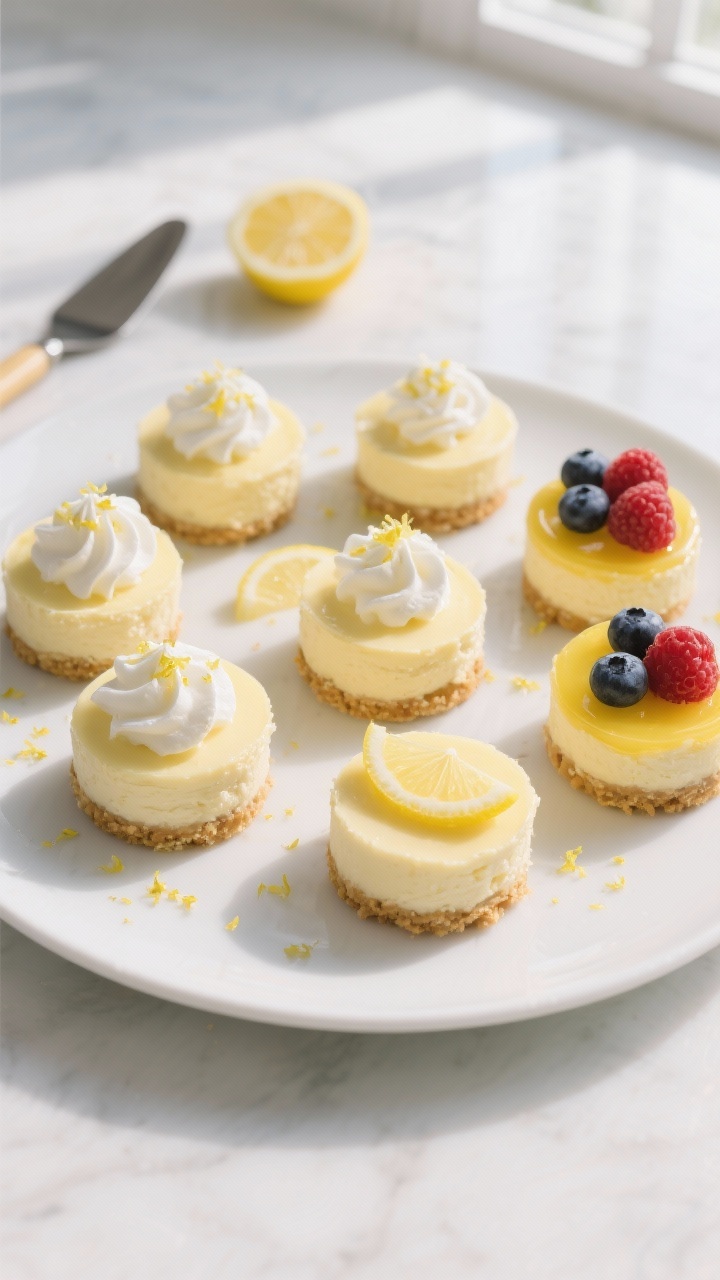
These mini lemon cheesecakes bring sunshine to dessert in the easiest way. They’re creamy, tangy, and baked in a muffin tin for simple individual servings. No water bath, no fuss, just smooth cheesecake with a crisp, buttery crust and a burst of lemon.
They’re the kind of treat that feels special but doesn’t take all afternoon. Bring them to a gathering or keep a batch in the fridge for a sweet pick-me-up.
What Makes This Special
These mini cheesecakes balance rich cream cheese with fresh lemon zest and juice, so each bite tastes light and bright, not heavy. Using a muffin tin makes them portion-friendly and quick to bake.
You’ll get a classic graham cracker crust that stays crisp under the creamy filling. They also chill fast, making them ideal when you need dessert on a schedule. Top them with whipped cream, lemon curd, or berries to match the moment.
Ingredients
- For the crust:
- 1 cup graham cracker crumbs (about 8 full sheets)
- 3 tablespoons granulated sugar
- 4 tablespoons unsalted butter, melted
- Pinch of fine salt
- For the cheesecake filling:
- 16 oz (2 blocks) full-fat cream cheese, softened to room temperature
- 2/3 cup granulated sugar
- 2 large eggs, at room temperature
- 1/3 cup sour cream, at room temperature
- 2 teaspoons lemon zest (from 1–2 lemons)
- 3 tablespoons fresh lemon juice
- 1 teaspoon pure vanilla extract
- Pinch of fine salt
- Optional toppings:
- Lemon curd
- Lightly sweetened whipped cream
- Fresh berries
- Extra lemon zest or thin lemon slices
Step-by-Step Instructions
- Prep your pan and oven. Line a standard 12-cup muffin tin with paper liners.
Preheat the oven to 325°F (163°C). This lower temperature helps keep the cheesecakes smooth.
- Make the crust. In a bowl, mix graham crumbs, sugar, melted butter, and a pinch of salt until the texture resembles wet sand. It should clump when pressed.
- Press the crusts. Divide the mixture among the liners (about 1 tablespoon each).
Press firmly with the back of a spoon or a flat-bottomed measuring cup to create a compact base.
- Pre-bake the crusts. Bake for 5–6 minutes, just until set and fragrant. Set aside to cool slightly while you prepare the filling.
- Beat the cream cheese. In a large bowl, beat softened cream cheese with an electric mixer on medium speed until completely smooth, about 2 minutes. Scrape the bowl to remove any lumps. Smooth cream cheese is key to a silky texture.
- Add sugar and flavorings. Beat in the granulated sugar until dissolved and glossy, about 1 minute.
Mix in lemon zest, lemon juice, vanilla, and salt until combined.
- Add sour cream. Mix in the sour cream on low just until incorporated. This adds creaminess and a gentle tang.
- Add the eggs. Beat in the eggs one at a time on low speed. Mix only until blended. Do not overmix—too much air can cause cracks.
- Fill the cups. Divide the batter evenly among the crusts, filling each about 3/4 full.
Tap the pan gently on the counter to release any air bubbles.
- Bake. Bake at 325°F for 16–19 minutes. They’re done when the centers are slightly jiggly but the edges look set. They shouldn’t brown.
- Cool gradually. Turn off the oven, crack the door, and let the cheesecakes sit inside for 10 minutes.
Then transfer the pan to a rack and cool to room temperature.
- Chill to set. Refrigerate for at least 2 hours, preferably 4. They firm up and develop that signature creamy texture.
- Top and serve. Add a spoonful of lemon curd, a dollop of whipped cream, or fresh berries. A tiny sprinkle of zest looks pretty and adds a little extra zing.
Storage Instructions
- Refrigerate in an airtight container for up to 5 days.
Keep toppings separate until serving for best texture.
- To freeze, place chilled cheesecakes (without toppings) on a baking sheet and freeze until solid. Transfer to a freezer bag or container and store for up to 2 months. Thaw in the fridge overnight.
- For the cleanest look after storage, add fresh toppings just before serving.
Why This is Good for You
These mini cheesecakes deliver balanced portion sizes, so it’s easier to enjoy dessert without overdoing it.
Fresh lemon provides bright flavor with minimal added sugar, so you can keep the sweetness in check. The cream cheese and eggs offer some protein and calcium, which helps with satiety. Most importantly, they satisfy a craving with smaller servings, which can support mindful eating habits.
What Not to Do
- Don’t use cold cream cheese or eggs. Cold ingredients cause lumps, which lead to uneven texture.
- Don’t overmix the batter. Excess air creates domed tops and cracks.
Mix on low and stop when combined.
- Don’t skip the pre-bake on the crust. It helps the crust set and stay crisp under the filling.
- Don’t overbake. If the centers are firm in the oven, they’re already overdone. A slight jiggle is perfect.
- Don’t rush the chilling step. The texture sets in the fridge; warm cheesecakes taste loose and soft.
Alternatives
- Crust swaps: Use vanilla wafer crumbs, shortbread crumbs, or gingersnaps for a spiced twist. Gluten-free graham crackers work well, too.
- Citrus variations: Try lime juice and zest for a key lime vibe, or orange for a sweeter, softer citrus note.
- Sweetener options: Replace granulated sugar with superfine sugar for an ultra-smooth texture.
For a lower-sugar option, use a 1:1 sugar substitute designed for baking.
- Dairy tweaks: Greek yogurt can replace sour cream. For a lighter version, use Neufchâtel (light cream cheese), though the texture will be slightly less rich.
- Topping ideas: Blueberry compote, raspberry sauce, toasted coconut, or a drizzle of honey all pair nicely with lemon.
- No-bake route: Use the same crust, skip pre-baking, and swap the filling for a no-bake lemon cheesecake mixture stabilized with whipped cream and a bit of gelatin. Chill until firm.
FAQ
Can I make these without a muffin liner?
You can, but liners make removal and serving much easier.
If you skip them, grease the cups well and run a thin knife around the edges after chilling to loosen. Silicone muffin pans also work nicely for easy release.
How do I know when they’re done?
Look for edges that are set and centers that still wobble slightly when you nudge the pan. If they’re puffed and starting to brown, they’re overbaked.
They will set fully as they cool and chill.
Why did my cheesecakes crack?
Cracks come from overmixing, baking too long, or rapid temperature changes. Mix on low, stop as soon as ingredients are combined, and let them cool gradually with the oven door cracked. Even if they crack, a little lemon curd or whipped cream hides it.
Can I use bottled lemon juice?
Fresh juice is best.
Bottled lemon juice can taste flat or harsh. The zest is where the bright lemon aroma lives, so don’t skip it.
How far in advance can I make them?
They’re excellent the next day and hold well for up to five days in the fridge. If you’re planning ahead for an event, bake and chill them the day before, then add toppings just before serving.
Can I double the recipe?
Yes.
Bake in two muffin tins on the center racks, rotating halfway through. Keep an eye on the bake time; larger batches may need an extra minute or two, but don’t overbake.
What if I don’t have an electric mixer?
You can use a sturdy whisk and some patience. Make sure the cream cheese is very soft and whisk thoroughly until completely smooth before adding other ingredients.
Can I make them gluten-free?
Absolutely.
Use gluten-free graham crackers for the crust. The filling is naturally gluten-free. Check labels on vanilla extract and toppings to be safe.
How do I get neat, clean edges?
Chill fully before unwrapping the liners.
If topping with lemon curd or whipped cream, add just before serving. A small offset spatula helps smooth the topping for a polished look.
What’s the best way to add extra lemon flavor?
Increase the zest to 3 teaspoons, or swirl in 1–2 tablespoons of lemon curd before baking. For even more punch, finish with a thin layer of lemon curd after chilling.
Final Thoughts
Mini lemon cheesecakes make dessert feel easy, bright, and a little more special.
They’re creamy and zesty, with just enough sweetness to satisfy without weighing you down. Keep the steps simple, respect the chill time, and let the lemon shine. With a batch in the fridge, you’re always a few minutes away from a sunny, perfectly sized treat.