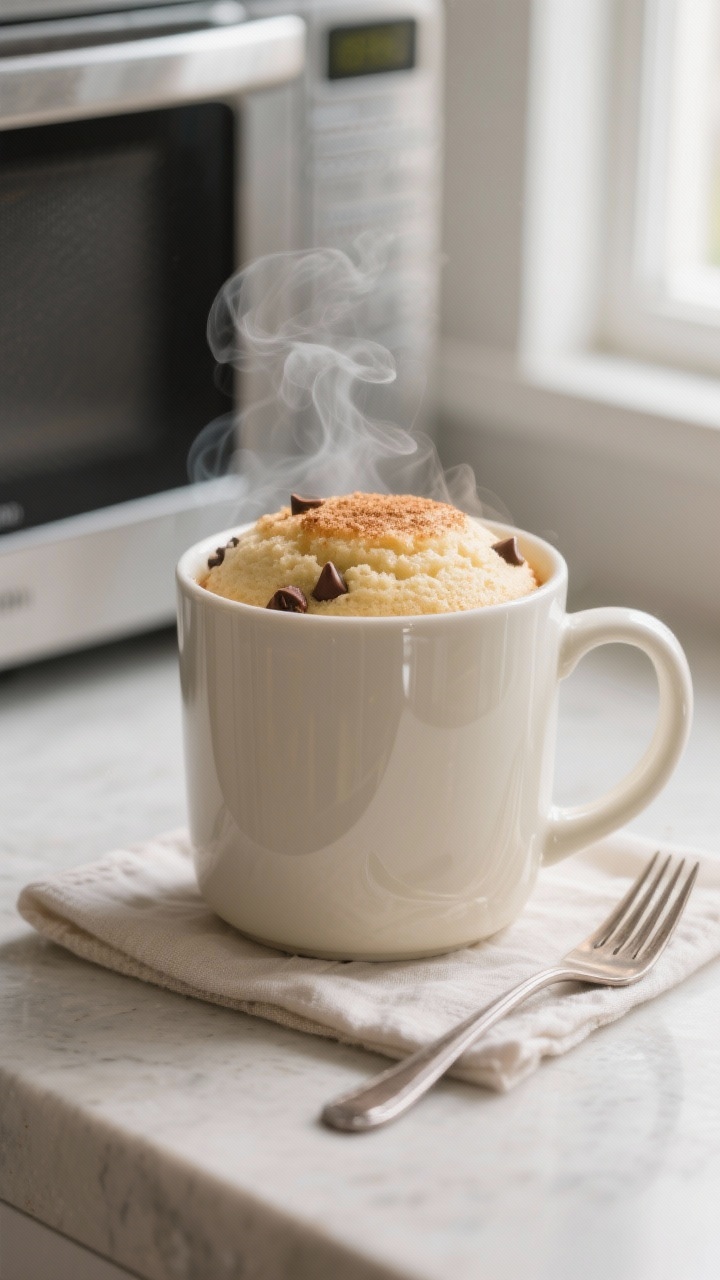
Craving something sweet but don’t want to heat up the oven? This vanilla mug cake is your five-minute fix for a soft, fluffy treat with zero fuss. It comes together in one mug with basic pantry ingredients and cooks in the microwave in about a minute.
No mixers, no complicated steps, and no cleanup headache. It’s the kind of dessert that makes a weekday night feel special or saves a last-minute craving without a store run.
Why This Recipe Works
- Balanced moisture and lift: Milk, oil, and a touch of vanilla keep the cake tender, while baking powder gives it a quick rise.
- Microwave-friendly batter: The ratio of flour to sugar ensures even cooking, so you don’t end up with a gummy center or dry edges.
- Ready in minutes: You can mix and microwave right in the mug—no bowls, no waiting for an oven to preheat.
- Customizable: Easily add chocolate chips, sprinkles, or a pinch of cinnamon without changing the cook time much.
- Small-batch dessert: Perfect when you want cake without leftovers tempting you all week.
Ingredients
- 4 tablespoons all-purpose flour (about 30 g)
- 2 tablespoons granulated sugar
- 1/4 teaspoon baking powder
- Pinch of salt
- 3 tablespoons milk (dairy or unsweetened non-dairy)
- 1 tablespoon neutral oil (canola, vegetable, or light olive oil)
- 1/2 teaspoon vanilla extract
- Optional add-ins: 1 tablespoon mini chocolate chips, rainbow sprinkles, or a pinch of cinnamon
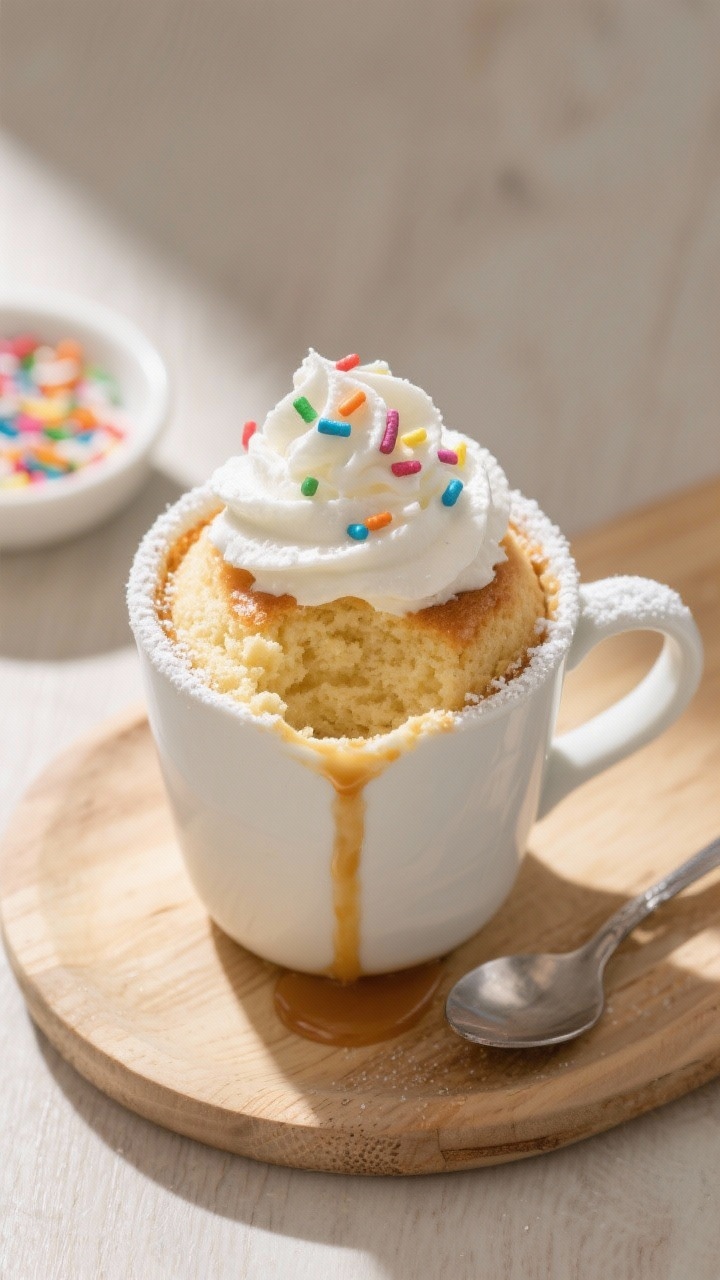
- Optional topping: Whipped cream, ice cream, or a dusting of powdered sugar
Step-by-Step Instructions
- Choose the right mug: Use a microwave-safe 12–14 oz mug to prevent overflow. A wider mug cooks more evenly than a tall, narrow one.
- Mix dry ingredients: Add flour, sugar, baking powder, and a pinch of salt to the mug.
Stir with a fork until well combined and no streaks of baking powder remain.
- Add wet ingredients: Pour in the milk, oil, and vanilla. Stir until the batter is smooth and lump-free. Scrape the bottom and sides so everything mixes evenly.
- Add extras (optional): Fold in chocolate chips or sprinkles.
Don’t overmix—three or four gentle stirs is enough.
- Microwave: Cook on high for 60–90 seconds, depending on your microwave. Start at 60 seconds, then check. The cake should look set on top with a slight bounce when tapped.
If needed, continue in 10–15 second bursts.
- Rest briefly: Let the mug cake sit for 30–60 seconds. It finishes cooking with residual heat and becomes fluffier.
- Top and enjoy: Add whipped cream, a scoop of ice cream, or a drizzle of caramel. Eat warm, straight from the mug.
Storage Instructions
- Best fresh: Mug cakes are meant to be eaten right away.
The texture is lightest when warm.
- Short-term: If you must save it, cover and refrigerate for up to 1 day. Reheat in the microwave for 10–15 seconds with a damp paper towel over the mug.
- Pre-mix hack: Combine several batches of dry ingredients in zip-top bags. When you want cake, pour a bag into a mug, add wet ingredients, and cook.
Benefits of This Recipe
- Quick: From craving to cake in under five minutes.
- Minimal cleanup: It all happens in one mug with one fork.
- Budget-friendly: Uses basic pantry staples you likely already have.
- Portion-controlled: A single serving keeps things simple and satisfying.
- Flexible: Works with dairy-free milk and can be adjusted for different flavor add-ins.
Pitfalls to Watch Out For
- Overcooking: A few extra seconds can make it rubbery.
Microwave power varies, so check early and finish in short bursts.
- Wrong mug size: A small mug may overflow. Use at least a 12–14 oz mug.
- Uneven mixing: Dry pockets of flour can form if you don’t scrape the bottom and sides. Stir well.
- Too much flour: Packing flour into the spoon can dry out the cake.
Lightly spoon flour into the tablespoon and level it off.
- Subbing butter for oil without melting: If using butter, melt it first and let it cool slightly before mixing.
Alternatives
- Dairy-free: Use almond, oat, or soy milk. Make sure chocolate chips (if using) are dairy-free.
- Gluten-free: Swap flour for a 1:1 gluten-free baking blend that includes xanthan gum. Texture may be slightly denser but still tasty.
- Egg-free (as written): This recipe doesn’t use eggs, which keeps it light.
No replacements needed.
- Lower sugar: Reduce sugar to 1.5 tablespoons. The cake will be less sweet but still pleasant.
- Flavor twists:
- Lemon: Add 1/2 teaspoon lemon zest and a few drops of lemon juice.
- Cinnamon sugar: Mix 1/4 teaspoon cinnamon into the batter and sprinkle a little on top before microwaving.
- Funfetti: Stir in 1 tablespoon rainbow sprinkles.
- Chocolate chip: Add 1 tablespoon mini chips and a pinch of sea salt.
FAQ
Can I use butter instead of oil?
Yes. Use 1 tablespoon melted butter instead of oil.
Let it cool for 30 seconds before mixing so it doesn’t scramble the batter or create dense spots.
How do I know when the mug cake is done?
The top should look set and slightly springy. A toothpick or the tip of a knife should come out mostly clean with a few moist crumbs. If it’s still wet, cook in 10–15 second intervals.
Why did my cake turn rubbery?
It’s usually from overcooking or using too much flour.
Start with a shorter cook time and measure flour lightly. Also, avoid overmixing once the batter is smooth.
Can I double the recipe?
Make two separate mugs instead of doubling in one mug. Two single mugs cook more evenly.
Microwave them one at a time for best results.
Can I make it without baking powder?
You need a leavener for lift. In a pinch, use 1/8 teaspoon baking soda plus 1/4 teaspoon lemon juice or vinegar, but the flavor and texture will change slightly.
What if my microwave is very powerful?
Start at 45–50 seconds and check. High-wattage microwaves cook fast.
Finish in short bursts to avoid drying out the cake.
Can I add frosting?
Absolutely. A spoonful of canned frosting will melt slightly over the warm cake. Or mix powdered sugar with a few drops of milk and vanilla for a quick glaze.
In Conclusion
This easy vanilla mug cake gives you warm, fluffy dessert in minutes with ingredients you already have.
It’s simple, flexible, and perfect for a quick treat without turning on the oven. Keep the dry ingredients pre-measured in your pantry, and you’re never more than a minute away from cake. Add your favorite toppings, grab a spoon, and enjoy.