This no-bake chocolate biscuit cake is the kind of recipe you keep forever. It’s quick to assemble, uses simple ingredients, and tastes like a cross between a chocolate bar and a fudge cake. You don’t need an oven, a mixer, or special skills—just a saucepan and a pan to set it in.
It’s a great make-ahead dessert for holidays, birthdays, or those moments when you want something sweet without fuss. Slice it thinly; it’s rich, satisfying, and unbelievably good.
What Makes This Special
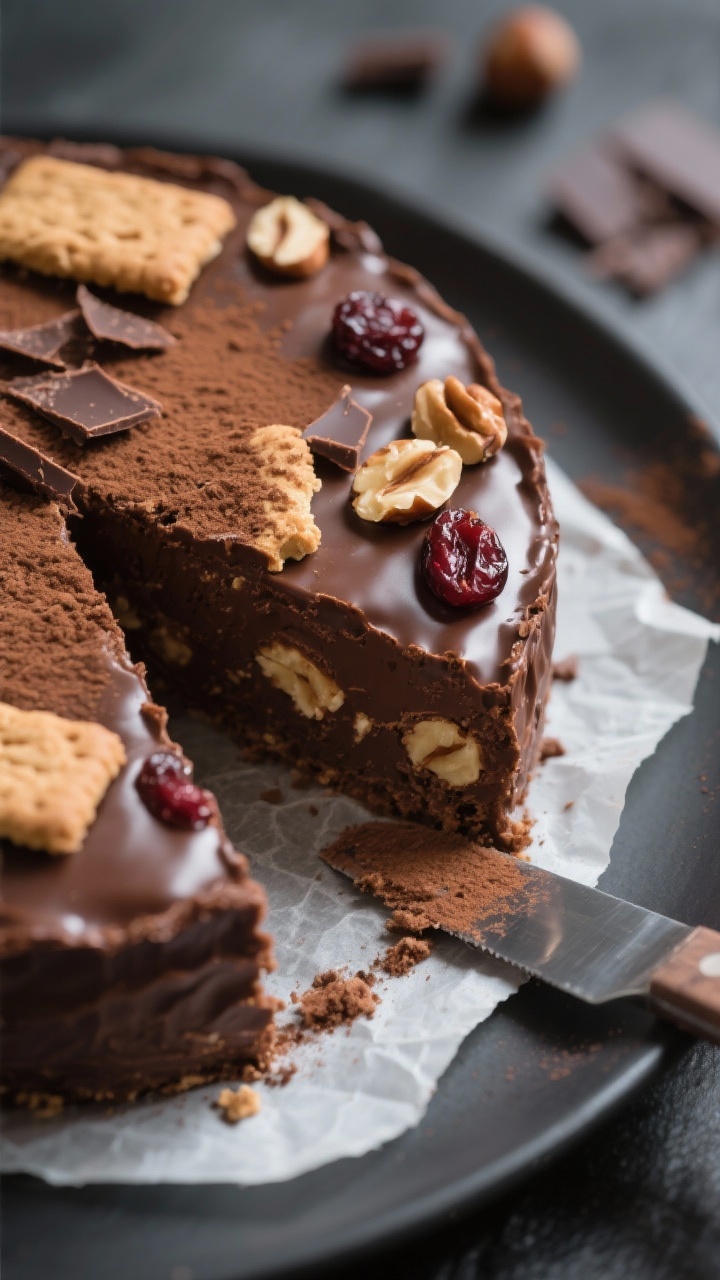
This cake is all about texture and flavor. The crisp biscuits stay snappy inside a glossy, fudgy chocolate coating, giving every bite a perfect crunch.
It’s ready with basic pantry staples and sets in the fridge—no baking drama. The recipe is flexible too: you can add nuts, dried fruit, or even a splash of coffee for depth. Best of all, it holds beautifully, so you can make it ahead and forget about it until dessert time.
What You’ll Need
- Plain tea biscuits or digestive biscuits (about 350–400 g) – Rich Tea, Maria, or digestives work well.
- Dark chocolate (250 g) – 50–70% cocoa gives a balanced flavor.
- Milk chocolate (100 g) – Adds sweetness and a softer finish.
- Unsalted butter (150 g) – For richness and smooth texture.
- Heavy cream (120 ml) – Helps create a silky ganache-like coating.
- Granulated sugar (75 g) – Adjust to taste based on chocolate sweetness.
- Honey or golden syrup (2 tbsp) – Adds shine and helps the mixture set.
- Vanilla extract (1 tsp) – Optional, for aroma.
- Pinch of salt – Balances the sweetness.
- Optional add-ins (about 1 cup total): chopped toasted nuts (walnuts, hazelnuts, almonds), raisins, dried cherries, mini marshmallows, or crushed pretzels.
- Optional topping: extra melted chocolate, cocoa powder dusting, or chocolate shavings.
How to Make It
- Prep the pan. Line a 9×5-inch loaf pan or an 8-inch square pan with parchment, leaving overhang for easy lifting.
Lightly grease the parchment so the cake releases cleanly.
- Break the biscuits. Place biscuits in a large bowl and break them into rough pieces, about 1–2 inches. Keep some larger chunks for crunch and some smaller crumbs to help bind.
- Heat the base. In a saucepan over low heat, add butter, sugar, honey or golden syrup, and cream. Stir gently until the sugar dissolves and the mixture is hot but not boiling.
- Melt the chocolate. Remove the pan from heat.
Add dark and milk chocolate, the vanilla, and a pinch of salt. Let sit for 1 minute, then stir until completely smooth and glossy.
- Combine. Pour about two-thirds of the chocolate mixture over the biscuits. Fold gently with a spatula until everything is coated.
Add more chocolate mixture as needed to coat without making it soupy. If using add-ins like nuts or dried fruit, fold them in now.
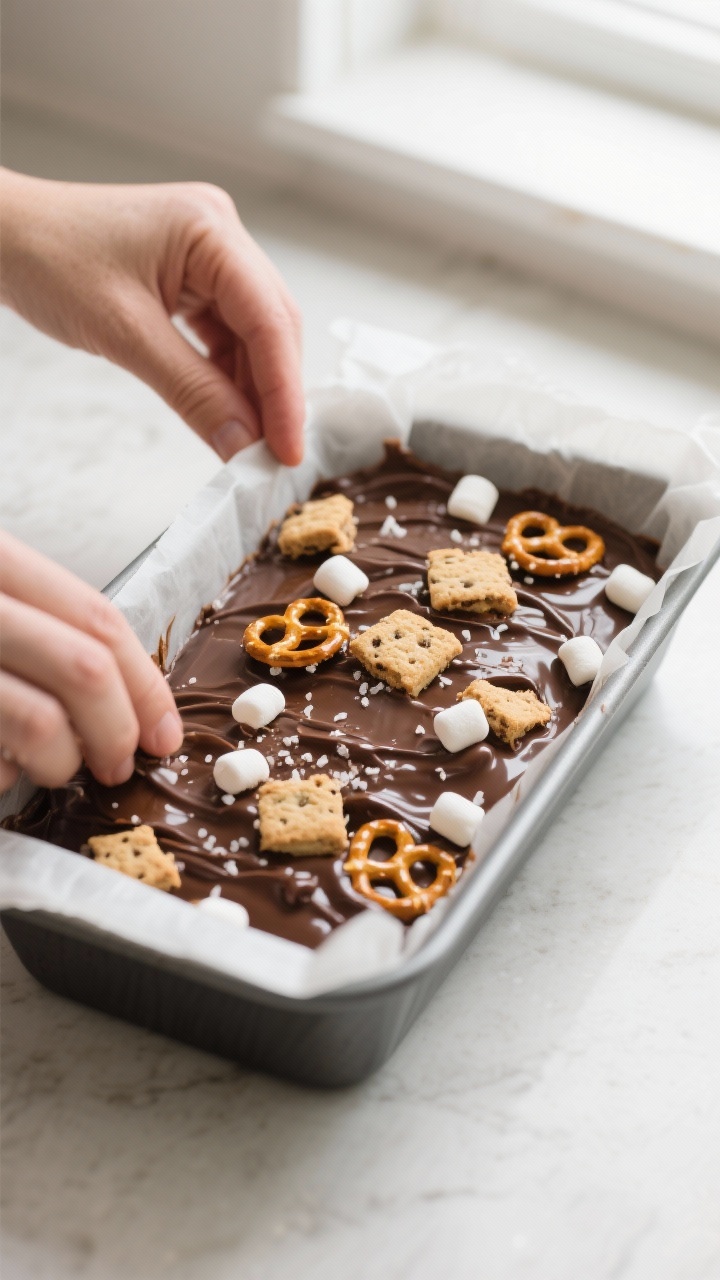
- Pack and level. Spoon the mixture into the lined pan. Press down firmly with the back of a spoon or a sheet of parchment to compress and even the surface.
Firm packing helps clean slices later.
- Top it off (optional). Spread any remaining chocolate mixture over the top for a smooth finish. You can also drizzle extra melted chocolate or sprinkle with chopped nuts.
- Chill to set. Refrigerate for at least 3–4 hours, or until very firm. For best results, chill overnight.
- Slice and serve. Lift the cake using the parchment.
Warm a sharp knife under hot water, wipe it dry, and cut into thin slices or small squares. This cake is rich, so smaller portions work well.
How to Store
- Refrigerator: Keep tightly wrapped or in an airtight container for up to 1 week.
- Freezer: Wrap the whole cake or individual slices well and freeze for up to 2 months. Thaw in the fridge for several hours before serving.
- Room temperature: For short periods (1–2 hours), it’s fine if your kitchen is cool.
Warm rooms may soften the cake.
Benefits of This Recipe
- No oven needed. Perfect for hot days or when you don’t feel like baking.
- Beginner-friendly. Straightforward steps with forgiving measurements.
- Budget-conscious. Uses basic, affordable ingredients with big flavor payoff.
- Customizable. Works with different biscuits, chocolates, and mix-ins.
- Make-ahead dessert. Sets in the fridge and improves in texture by the next day.
Common Mistakes to Avoid
- Overheating the chocolate. High heat can seize or split it. Melt off the heat and stir until smooth.
- Crushing biscuits too finely. You want a mix of chunks and crumbs. Too fine and the texture becomes dense.
- Skipping the salt. A pinch sharpens the chocolate flavor and balances sweetness.
- Not packing the mixture firmly. Light packing leads to crumbly slices.
Press down well to set a solid structure.
- Cutting before it’s fully set. Warm, soft cake will smudge. Chill thoroughly and use a hot knife for clean edges.
Variations You Can Try
- Mocha Biscuit Cake: Stir 1–2 teaspoons of instant espresso powder into the warm cream for a subtle coffee note.
- Fruit and Nut: Add chopped toasted hazelnuts and dried cherries for a Black Forest vibe.
- Peanut Crunch: Swap in crushed salted peanuts and a swirl of peanut butter on top.
- Orange Chocolate: Add 1 teaspoon orange zest and a splash of orange extract for a bright, citrusy twist.
- Mint Chocolate: Use a few drops of peppermint extract and top with crushed chocolate mints.
- Salted Pretzel: Fold in broken pretzels and finish with a pinch of flaky sea salt.
- All Dark or All Milk: Adjust sugar to taste if you change the chocolate blend.
- Gluten-Free: Use certified gluten-free biscuits and check labels on chocolate and add-ins.
FAQ
Can I use only dark chocolate?
Yes. The cake will be less sweet and more intense.
If using all dark chocolate, consider adding an extra tablespoon of honey or a little more sugar to balance the bitterness, depending on your taste.
Which biscuits work best?
Plain, lightly sweet biscuits are ideal: digestives, Rich Tea, Maria, petit-beurre, or graham crackers. Avoid cream-filled cookies; they can make the mixture greasy.
Do I need golden syrup, or can I use honey?
Either works. Golden syrup provides a deeper, caramel-like note and helps with structure.
Honey adds floral sweetness. Maple syrup is less ideal because it’s thinner and can make the mixture looser.
How do I prevent the chocolate from seizing?
Melt off the heat and avoid water contact. Make sure all bowls and tools are dry, and don’t overheat.
If it thickens, whisk in a splash of warm cream to bring it back.
Can I make this dairy-free?
Yes. Use dairy-free chocolate, vegan butter, and coconut cream or a barista-style plant cream. Check your biscuits to ensure they’re dairy-free.
How long should I chill it?
At least 3–4 hours, but overnight is best for clean slicing and a fully set texture.
If you’re in a rush, pop it in the freezer for 45–60 minutes, then finish in the fridge.
Why is my cake crumbly when slicing?
It likely wasn’t packed firmly or fully chilled. Next time, press down more in the pan and chill longer. For now, use a hot, sharp knife and wipe between cuts.
Can I make it in a round pan?
Absolutely.
An 8-inch springform pan works well. Line or grease, pack the mixture evenly, and chill until firm.
How sweet is this recipe?
Moderately sweet. The mix of dark and milk chocolate plus a touch of sugar keeps it balanced.
If you prefer less sweet, reduce the sugar slightly or skip the milk chocolate.
Is this safe at room temperature for a party?
It’s fine for 1–2 hours in a cool room. In warm conditions, the butter and chocolate may soften. Keep it chilled and bring it out just before serving for neat slices.
Wrapping Up
No-bake chocolate biscuit cake is a low-effort, high-reward dessert that always hits the mark.
It’s crunchy, fudgy, and endlessly adaptable to your pantry and mood. Make it a day ahead, slice it thin, and watch it disappear. Keep this recipe in your back pocket—it’s the kind of classic that saves the day again and again.