Nothing says comfort like a creamy banana pudding cup. It’s nostalgic, unfussy, and always a crowd-pleaser. These no-bake cups come together quickly, look beautiful layered in clear glasses, and taste like you spent hours on them.
They’re perfect for weeknights, potlucks, birthdays, or anytime you want something sweet without turning on the oven. If you love simple desserts with big payoff, this one delivers.
What Makes This Special
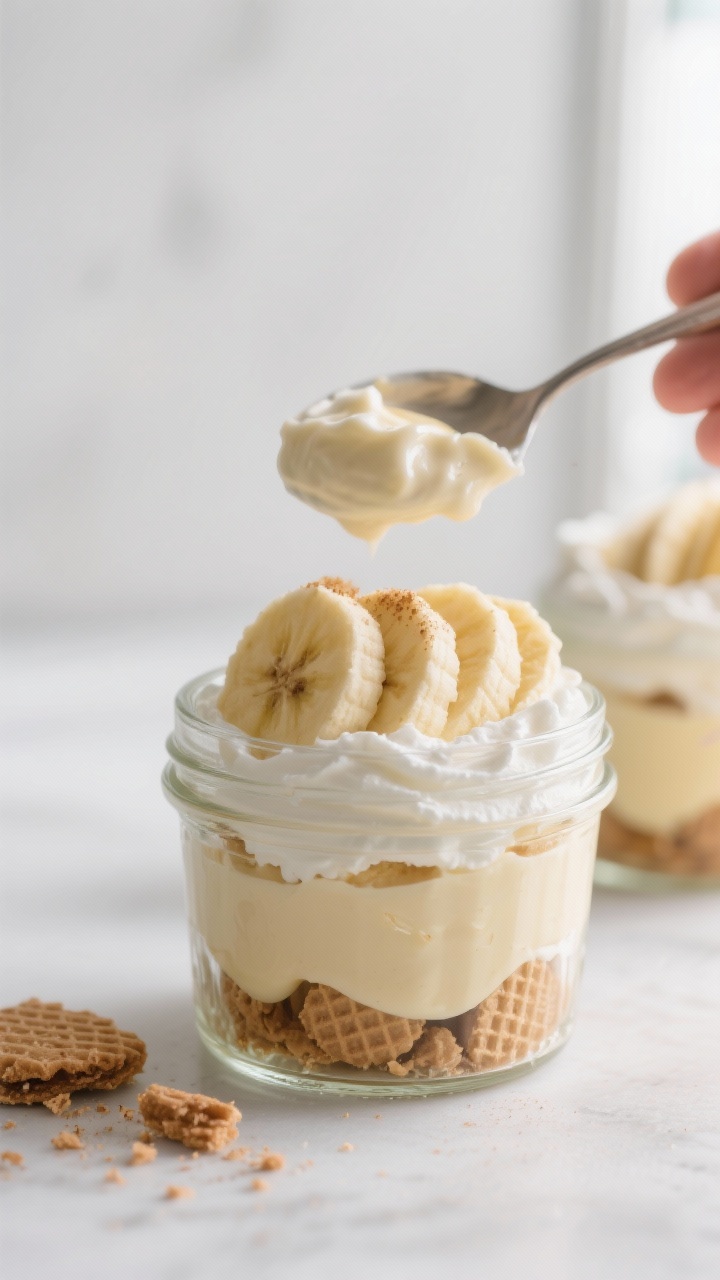
These banana pudding cups are all about layers: silky pudding, fluffy whipped cream, soft bananas, and buttery vanilla wafers. The textures mingle—creamy, airy, and a little crunchy—so every bite feels indulgent.
Because it’s no-bake, you can make it year-round, no matter the weather. And since the portions are individual, they look polished and are easy to serve.
Best of all, you can make them ahead and let the flavors meld. As the wafers soften, they transform into cake-like layers that taste like a shortcut trifle.
This is the kind of dessert that makes everyone happy, from kids to grandparents.
Ingredients
- 2 cups cold whole milk (or 2%, but whole milk gives a richer texture)
- 1 (3.4 oz) box instant vanilla pudding mix (banana flavor also works, but vanilla gives a balanced base)
- 1 cup cold heavy whipping cream
- 3 tablespoons powdered sugar (adjust to taste)
- 1 teaspoon vanilla extract
- 3–4 ripe bananas (yellow with small brown speckles)
- 2–3 cups vanilla wafer cookies (Nilla wafers or similar)
- Optional add-ins: pinch of salt, lemon juice for bananas, crushed wafer crumbs for topping, or cinnamon for dusting
How to Make It
- Mix the pudding: In a bowl, whisk the cold milk and instant pudding mix for 2 minutes until smooth and thick. Let it sit for 5 minutes to set.
- Whip the cream: In a chilled bowl, beat heavy cream, powdered sugar, and vanilla until soft peaks form. Don’t overbeat.
You want it cloud-like, not stiff.
- Lighten the pudding: Fold half the whipped cream into the pudding until just combined. This gives you a lighter, mousse-like texture. Reserve the remaining whipped cream for topping.
- Prep the bananas: Slice the bananas just before assembling.
If you’re worried about browning, lightly toss slices with a teaspoon of lemon juice. Pat dry to avoid excess moisture.
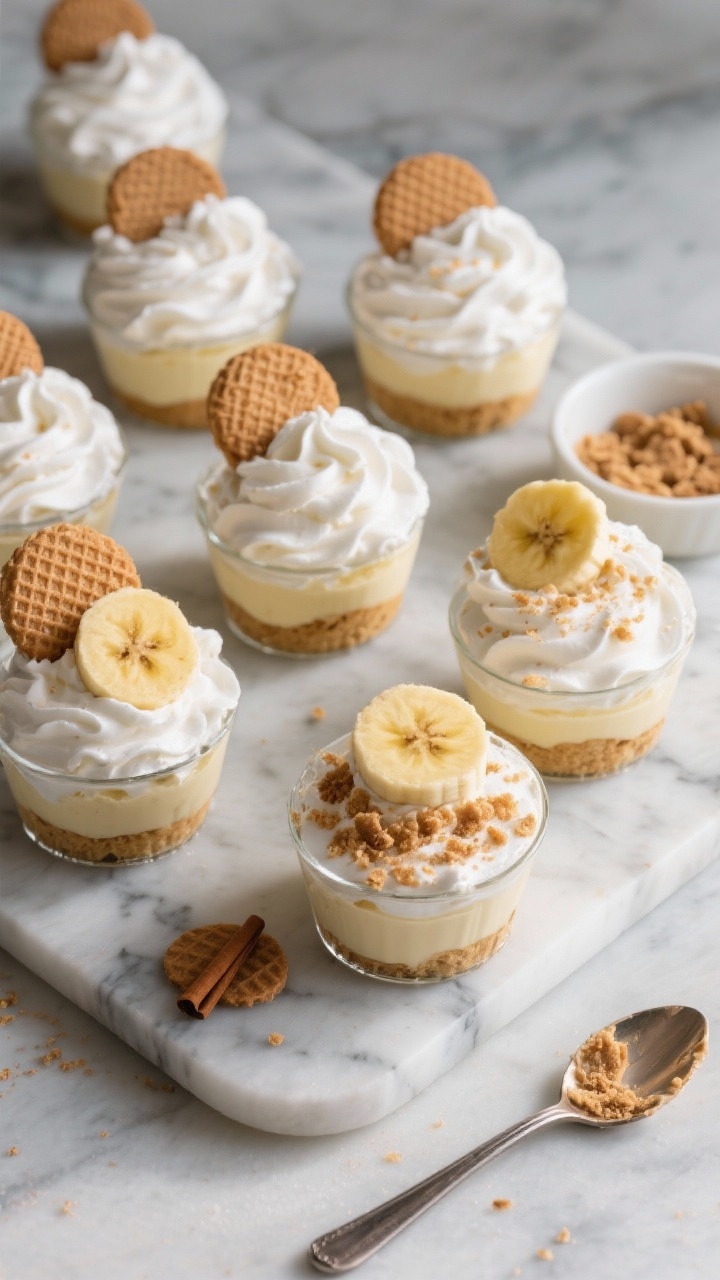
- Layer the cups: In 6–8 small glasses or jars, add a layer of vanilla wafers (whole or broken to fit), a few banana slices, and a generous spoonful of pudding mixture.
- Repeat the layers: Add another round of wafers, bananas, and pudding. Aim for 2–3 layers depending on cup size.
Finish with a smooth layer of pudding on top.
- Top it off: Spoon or pipe the remaining whipped cream over the cups. Add crushed wafer crumbs, a banana slice, or a light dusting of cinnamon for garnish.
- Chill: Cover and refrigerate for at least 2 hours. For a softer, cake-like wafer texture, chill 4–6 hours or overnight.
- Serve: Enjoy cold.
Add fresh banana slices right before serving if you want extra brightness.
Storage Instructions
- Refrigerate: Keep covered in the fridge for up to 3 days. The wafers will continue to soften, which many people love.
- Banana browning: Bananas will naturally darken over time. To keep a fresh look, add a few new slices on top before serving.
- Make-ahead tip: Assemble up to 24 hours ahead for events.
For the neatest look, add the top banana garnish day-of.
- Freezing: Not recommended. The texture of bananas and pudding changes and can become watery once thawed.
Why This is Good for You
This dessert is comfort food, but it still offers a few perks. Bananas provide potassium, fiber, and vitamin B6.
Using real whipped cream lets you control sweetness and avoid extra additives. If you choose 2% milk and limit added sugar, the dessert stays lighter while still tasting rich. Portioning the cups individually helps with mindful serving.
Pitfalls to Watch Out For
- Overbeating the cream: It can turn grainy or start to separate.
Stop at soft peaks.
- Using warm milk for the pudding: Instant pudding needs cold milk to set properly.
- Overripe bananas: Too many brown spots can make them mushy and overly sweet. Aim for ripe but firm.
- Skipping chill time: The flavors mellow and wafers soften as they rest. Rushing means less cohesion.
- Watery layers: Too much lemon juice or very juicy bananas can water down the pudding.
Pat banana slices dry if needed.
Recipe Variations
- Peanut Butter Twist: Whisk 2–3 tablespoons creamy peanut butter into the pudding or drizzle peanut butter between layers. Add chopped roasted peanuts for crunch.
- Chocolate Lovers: Use chocolate pudding or add mini chocolate chips between layers. A light cocoa dust on top is lovely.
- Light and Greek: Fold 1/2 cup plain Greek yogurt into the pudding for a tangy, protein-packed version.
Sweeten slightly if needed.
- Cookie Swap: Replace wafers with shortbread, graham crackers, or Biscoff cookies for a spiced, caramel note.
- Dairy-Free: Use almond or oat milk with a pudding mix that sets with non-dairy milk, and top with coconut whipped cream.
- Party-Size Trifle: Layer everything in a large glass bowl instead of cups. It’s showy and easy to serve a crowd.
- Salted Caramel Upgrade: Drizzle a thin ribbon of caramel between layers and finish with a pinch of flaky sea salt.
FAQ
Can I use homemade pudding instead of instant?
Yes. A classic cooked custard or pastry cream is delicious here.
Just make sure it’s fully cooled before layering so it doesn’t melt the whipped cream or soften the wafers too quickly.
How do I keep bananas from turning brown?
Use fresh slices and assemble close to chill time. Lightly tossing slices with lemon juice helps, but keep it minimal to avoid changing the flavor. Adding a fresh slice on top right before serving keeps the presentation bright.
Can I make this the night before?
Absolutely.
Overnight chilling gives you that classic soft-wafer texture. If you prefer more crunch, add a layer of fresh wafers on top just before serving.
What size cups should I use?
Six to eight-ounce glasses or jars work well. If you use smaller 4–5 ounce cups for parties, plan on more servings and thinner layers.
Is there a lower-sugar option?
Use sugar-free pudding mix, reduce the powdered sugar in the whipped cream, and choose 2% milk.
The bananas bring natural sweetness, so you likely won’t miss the extra sugar.
Can I use frozen bananas?
Not ideal. Thawed bananas release water and become mushy, which can make the layers runny. Fresh bananas hold their shape and texture best.
What if I only have cook-and-serve pudding?
You can use it—just cook according to package instructions, cool completely, then proceed.
Be sure it’s cold and thick before folding in whipped cream.
Do I need to pipe the whipped cream?
No. A spooned dollop looks just as inviting. If you want a bakery look, use a piping bag with a star tip and finish with crushed wafers or a banana slice.
Final Thoughts
No-bake banana pudding cups are the kind of dessert that makes life easier and sweeter.
They’re simple to assemble, flexible to your taste, and always welcome at the table. Whether you’re hosting a celebration or craving a cozy treat on a quiet night, these cups show up with comfort and charm. Keep this recipe handy—you’ll make it more than once.