Let’s be honest—nothing beats a hot dog slathered in rich, savory chili. But if you’ve ever grabbed a can of store-bought chili, you know it’s often watery, bland, or weirdly sweet. That’s where homemade hot dog chili comes in. Trust me, once you make this at home, you’ll never look at a canned can the same way again.
I remember the first time I made my own chili specifically for hot dogs. My friends thought I’d hired a personal chef or something. Nope, just a little patience, some quality ingredients, and a love for messy, delicious food. If you’ve been craving that perfect chili topping—rich, savory, and a little spicy—you’re in the right place.
Why Homemade Chili Topping Rocks
Before we talk ingredients, let’s get real about why making your own chili for hot dogs is worth it.
- Flavor control: You decide how salty, spicy, or savory it gets.
- Texture perfection: Thick, not watery. Smooth, not lumpy.
- Custom heat levels: From kid-friendly to tongue-burning.
Ever wonder why chili tastes amazing at a ballpark? Yeah, most of that magic is homemade or freshly made. Store-bought versions just can’t compete.
Ingredients You’ll Need
To make authentic, savory hot dog chili, you don’t need a laundry list of ingredients—just quality stuff and the right balance.
1. Ground Beef
- Choose lean ground beef (85% lean works best).
- It’s the backbone of your chili, adding richness and texture.
2. Onion and Garlic
- Finely chopped onions add sweetness and depth.
- Garlic gives that aromatic punch we all love.
3. Tomato Base
- Tomato paste or crushed tomatoes work. I like a mix of both for richness and body.
- They create that classic chili color and texture.
4. Chili Powder & Paprika
- Chili powder = heat + flavor.
- Paprika adds smokiness and color.
5. Cumin
- Gives a warm, earthy undertone that balances the spice.
6. Worcestershire Sauce & Soy Sauce
- These umami boosters make your chili taste deep and meaty.
- Optional: a splash of apple cider vinegar to brighten flavors.
7. Sugar
- Just a pinch to balance acidity from the tomatoes.
8. Salt & Pepper
- Obvious, but essential. Adjust to taste.
Step-by-Step Hot Dog Chili Recipe
Making this chili isn’t rocket science. Follow these steps, and you’ll have thick, savory chili ready in no time.
Step 1: Cook the Meat
- Heat a large skillet or saucepan over medium heat.
- Add the ground beef, breaking it apart with a spatula.
- Cook until browned, about 5–7 minutes.
Pro tip: Don’t drain all the fat—you want a little fat for flavor.
Step 2: Sauté the Aromatics
- Add chopped onions to the beef, sauté until translucent.
- Add garlic and cook 30 seconds until fragrant.
Ever wondered why onions and garlic are so crucial? They’re the flavor foundation—skip them, and your chili will taste flat.
Step 3: Build the Sauce
- Stir in tomato paste and cook 2 minutes to remove raw flavor.
- Add chili powder, paprika, and cumin—toast them slightly in the pan.
- Pour in a splash of Worcestershire sauce and a teaspoon of sugar.
This is where your chili starts smelling irresistible. Seriously, the aroma alone is worth it.
Step 4: Simmer
- Add ½ cup water or beef broth.
- Reduce heat to low and simmer for 15–20 minutes, stirring occasionally.
- Adjust thickness by adding more water if too thick or simmer longer if too thin.
Simmering is key—this step blends flavors and thickens your chili perfectly for hot dogs.
Tips for the Perfect Hot Dog Chili
Want your chili to be next-level? Try these tricks:
- Don’t over-salt early: Salt concentrates as it simmers.
- Use fresh spices: Old chili powder = bland chili.
- Adjust heat gradually: Start mild—you can always kick it up later.
- Optional beans?: For classic hot dog chili, skip beans. They change the texture and flavor profile.
How to Serve
Now that your chili is rich and savory, let’s talk toppings.
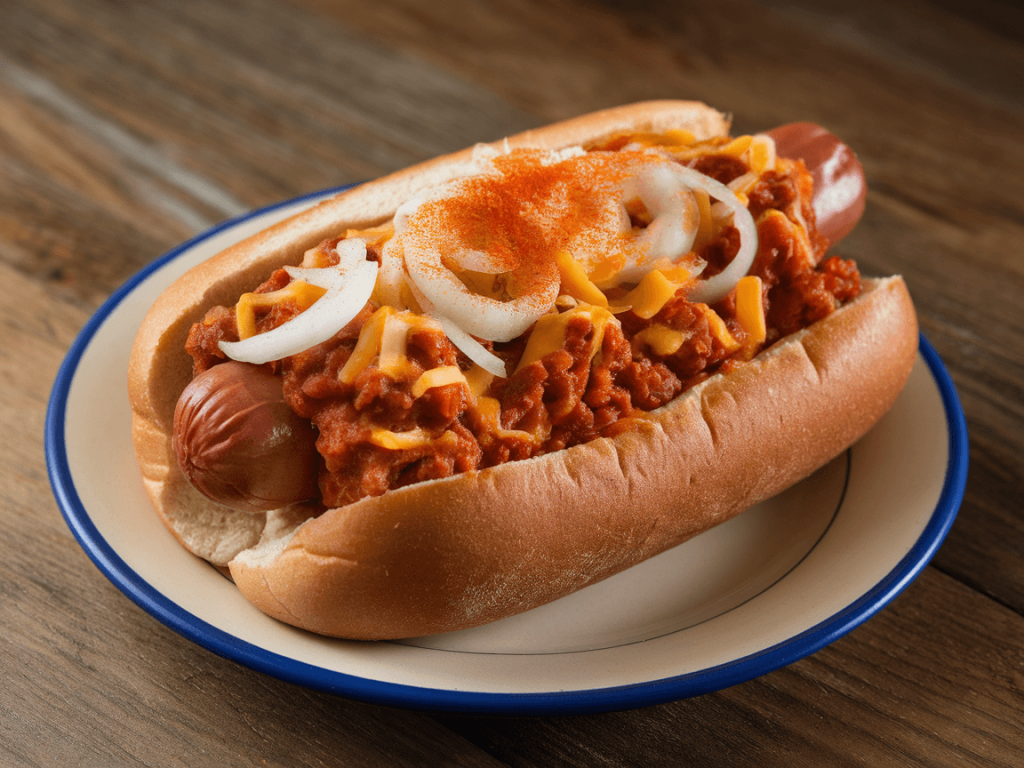
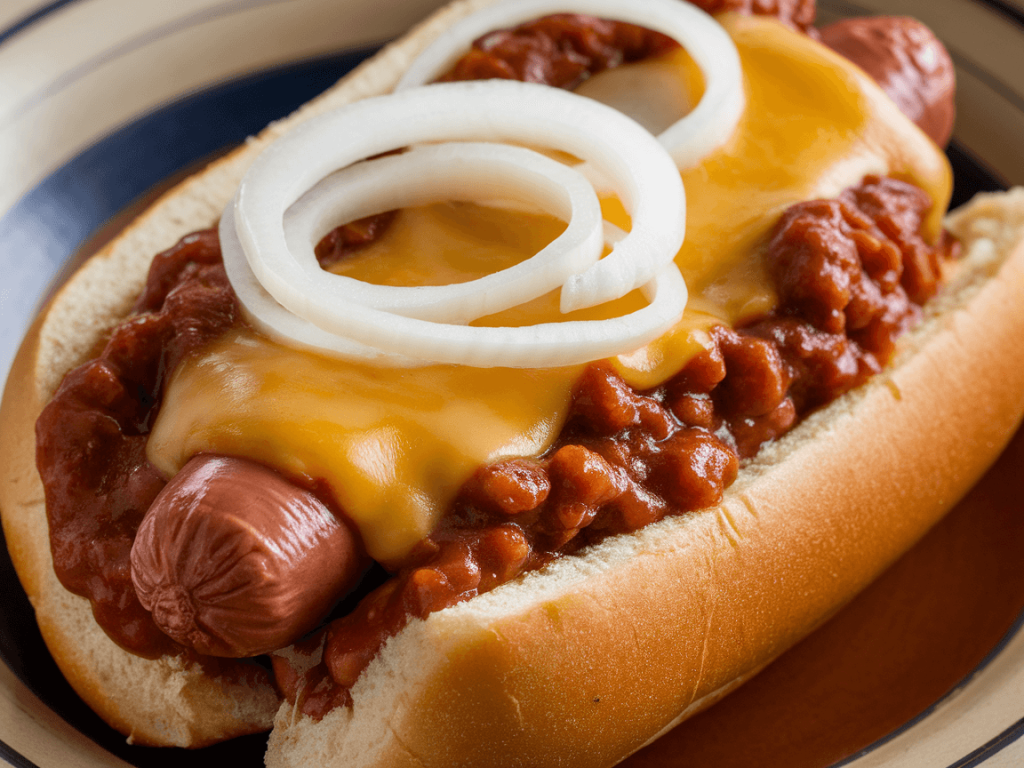
Classic Hot Dog Setup
- Steamed or toasted buns
- Your homemade chili
- Shredded cheese (cheddar works best)
- Optional: diced onions, mustard, or pickles
Other Uses
- Chili fries
- Nachos
- Sloppy joes (trust me, it works)
Ever noticed how chili can elevate anything it touches? It’s magical.
Make-Ahead and Storage Tips
- Refrigerate: Chili lasts 3–4 days in an airtight container.
- Freeze: Great for up to 3 months. Portion into freezer bags for convenience.
- Reheat gently: Low heat on the stove preserves flavor and texture.
FYI, making extra chili is a brilliant idea—it tastes even better the next day.
Adjusting Flavor to Your Taste
For Mild Heat
- Reduce chili powder and skip cayenne.
- Paprika alone can add color without fire.
For Spicy Kick
- Add cayenne, crushed red pepper, or hot paprika.
- Taste as you go—you can always add more.
For Extra Depth
- A splash of soy sauce or a teaspoon of coffee enhances umami.
- A pinch of smoked paprika gives a BBQ-like vibe.
Common Mistakes to Avoid
- Using low-fat beef: Chili gets too dry.
- Skipping the simmer: Chili needs time to meld flavors.
- Adding too much water: You want thick chili that clings to the hot dog.
- Over-spicing early: Taste as you go for balance.
Quick Version for Busy Nights
If you’re short on time:
- Brown meat and onions together.
- Add tomato paste, spices, and ½ cup water.
- Simmer 10 minutes until thick.
Still tasty, but slower simmering develops richer flavor—IMO, worth the wait on weekends.
Why Homemade Beats Cans Every Time
| Feature | Homemade | Canned Chili |
|---|---|---|
| Flavor | Rich, savory, customizable | Often bland or overly sweet |
| Texture | Thick, perfect for topping | Sometimes watery or pasty |
| Ingredients | Fresh, no preservatives | Additives and fillers |
| Heat control | Fully adjustable | Fixed heat |
| Satisfaction | Feels like chef-level cooking | Meh… |
Honestly, homemade is 100% worth the few extra minutes.
Fun Variations
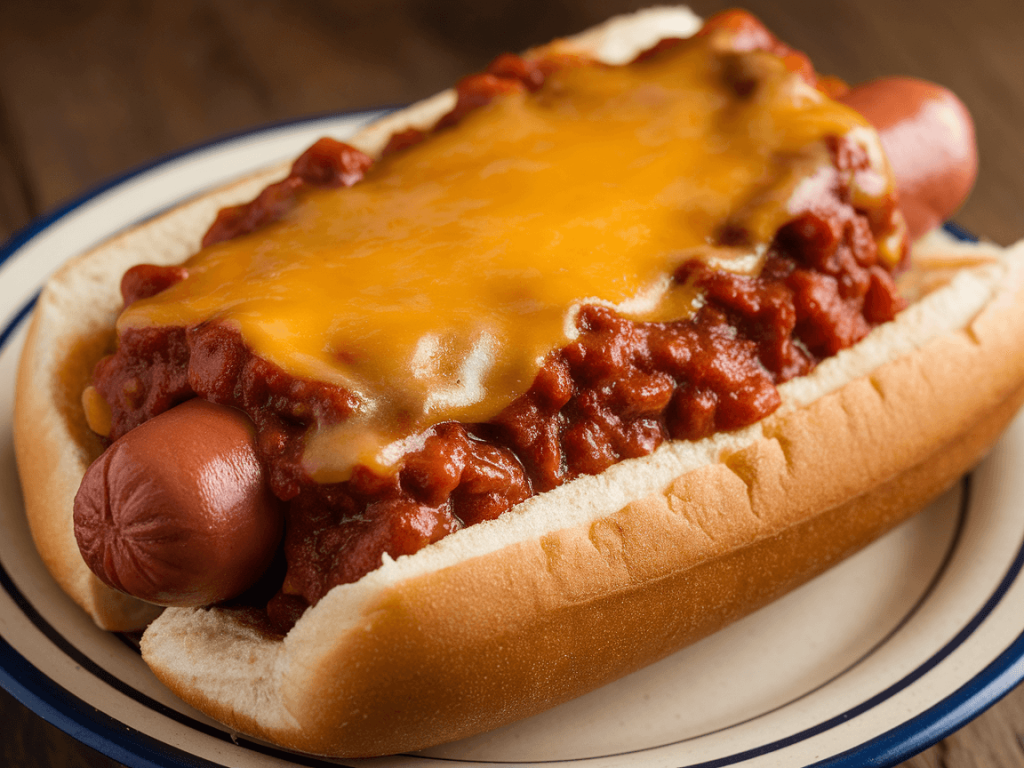
- Cheesy Chili Dogs: Add shredded cheese into the chili itself.
- Spicy Chili Dogs: Mix in hot sauce or jalapeños.
- Sweet & Smoky: Add brown sugar and smoked paprika for a BBQ-inspired twist.
Ever experimented with toppings? A little creativity can make your chili truly unforgettable.
Serving Suggestions for Gatherings
Hosting a backyard cookout or game day?
- Set up a DIY chili dog bar: buns, chili, cheeses, onions, and mustard.
- Keep chili in a slow cooker to stay warm for hours.
- Provide napkins—seriously, this is messy deliciousness.
Friends will think you’re a culinary genius. (No need to tell them it’s just a few simple ingredients.)
Tips for Perfect Chili Consistency
- Too thin? Simmer longer, uncovered.
- Too thick? Add broth or water in small increments.
- Want smooth chili? Mash lightly with a potato masher or blend a bit.
Consistency matters—it’s the difference between sloppy and spectacular.
Making It Ahead for Busy Weeknights
- Cook chili in advance and refrigerate.
- Reheat and top hot dogs for a stress-free dinner.
- Works for meal prep too—pair with buns or chili fries.
IMO, this is a game-changer for weeknight dinners—fast, hearty, and satisfying.
Final Thoughts
Making homemade hot dog chili isn’t just about topping a dog—it’s about flavor, control, and satisfaction. Once you taste the difference between homemade and store-bought, you’ll never go back. Thick, rich, savory chili clinging to a perfectly toasted bun? That’s happiness on a plate.
So grab your ground beef, spices, and tomato paste, and start cooking. Trust me, your hot dogs—and your taste buds—will thank you. And don’t forget to serve with extra napkins—this chili is messy, but totally worth it.