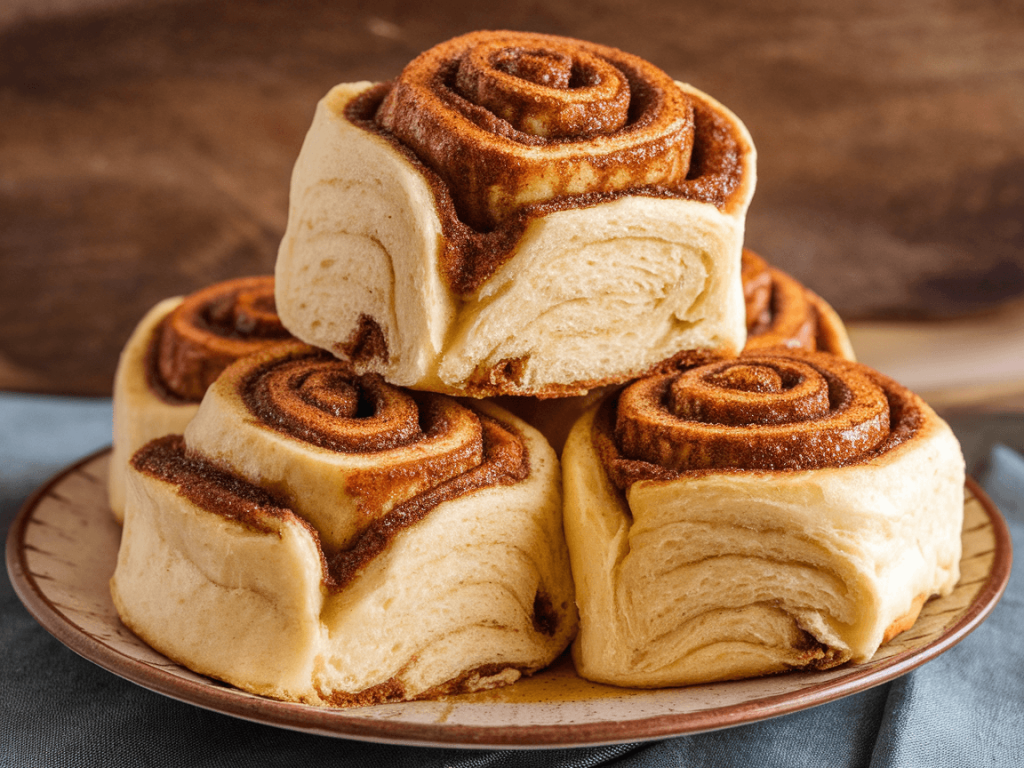
Can we just take a moment to appreciate the magic of cinnamon rolls? I mean, there’s something about that combination of soft, fluffy dough, gooey cinnamon filling, and sweet, melty icing that just hits different. Honestly, if comfort food had a mascot, it would probably be a warm cinnamon roll straight out of the oven.
I’ve spent my fair share of mornings trying to perfect these little bundles of joy, and trust me, the results are worth every bit of effort (even if you burn the first batch…yeah, I’ve been there). Today, I’m going to walk you through my easy, foolproof cinnamon rolls recipe that’s soft, gooey, and perfectly sweet. No fancy tools, no weird ingredients, just a bowl, a rolling pin, and a lot of cinnamon love.
Why Homemade Cinnamon Rolls Beat Store-Bought Any Day
Sure, you can grab a pack of frozen cinnamon rolls and call it a day, but honestly…why would you? Here’s why making them at home is a game-changer:
- Freshness – warm rolls straight from the oven > anything pre-packaged.
- Customizable – more cinnamon, more sugar, or even extra gooey? Your call.
- Fun to make – okay, maybe not fun, but satisfying. Plus, your house smells amazing.
Ever wondered why bakery rolls taste so good? Secret’s out: fresh dough and patience. And FYI, homemade versions can taste just as amazing, if not better.
Ingredients You’ll Need
Don’t panic. You probably have most of this stuff sitting in your kitchen already.
For the Dough:
- 1 cup warm milk (about 110°F / 43°C)
- 2 ¼ tsp active dry yeast (1 packet)
- ¼ cup granulated sugar
- ⅓ cup unsalted butter, melted
- 1 tsp salt
- 2 large eggs
- 4 cups all-purpose flour
For the Filling:
- 1 cup brown sugar, packed
- 2 ½ tbsp ground cinnamon
- ¼ cup unsalted butter, softened
For the Glaze:
- 1 cup powdered sugar
- 2-3 tbsp milk or cream
- ½ tsp vanilla extract
IMO, the butter + cinnamon + sugar combo is basically edible gold.
Step-by-Step Instructions
Making cinnamon rolls isn’t rocket science, but a few tips will make them next-level.
Step 1: Prepare the Dough
- Warm your milk until it’s cozy to the touch, not scalding.
- Sprinkle yeast and a pinch of sugar over the milk. Let it sit 5-10 mins until it foams.
- Mix in melted butter, sugar, salt, and eggs.
- Gradually add flour until a soft dough forms.
Ever wonder why the yeast matters so much? It’s the secret behind fluffy, pillow-like rolls. Without it, you’d end up with dense bricks…not ideal.
Step 2: Knead and Let It Rise
- Knead the dough for about 5-7 minutes until smooth.
- Place it in a greased bowl, cover, and let it rise for 1-2 hours, or until doubled in size.
Pro tip: I like to cover mine with a slightly damp towel. Keeps the dough soft and prevents drying out.
Step 3: Roll It Out
- Punch down the risen dough and roll it into a rectangle, about 16×12 inches.
- Spread softened butter evenly over the dough.
- Mix brown sugar + cinnamon and sprinkle generously on top.
Here’s a rhetorical question: ever tried cinnamon rolls without enough sugar? Sad experience, right? Don’t skimp.
Step 4: Roll and Slice
- Starting from the long edge, roll the dough into a tight log.
- Slice into 12 equal rolls. I like to use floss—it cuts cleanly without squishing.
IMO, cutting with floss is a game-changer. Way cleaner than using a knife.
Step 5: Second Rise
- Place rolls in a greased baking dish, leaving a little space between each.
- Cover and let them rise for 30-45 minutes.
The second rise makes rolls fluffy and soft—skip it, and you’ll regret it.
Step 6: Bake
- Preheat oven to 350°F (175°C).
- Bake rolls for 20-25 minutes, until golden brown.
FYI, oven temperatures vary, so keep an eye on them. Golden is perfect; dark brown? Slightly overzealous.
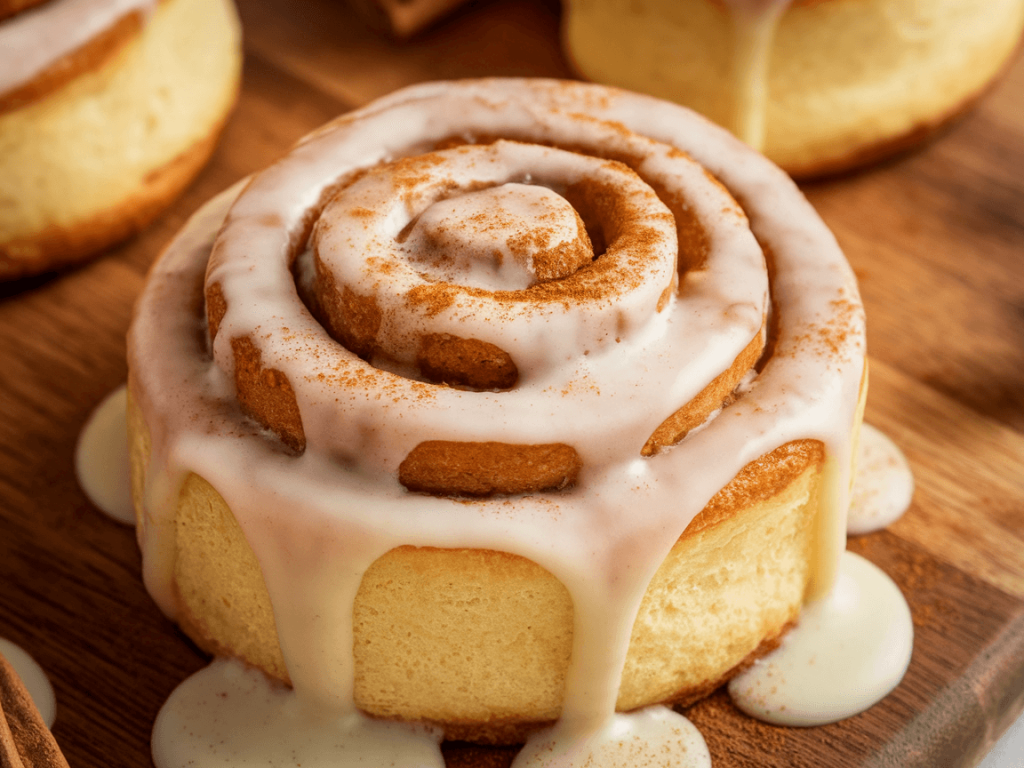
Step 7: Glaze
- Mix powdered sugar, milk, and vanilla until smooth.
- Drizzle over warm rolls.
- Optional: slather it on for a gooey, decadent experience.
Ever noticed how the glaze melts into the crevices? That’s the part that makes people go “wow.”

Tips for Soft and Gooey Cinnamon Rolls
- Use warm milk – too hot kills yeast, too cold slows it down.
- Don’t overmix flour – overworked dough = tough rolls.
- Butter generously – don’t be stingy, it’s part of the magic.
- Second rise is essential – patience pays off.
- Serve warm – microwave leftovers for 10-15 seconds for soft perfection.
Fun Variations to Try
Cinnamon rolls are like a blank canvas—get creative!
1. Cream Cheese Cinnamon Rolls
- Add a layer of cream cheese filling along with the cinnamon sugar.
- Frost with a cream cheese glaze for extra indulgence.
IMO, this one is the ultimate dessert-meets-breakfast hybrid.
2. Nutty Cinnamon Rolls
- Sprinkle chopped pecans, walnuts, or almonds over the cinnamon sugar.
- Adds crunch and nutty goodness.
3. Chocolate Cinnamon Rolls
- Add mini chocolate chips along with the cinnamon filling.
- Chocolate + cinnamon = a match made in heaven.
4. Apple Cinnamon Rolls
- Add thin apple slices or diced apple to the filling.
- Optional: caramel drizzle over the top.
Ever wondered why bakeries charge so much for “fancy” rolls? Most of the time, it’s all about toppings and presentation. DIY is cheaper and tastier.
Common Mistakes to Avoid
Even seasoned bakers mess up sometimes. Here’s what I’ve learned:
- Not proofing yeast properly – results in dense rolls.
- Overfilling with sugar – gooey is good, lava is messy.
- Skipping the second rise – you’ll end up with rolls that are chewy instead of fluffy.
- Baking too long – golden brown, not dark brown.
These are rookie mistakes, but once you know them, your cinnamon rolls will be Instagram-ready.
Serving Suggestions
- Breakfast – fresh rolls with coffee or tea.
- Brunch – pair with fresh fruit and whipped cream.
- Dessert – serve with vanilla ice cream.
- Snack – honestly, anytime works.
FYI, cinnamon rolls don’t judge when you eat three in a row.
Why Homemade Cinnamon Rolls Are Worth It
Let’s be honest: the smell of fresh cinnamon rolls baking is worth the effort alone. But beyond that:
- Control sweetness and spice – customize to your taste.
- Impress friends and family – homemade looks fancy.
- Therapeutic – kneading, rolling, and slicing is oddly satisfying.
IMO, homemade cinnamon rolls are like a warm hug—soft, sweet, and comforting.
Quick Tips for Leftovers
- Microwave – 10-15 seconds to revive softness.
- Freeze unbaked rolls – bake straight from freezer for fresh rolls anytime.
- Store baked rolls – airtight container at room temp for 2 days, or fridge for up to a week.
Trust me, keeping rolls soft is easier than you think. Just treat them gently.
Conclusion
So there you have it: an easy cinnamon rolls recipe that’s soft, gooey, and perfectly sweet. From mixing the dough to drizzling glaze, every step is designed for maximum comfort and flavor. Whether you stick with classic cinnamon sugar or experiment with chocolate, nuts, or apples, these rolls will never disappoint.
Next time you crave a warm, cozy treat, remember this recipe. Bonus: it’s a great way to impress guests—or just treat yourself (IMO, no one can ever have too many cinnamon rolls :).
Give it a try, embrace the mess, and enjoy the sweet, soft, gooey perfection that only homemade cinnamon rolls can deliver. Trust me, once you go homemade, there’s no turning back.