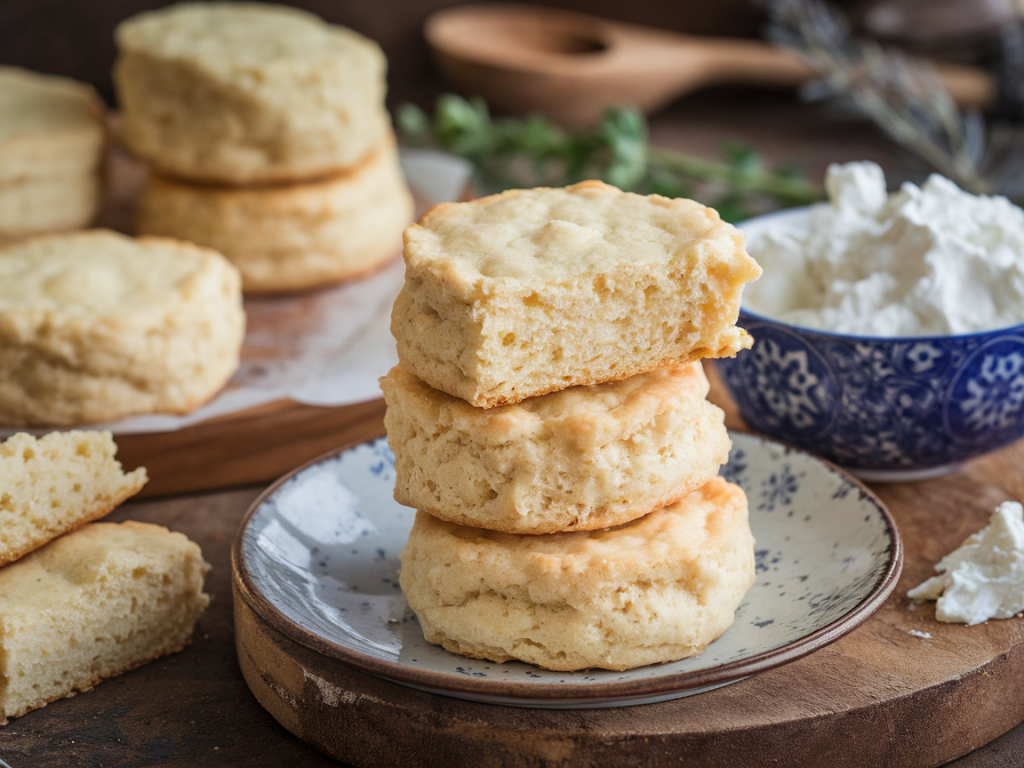
Ever bitten into a biscuit so soft it practically melts in your mouth, and wondered why store-bought ones can’t even come close? Yeah, me too. That’s why I started making cottage cheese biscuits at home. Seriously, they’re soft, fluffy, and ridiculously easy. Plus, using cottage cheese adds a subtle tang and extra moisture that turns ordinary biscuits into something you’ll want to eat plain, with butter, or smothered in gravy (because why not?).
I remember my first batch—I wasn’t expecting much, honestly. But that golden, fluffy perfection coming out of my oven? Life-changing. If you’ve been craving homemade biscuits that are light, tender, and full of flavor, you’re in for a treat. Let’s get into it.

Why Cottage Cheese Makes the Best Biscuits
Before we get to the recipe, let’s chat about why cottage cheese is a game-changer for biscuits:
- Moisture without heaviness: Cottage cheese keeps biscuits tender without turning them dense.
- Extra protein: You’re sneaking in some nutrition while indulging.
- Slight tangy flavor: Adds depth, which butter alone can’t achieve.
- Better texture: The curds help create a soft, fluffy crumb.
Ever wondered why some biscuits rise perfectly while others flop? Cottage cheese gives you that lift naturally. Trust me, it’s worth the extra step.
Ingredients for Fluffy Cottage Cheese Biscuits
Here’s what you’ll need for a batch that serves 8–10 biscuits:
- 2 cups all-purpose flour (plus extra for dusting)
- 1 tablespoon baking powder
- ½ teaspoon baking soda
- 1 teaspoon salt
- ¼ cup cold butter, cut into cubes
- 1 cup cottage cheese (small curd works best)
- 2–3 tablespoons milk
Optional flavor boosters:
- 1 teaspoon garlic powder for savory biscuits
- 2 tablespoons fresh chopped herbs (like chives or parsley)
Pro Tip: Don’t overmix the dough! Overworking develops gluten and can make biscuits tough.
Step-by-Step Instructions for Perfect Biscuits
1. Preheat & Prep
Start by preheating your oven to 425°F (220°C). Line a baking sheet with parchment paper or lightly grease it. High heat is key for that golden top.
2. Mix Dry Ingredients
In a large bowl, combine:
- 2 cups flour
- 1 tablespoon baking powder
- ½ teaspoon baking soda
- 1 teaspoon salt
Give it a quick whisk to evenly distribute. Simple, but trust me, it matters.
3. Cut in the Butter
Add cold butter cubes to the dry mix. Use a pastry cutter, two forks, or your fingers to blend until the mixture resembles coarse crumbs. Tiny butter chunks help create flaky layers inside the biscuit.
Ever wondered why cold butter is a must? Warm butter melts too early, and your biscuits will lose that flaky texture we all love.
4. Add Cottage Cheese
Stir in 1 cup of cottage cheese until just combined. The mixture will look slightly sticky but that’s okay—it’s supposed to.
5. Add Milk (Optional)
If the dough feels dry, add 2–3 tablespoons of milk. The dough should be soft but not overly wet. I usually start with 2 tablespoons and only add more if needed.
Pro Tip: The moisture from cottage cheese sometimes makes additional milk unnecessary, so go easy.
6. Shape the Biscuits
Turn the dough onto a floured surface. Gently pat it into a rectangle or circle about ¾-inch thick. Use a biscuit cutter or a glass to cut rounds. Press straight down—don’t twist; twisting seals the edges and prevents a proper rise.
7. Bake to Golden Perfection
Place biscuits on your prepared baking sheet close together—this encourages them to rise tall. Bake for 12–15 minutes or until golden brown on top.
Rhetorical Question: Ever noticed how the smell of freshly baked biscuits can instantly make your kitchen feel like heaven? Yep, this is that moment.

Tips for Extra Fluffy Biscuits
Want to go from good to wow? Try these tips:
- Keep ingredients cold: Cold butter and cold dairy = flakier biscuits.
- Minimal handling: Less kneading = lighter biscuits.
- High heat: 425°F ensures biscuits rise properly.
- Close together in pan: Touching biscuits rise taller instead of spreading out.
I’ll admit, my first batch spread everywhere because I spaced them too far apart. Rookie mistake. Don’t make the same one. 😅
Flavor Variations You’ll Love
1. Cheesy Herb Biscuits
Add ½ cup shredded cheddar and 1 tablespoon fresh herbs to the dough. Cheddar melts in pockets, giving a cheesy surprise in every bite.
2. Garlic Parmesan Biscuits
Mix 1 teaspoon garlic powder and 2 tablespoons grated Parmesan into the dough. Perfect for pasta nights or as a savory snack.
3. Sweet Cinnamon Biscuits
For a sweet twist, mix 2 tablespoons sugar and 1 teaspoon cinnamon into the dry ingredients. Top with a drizzle of glaze after baking for a treat that’s perfect with morning coffee.
Rhetorical Question: Isn’t it amazing how small tweaks can completely transform your biscuits?
How to Store & Reheat Biscuits
- Room temperature: Keep in an airtight container for 2–3 days.
- Freezing: Wrap tightly in foil or freezer bags; lasts up to 3 months.
- Reheating: Warm in the oven at 350°F for 5–7 minutes, or microwave for 20–30 seconds.
Pro Tip: Freezing biscuits right after baking keeps them tasting fresh. I always make a double batch and freeze half—breakfast solved for the week!
Common Mistakes to Avoid
Even simple recipes can go wrong. Watch for these:
- Overmixing dough: Leads to tough biscuits.
- Butter too warm: Biscuits lose flakiness.
- Underbaking: Raw centers; always check for golden tops.
- Using low-fat cottage cheese: Moisture content matters. Full-fat works best for soft, tender biscuits.
Why Cottage Cheese Biscuits Are a Game-Changer
Honestly, I can’t recommend cottage cheese biscuits enough. They’re:
- Soft & fluffy: Way better than most store-bought options.
- Moist: No crumbly, dry bites.
- Versatile: Works for breakfast, lunch, or dinner.
- Quick & easy: About 20–25 minutes from start to finish.
Ever noticed how something seemingly simple, like changing one ingredient, can make a massive difference? Cottage cheese does that for biscuits.
Serving Suggestions
Here are some ways I love to enjoy these biscuits:
- Breakfast: Split and spread with butter, jam, or honey.
- Lunch: Use as a sandwich base with eggs or turkey.
- Dinner: Pair with gravy, soups, or chili.
- Snack: Warm with a sprinkle of cheese or herbs.
IMO, they taste even better fresh from the oven, but leftovers are still delicious when reheated.
FAQ About Cottage Cheese Biscuits
Q: Can I make these gluten-free?
A: Absolutely! Use a 1-to-1 gluten-free flour blend instead of all-purpose flour. Texture will be slightly different but still delicious.
Q: Can I use ricotta instead of cottage cheese?
A: Yes! Ricotta gives a smoother texture and adds a subtle sweetness.
Q: How do I get extra fluffy biscuits?
A: Keep butter cold, don’t overmix, and bake at high heat.
Q: Can I make smaller biscuits?
A: Sure! Reduce baking time to 10–12 minutes. Perfect for sliders or bite-sized snacks.
Personal Tips for Perfect Biscuits Every Time
- Measure flour correctly: Too much flour = dense biscuits.
- Chill ingredients: Especially butter and cottage cheese.
- Don’t twist cutters: Always press straight down.
- Experiment: Herbs, cheese, or spices can transform your biscuits.
FYI, my family has developed a slight addiction to these biscuits. I make a batch almost every weekend now—worth every minute.
Conclusion
Making fluffy cottage cheese biscuits at home is easier than most people think. With cold butter, the right flour, and cottage cheese, you get biscuits that are soft, tender, and bursting with flavor. Whether you like them sweet, savory, or classic, these biscuits are versatile, easy, and irresistible.
Next time you crave biscuits, skip the store-bought ones and try this recipe. Your kitchen will smell amazing, your taste buds will thank you, and honestly, you’ll feel like a baking rockstar. 😎
So grab your cottage cheese, preheat that oven, and get ready for fluffy perfection. Trust me, one bite, and you’ll be hooked.