Let me ask you something—have you ever bought pita bread from the store, tried to fill it with hummus or falafel, and felt disappointed by how flat and chewy it was? Yeah, me too. That’s why I started making homemade pita bread. Once you get the hang of it, it’s actually super easy, and the results are soft, fluffy, and perfect for stuffing or dipping.
I remember the first time I made pita bread at home; I was worried it wouldn’t puff up properly. But after a few tries (and some minor kitchen disasters—FYI, flour everywhere), I finally nailed it. Now, I make pita bread for lunches, snacks, or even quick dinner hacks. And let me tell you, nothing beats slicing into a fresh, warm pita and seeing that perfect pocket.
So, let’s get into it—here’s how to make homemade pita bread that’s soft, fluffy, and quick to make, without needing fancy equipment or hours of waiting.
Why Homemade Pita Bread Is Worth It
Before we jump into the recipe, let’s talk about why making pita at home is such a game-changer:
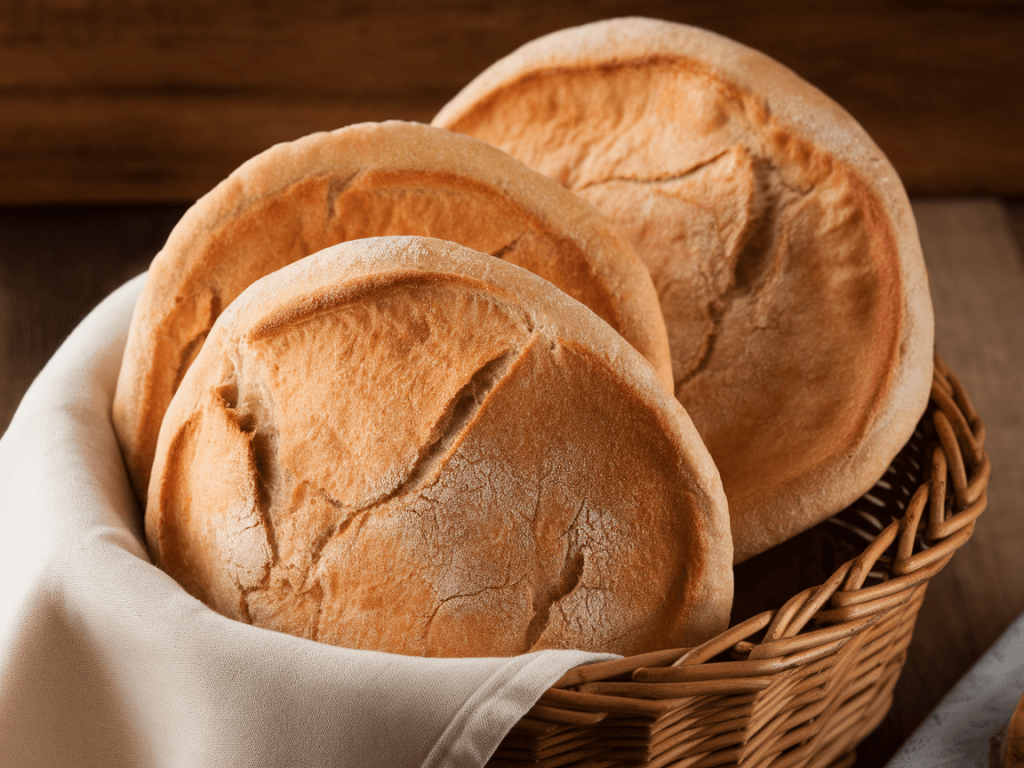
- Freshness matters: Store-bought pita tends to be dry and flavorless. Homemade pita? It’s warm, pillowy, and tastes like magic.
- You control the ingredients: No preservatives or sketchy additives—just flour, water, yeast, and love.
- Customizable flavor: Want garlic, herbs, or sesame seeds? Go for it.
- Super versatile: Pitas are perfect for sandwiches, dips, wraps, or even mini pizzas.
Ever wondered why authentic pita always tastes better at restaurants? Yep, fresh ingredients and proper baking technique make all the difference.
Ingredients You’ll Need
The beauty of pita bread is that it’s simple, minimal, and approachable. Here’s what you’ll need for about 8 pita rounds:
Basic Ingredients:
- 3 cups all-purpose flour
- 1 ½ teaspoons salt
- 1 tablespoon sugar
- 1 packet (2 ¼ teaspoons) active dry yeast
- 1 ¼ cups warm water (not too hot—yeast hates scalding water)
- 2 tablespoons olive oil
Optional Toppings:
- Sesame seeds
- Poppy seeds
- Za’atar or dried herbs
Pro Tip: Using fresh, warm water and good-quality olive oil really elevates the flavor and texture. Trust me on this one.
Step-by-Step Instructions
Step 1: Activate the Yeast
In a small bowl, mix warm water, sugar, and yeast. Let it sit for 5–10 minutes until it’s frothy.
Tip: If your yeast doesn’t foam, it’s dead. Don’t panic—you just need fresh yeast. Ever wondered why bakeries never have flat pita? Yep, it starts here.
Step 2: Make the Dough
In a large mixing bowl, combine flour and salt. Add the yeast mixture and olive oil. Mix until it forms a sticky dough.
- Knead by hand for 8–10 minutes, or use a stand mixer with a dough hook.
- You want a soft, smooth, and slightly tacky dough.
FYI: Too sticky? Sprinkle a bit more flour. Too dry? Add a teaspoon of water at a time. Dough is like Goldilocks—you want it just right.
Step 3: First Rise
Grease a bowl lightly and place the dough inside. Cover with a damp cloth and let it rise in a warm spot for 1–2 hours, or until it doubles in size.
Tip: I sometimes preheat my oven to 100°F, turn it off, and let the dough rise inside. Works every single time.
Step 4: Shape the Pitas
Punch down the dough gently to release air. Then:
- Divide into 8 equal pieces.
- Roll each piece into a ball.
- Flatten each ball into a 6-inch round, about ¼ inch thick.
Optional: Sprinkle sesame seeds or za’atar on top for extra flavor.
Pro Tip: Don’t roll too thin—your pita needs to puff!
Step 5: Cook the Pitas
Heat a cast-iron skillet or nonstick pan over medium-high heat.
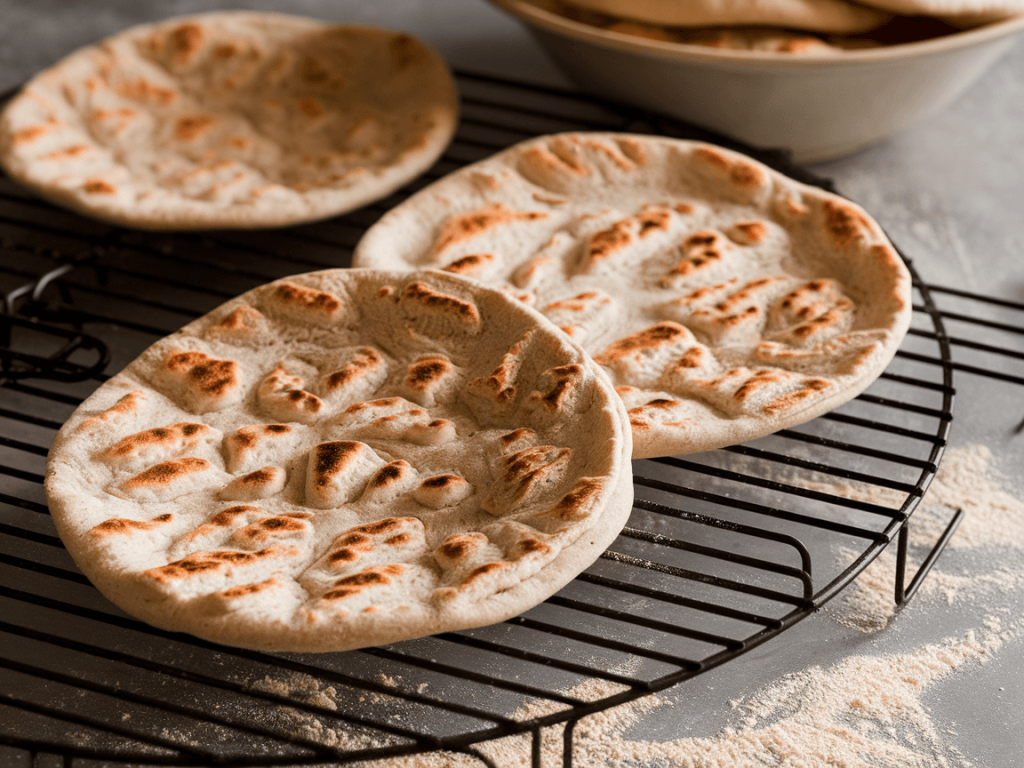
- Cook each pita for 1–2 minutes per side until it puffs and golden spots appear.
- Watch carefully—pitas cook fast!
FYI: No skillet? You can bake them in a preheated oven at 475°F on a hot baking stone for 4–5 minutes.
Ever seen that satisfying puff happen? It’s oddly mesmerizing.
Tips for Perfect Pita Bread
Want soft, fluffy, and perfectly pocketed pita every time? Here’s what I’ve learned:
- Warm liquids: Activate yeast properly for a good rise.
- Second rise (optional): Letting shaped dough rest 10–15 minutes improves puffing.
- Don’t over-flour: Keeps the pita soft.
- High heat cooking: Essential for that instant puff.
- Oil in dough: Locks in moisture for soft pita.
Rhetorical Question: Isn’t it crazy how small tweaks like this make homemade pita feel professional?
Flavor Variations
Pita bread is a blank canvas. Try these tweaks for variety:
1. Garlic & Herb Pita
- Mix 1 teaspoon garlic powder and chopped herbs into the dough.
- Perfect for sandwiches or dipping in olive oil.
2. Whole Wheat Pita
- Replace ½ cup flour with whole wheat for a nuttier flavor.
- Slightly heartier but still soft.
3. Spicy Pita
- Add ½ teaspoon smoked paprika or chili powder into the dough.
- Pairs perfectly with hummus or grilled veggies.
4. Sesame-Crusted Pita
- Brush dough lightly with water and sprinkle sesame seeds before cooking.
- Gives crunch and flavor without extra work.
Rhetorical Question: Who knew pita could be so versatile? Honestly, I never get bored experimenting.
Serving Suggestions
Once you have homemade pita, the possibilities are endless:
- Stuffed pita pockets: Falafel, grilled chicken, veggies, or hummus.
- Dipping bread: Serve with tzatziki, hummus, baba ganoush, or olive oil.
- Mini pizzas: Spread sauce, cheese, and toppings on a pita and broil for a few minutes.
- Snack straight from the pan: Warm, fluffy pita is addictive by itself.
FYI: Fresh pita makes every meal feel elevated. Even a simple sandwich becomes gourmet.
Storing and Reheating
Don’t let your pita go stale!
- Room temperature: Store in an airtight bag for 2–3 days.
- Freezer: Wrap in foil or a freezer bag; lasts up to 3 months.
- Reheating: Toast lightly in a skillet or oven for softness and warmth.
Pro Tip: Slice in half before freezing. Makes it easy to stuff or toast on demand.
Common Mistakes to Avoid
Even pros slip up sometimes. Watch out for these pitfalls:
- Skipping yeast activation: Leads to flat, dense pita.
- Rolling too thin: Dough won’t puff properly.
- Cooking on low heat: No puff, tough bread.
- Over-baking: Dry and crumbly pita.
FAQ About Homemade Pita Bread
Q: Can I make pita without yeast?
A: Yes, but it won’t puff as nicely and will be more like flatbread. Yeast gives that soft, fluffy pocket.
Q: Can I use whole wheat flour?
A: Absolutely! Replace up to 50% of the flour for a healthier version.
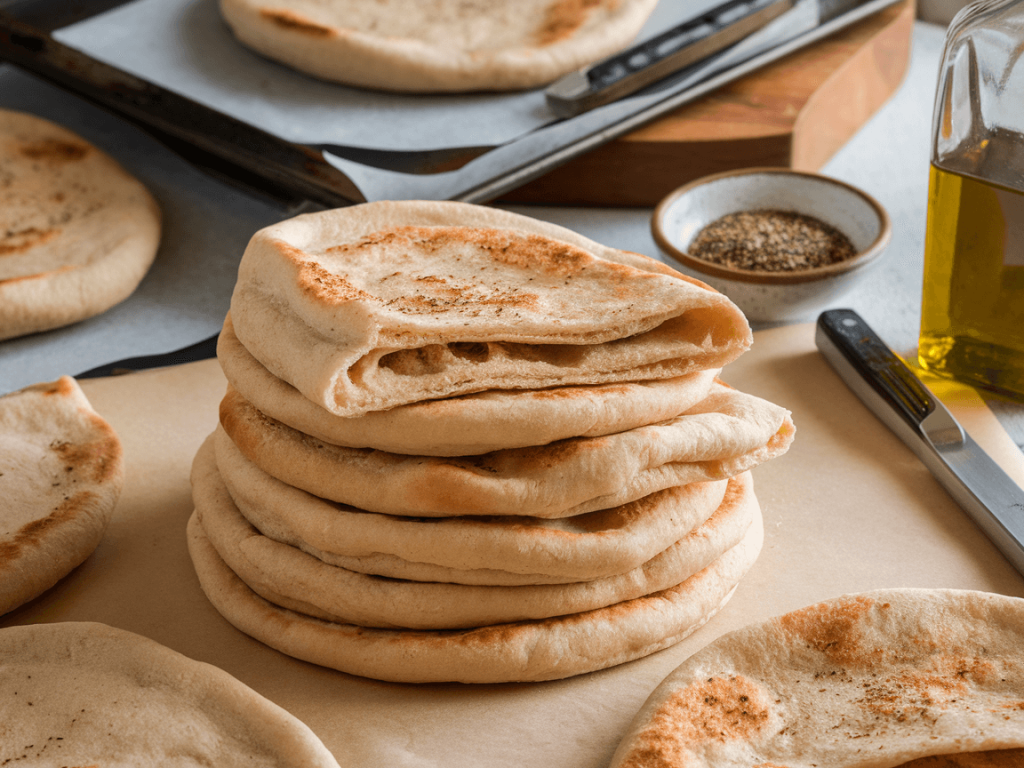
Q: How do I make pita pockets?
A: High heat cooking is the secret. Pockets form naturally as the moisture inside expands.
Q: Can I bake pita in the oven instead of skillet?
A: Yes! Use a preheated baking stone or sheet at 475°F for 4–5 minutes.
Personal Tips for Extra-Soft Pita
Over time, I’ve discovered tricks that make pita next-level soft and fluffy:
- Warm dough: Yeast loves it; your pita loves it.
- Oil in the dough: Moisture equals soft pita.
- Short resting time after shaping: Helps puffing.
- High heat cooking: Non-negotiable for pockets.
Ever wondered why restaurant pita is always soft? Yep, these small steps.
Why Homemade Pita Rocks
Making pita bread at home is more than just food prep—it’s a game-changer for meals and snacks:
- Flavor: No preservatives, just fresh, natural ingredients.
- Texture: Soft, fluffy, and pocket-perfect.
- Customizable: Sweet, savory, herb-infused—you name it.
- Satisfying: Watching it puff up in the pan? Kitchen magic.
IMO, homemade pita turns everyday meals into a mini celebration.
Final Thoughts
Making soft, fluffy, and quick pita bread at home is surprisingly easy. With a few simple ingredients, a warm hand, and some patience, you can create pitas that rival any restaurant.
Whether you’re stuffing them with falafel, dipping in hummus, or using as a mini pizza base, homemade pita adds flavor, freshness, and fun to any meal.
So go ahead—mix, knead, roll, and cook. Slice it, stuff it, or just snack straight from the pan. Once you taste that warm, puffy pocket, you’ll wonder why you ever settled for store-bought pita.
Pro Tip: Baking pita isn’t just about making bread; it’s about creating little pockets of joy—literally. 😊