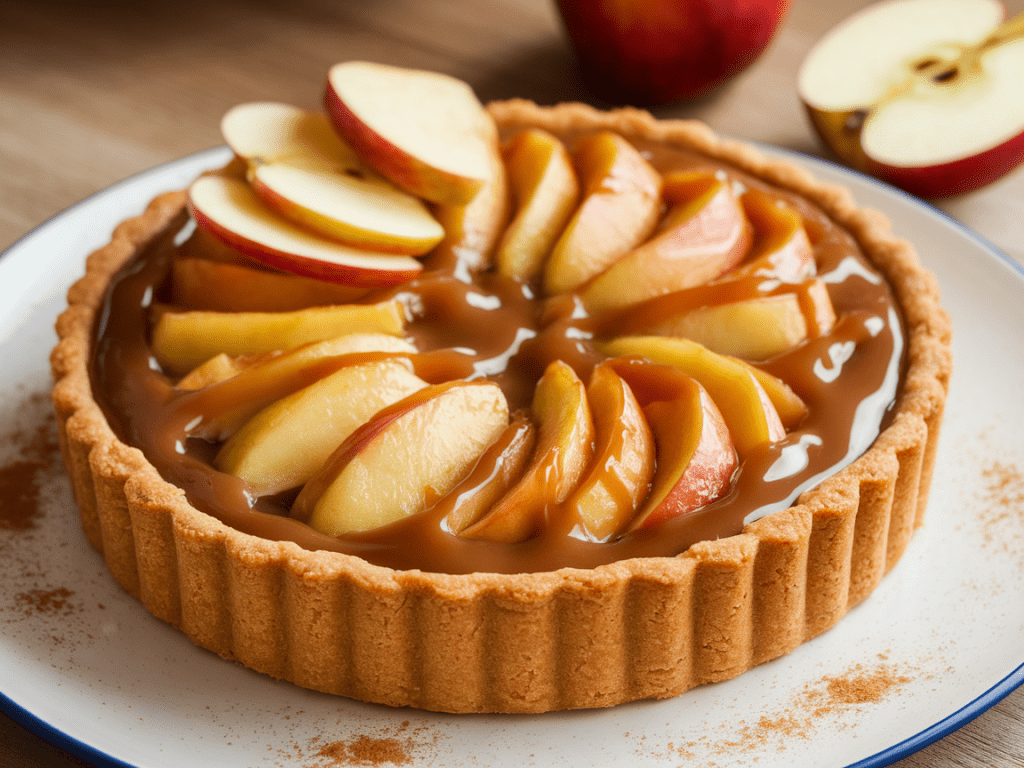
If you’re anything like me, the moment autumn rolls around, your taste buds start craving warm spices, caramel, and all things cozy. Enter the apple caramel tart—the ultimate dessert that screams fall without even trying. Sweet, buttery, and packed with tender apples and gooey caramel, this tart is basically autumn on a plate.
I remember the first time I tried making one. Honestly, I was intimidated—caramel has this scary reputation of burning instantly, and apples… well, sometimes they’re just too tart or mushy. But once I nailed it, I felt like a culinary wizard. The combination of crisp tart crust, luscious caramel, and tender, cinnamon-kissed apples was pure magic. It’s a dessert that doesn’t just satisfy your sweet tooth; it practically hugs your soul.
So, if you’re ready to wow yourself (and maybe your friends), let’s talk about how to make an apple caramel tart that’s perfectly autumn-inspired.
Why Apple Caramel Tart is a Must-Make Dessert
Sweet and Gooey Caramel That Steals the Show
Caramel is basically the rockstar of this tart. When done right, it’s smooth, sticky, and sweet with just the right depth of flavor. Ever had caramel that’s too hard to cut or so runny it drips everywhere? Ugh, no thanks. Perfect caramel should melt in your mouth and pair beautifully with both apples and buttery crust.
Tender Apples for That Cozy Fall Feeling
Apples are the heart of this dessert. Using firm, slightly tart varieties like Honeycrisp, Granny Smith, or Fuji ensures that the tart doesn’t get mushy when baked. The sweetness of the caramel balances the slight tartness of the apples, creating that perfect autumn flavor combo that hits every note just right.
Buttery, Crisp Tart Crust
Let’s not overlook the crust. A buttery shortcrust pastry makes every bite heavenly. It provides the crunch you need to contrast the soft apples and gooey caramel. I’ve tried graham cracker and nut-based crusts too, and while they’re tasty, nothing beats the classic buttery crunch for the perfect fall vibe.
Ingredients You’ll Need
Here’s what you need to make this autumn-inspired tart come alive. Quality ingredients really make a difference, so don’t skimp.
For the Crust
- 1 1/4 cups all-purpose flour
- 1/4 cup powdered sugar
- 1/2 cup unsalted butter, cold and cubed
- Pinch of salt
- 1-2 tbsp cold water
For the Caramel Layer
- 1 cup granulated sugar
- 6 tbsp unsalted butter, cubed
- 1/2 cup heavy cream
- Pinch of salt (for salted caramel)
For the Apple Layer
- 3-4 medium apples, peeled, cored, and sliced thin
- 2 tbsp butter
- 2 tbsp brown sugar
- 1 tsp cinnamon
- 1/2 tsp nutmeg (optional)
Optional garnishes: whipped cream, caramel drizzle, or chopped nuts
Step-by-Step Apple Caramel Tart Recipe
Making this tart is easier than it sounds. Let’s break it down step by step.
Step 1: Prepare the Crust
- In a bowl, mix flour, powdered sugar, and salt.
- Add cold cubed butter and cut in with a pastry cutter or fingers until the mixture resembles coarse crumbs.
- Gradually add cold water until dough comes together.
- Press dough into a tart pan and chill for 30 minutes.
- Bake at 350°F (175°C) for 15-20 minutes or until golden. Let cool.
Pro tip: chilling the dough prevents shrinking and ensures a perfectly crisp crust.
Step 2: Make the Caramel
- In a saucepan, melt sugar over medium heat until it turns a deep amber color.
- Carefully add butter, whisking constantly (it will bubble—FYI, that’s normal).
- Slowly add heavy cream, stirring continuously.
- Add a pinch of salt for that salted caramel magic.
- Pour caramel over the cooled crust and let it sit while you prep the apples.
Trust me, the caramel is the best part—it’s gooey, golden, and makes the whole tart feel luxurious.
Step 3: Cook the Apples
- In a skillet, melt butter over medium heat.
- Add sliced apples, brown sugar, cinnamon, and nutmeg.
- Cook for 5-7 minutes, stirring gently, until apples are tender but not mushy.
Pro tip: you want apples to hold their shape. Overcooking makes them too soft, undercooking makes them tart and stiff.
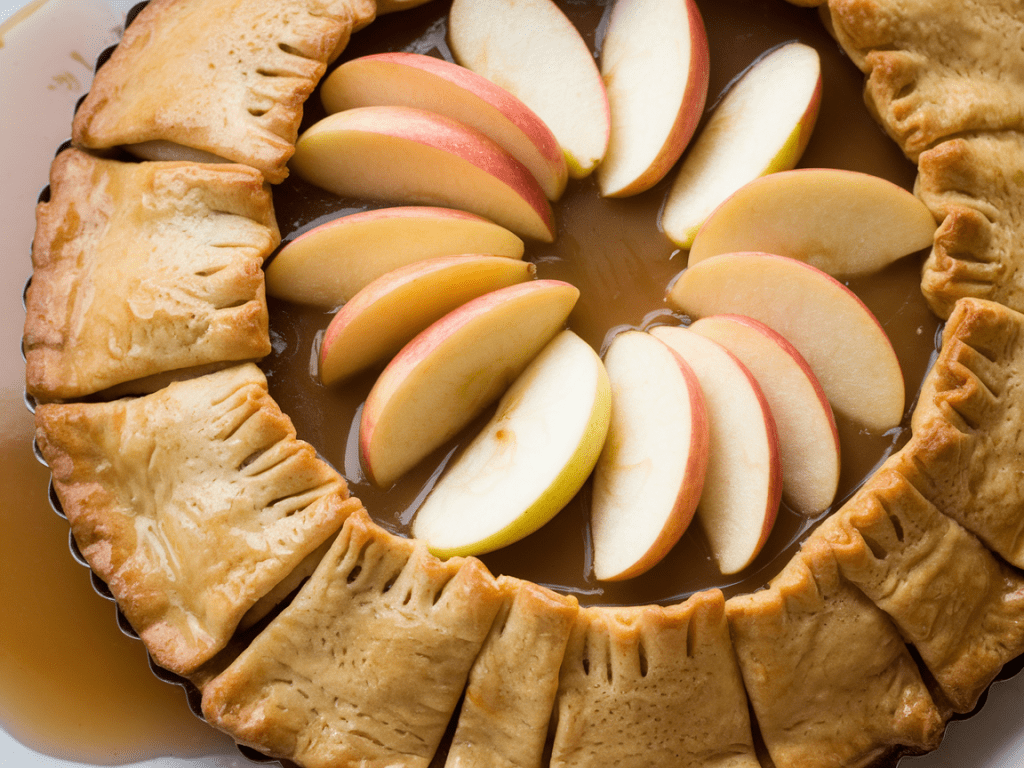
Step 4: Assemble the Tart
- Arrange the cooked apple slices over the caramel layer in a pretty pattern.
- Optional: drizzle a bit more caramel on top for extra decadence.
- Chill in the fridge for at least 1 hour to set everything.
And voilà—you’ve got a sweet, buttery, and autumn-perfect dessert ready to serve.
Tips for the Perfect Apple Caramel Tart
Even experienced bakers have a few tricks up their sleeves. Here’s what I’ve learned:
- Use firm apples – they hold up better in the tart.
- Don’t rush caramel – patience gives perfect texture and flavor.
- Chill tart properly – helps layers set and makes slicing easier.
- Garnish wisely – a sprinkle of sea salt or chopped nuts elevates the flavor.
These small details make a huge difference in presentation and taste.
Flavor Variations You’ll Love
Want to switch things up? Here are some tasty options:
Salted Caramel Apple Tart
- Sprinkle sea salt over caramel before adding apples.
- Creates a perfect sweet-salty balance.
Nutty Apple Caramel Tart
- Add toasted pecans or walnuts on top of apples.
- Adds crunch and flavor contrast.
Spiced Apple Tart
- Include extra spices like cloves, allspice, or ginger for a warm, cozy flavor.
IMO, these variations can take your tart from great to unforgettable.
Common Mistakes to Avoid
Even seasoned bakers slip up sometimes. Avoid these pitfalls:
- Burning the caramel – it happens in seconds; watch carefully.
- Overcooking apples – mushy apples ruin the texture.
- Skipping chilling time – tart layers won’t set properly.
- Using low-fat cream – full-fat cream gives a richer, more luxurious caramel.
Follow these tips, and your tart will look and taste like a bakery masterpiece.
Serving Suggestions
The apple caramel tart is versatile and can be enjoyed in several ways:
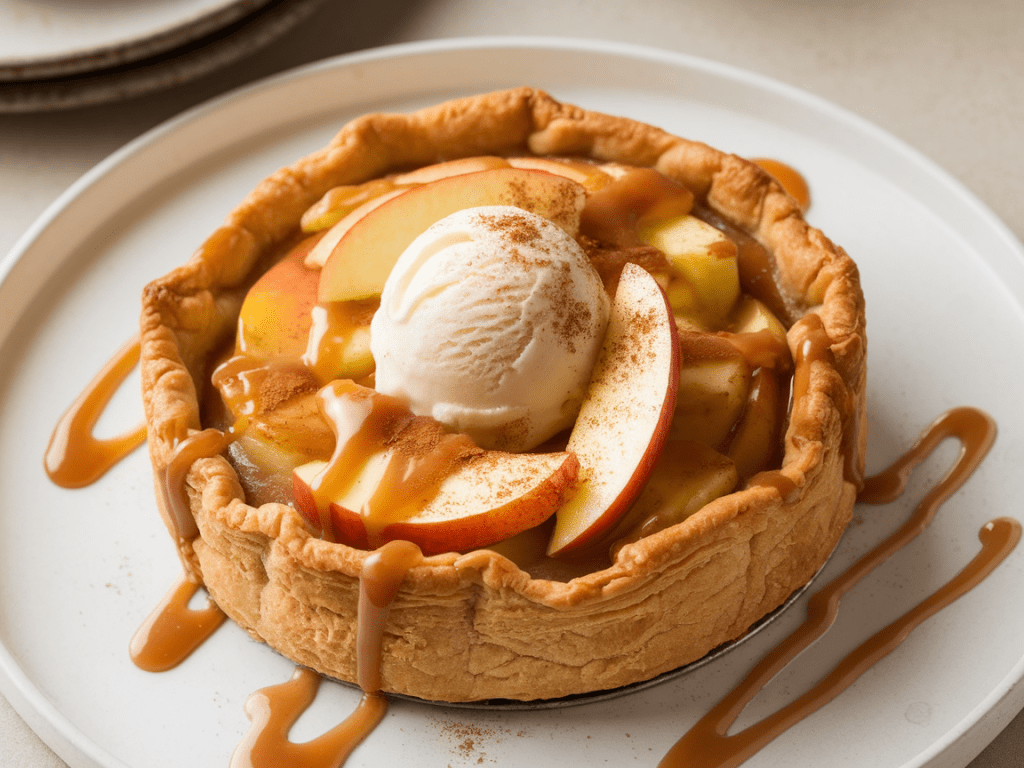
- Mini tarts – great for parties or portion control.
- With vanilla ice cream – classic autumn indulgence.
- Whipped cream dollops – adds lightness and extra decadence.
- Fresh caramel drizzle – for that extra gooey factor.
Personally, I love a small slice with a scoop of vanilla ice cream—it’s basically a hug on a plate.
Why Apple Caramel Tart is Perfect for Autumn
- Sweet and comforting – just like a cozy sweater in dessert form.
- Textural contrast – crisp crust, tender apples, gooey caramel.
- Customizable – add spices, nuts, or drizzle extra caramel.
- Looks fancy, feels easy – impressive without being intimidating.
Seriously, this dessert makes fall feel like it’s arriving on your plate.
My Personal Experience
The first time I brought an apple caramel tart to a family dinner, it disappeared faster than you can say “autumn vibes.” Even the dessert skeptics couldn’t resist. Honestly, making this tart made me feel like a pro baker, and the compliments kept rolling in.
Plus, it’s one of those desserts that travels well—perfect for potlucks, holiday gatherings, or just treating yourself on a cozy fall night.
Healthier or Diet-Friendly Alternatives
Yes, indulgence is great, but sometimes we need a few tweaks:
- Coconut cream instead of heavy cream – for dairy-free caramel.
- Sugar substitutes like erythritol or monk fruit – for lower sugar caramel.
- Almond flour crust – reduces carbs and adds a nutty flavor.
- Less sugar on apples – natural sweetness is often enough.
These tweaks let you enjoy your tart without the guilt, while still keeping all the autumn flavors intact.
Conclusion
The apple caramel tart isn’t just a dessert—it’s a celebration of autumn. Tender apples, gooey caramel, and buttery crust combine to create a dessert that’s sweet, comforting, and utterly irresistible.
Whether you’re baking for a special occasion, a family gathering, or just because you deserve a fall treat, this tart will impress and satisfy. Remember: use firm apples, take your time with the caramel, and don’t skip chilling—it makes all the difference.
So grab your ingredients, preheat that oven, and get ready to enjoy a sweet, buttery, and autumn-perfect dessert. Trust me, one bite and you’ll be officially obsessed. 🙂